Connect OpenAI
This page describes how to connect your OpenAI account to the console. Once connected, you can use your OpenAI usage and cost data within the console. See Working with AI data.
Required permissions
Your DoiT account must have the Billing Profiles Admin permission.
Connect OpenAI accounts
The console provides a step-by-step wizard to connect OpenAI accounts. To connect multiple OpenAI accounts, complete the setup wizard for each one.
Launch the wizard
To launch the wizard:
-
Select Data ingestion and integrations > Integrations from the top navigation mega menu.
-
Find the OpenAI integration card:
-
Select Connect +, if you're setting up your first account.
-
Select Manage and then select Connect new account, if you're setting up an additional account.
-
The wizard contains two steps:
Configure an admin key
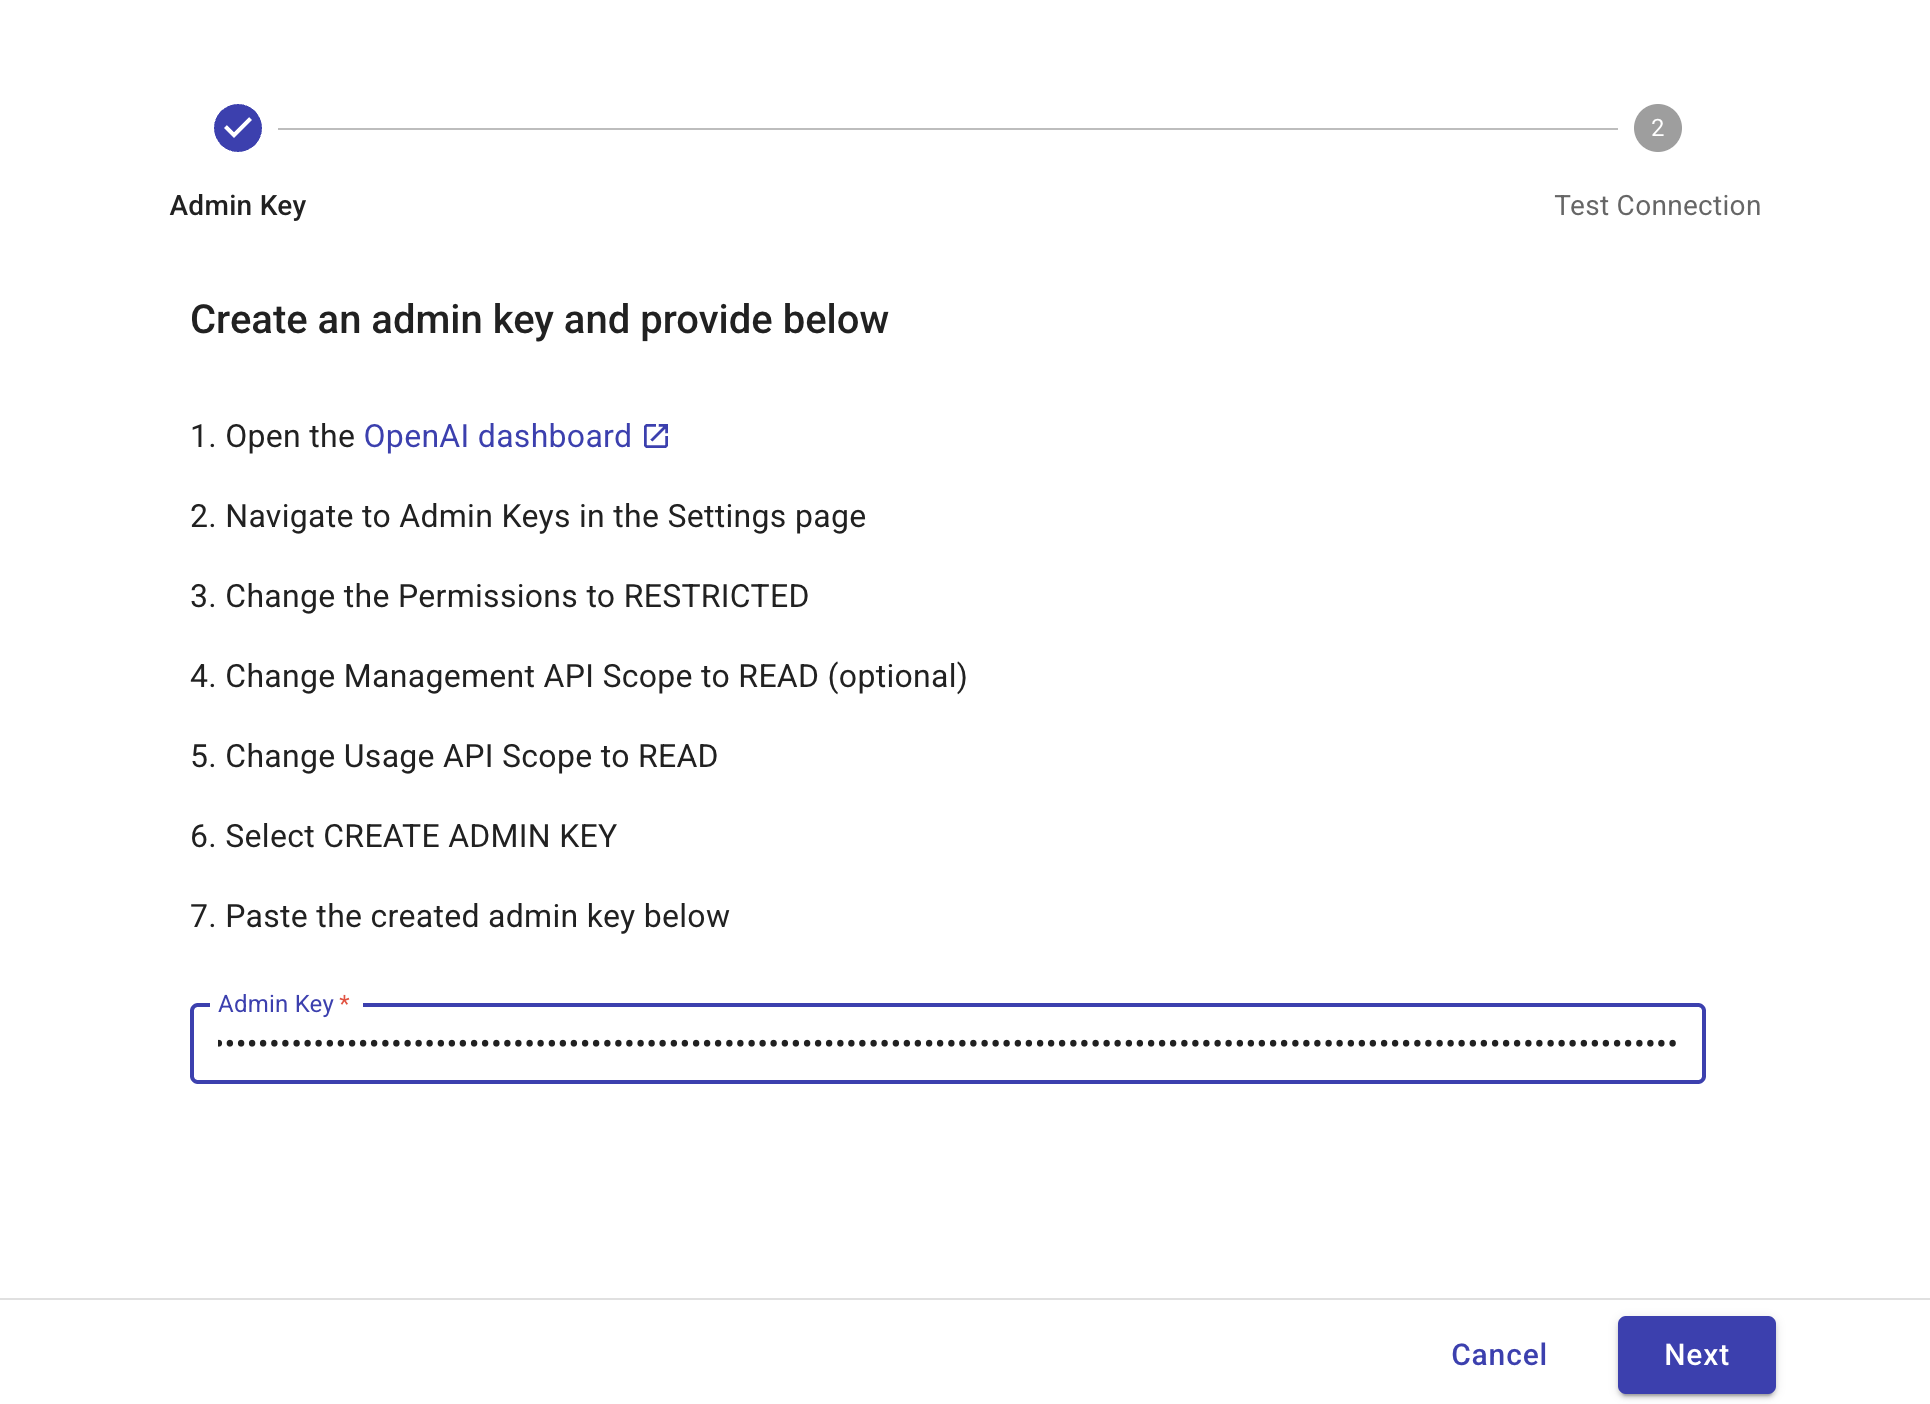
To enable DoiT to programmatically access OpenAI, you must provide an admin key. This key is generated using the OpenAI dashboard. The admin key needs read access to the OpenAI usage API and, optionally, the OpenAI management API.
-
Sign in to the OpenAI dashboard, select the gear icon to open the Organization Settings page.
-
Select Admin keys.
-
Select Create new Admin key.
-
In the Create new admin key pane:
-
In Name, enter a name for your admin key.
-
In Permissions, select Restricted.
-
(Optional) In Management API Scope, select Read.
-
In Usage API Scope, select Read.
-
-
Select Create admin key.
-
Select Copy to copy the Admin key.
CautionThe key is only visible once. Ensure you copy the key before closing the browser window.
-
Select Done to close the Save your key pane.
-
In the console wizard, paste the admin key in the Admin key field.
-
Select Next to test the connection.
Test connection
To verify the setup:
-
In the console, select Test connection. This should take a couple of seconds.
-
When the test is successful, select Finish to complete the step-by-step wizard.
If the test fails or you need further assistance, please open an expert inquiry.
What's next
Upon initial connection, DoiT ingests the last 6 months of historical billing and usage data for each added account.
After you successfully connect your OpenAI account, we start importing your OpenAI billing and usage data. The process can take a few hours. You'll receive an email when the data is available for Cloud Analytics and other DoiT features.
"Key error" connection status
An OpenAI account with a Key error status on the OpenAI assets page indicates that OpenAI is rejecting the provided admin key. For example, the key may have been revoked, or it may no longer have admin permissions to access the usage API.
While an account shows the Key error status, cost and usage data stops updating. To resolve the issue, update the admin key with a valid one.
Update admin key
To update the admin key for a connected OpenAI account:
-
Select Data ingestion and integrations > Integrations from the top navigation mega menu.
-
Find the OpenAI integration card, select Manage.
-
Locate the Organization ID of the OpenAI account whose admin key you want to update.
-
Select the kebab menu (⋮) at the rightmost end of the row and select Update Admin key. The step-by-step wizard is displayed.
-
Repeat the connection steps in Configure an admin key and Test connection.