Amazon Web Services
The Amazon Web Services integration card is the entry point to AWS connection and assets management.
AWS accounts
To invite, create, or connect AWS accounts:
-
Navigate to the integrations catalog dashboard.
-
On the Amazon Web Services integration card, select Connect + or Assets, whichever is available.
-
Choose an action to perform:
-
Invite account: Invite an existing AWS account into your DoiT reseller payer account.
-
Create account: Create a new AWS account in your DoiT reseller payer account.
-
Connect new account: Connect a standalone AWS account.

-
AWS assets
-
On the Amazon Web Services integration card, select Assets.
-
Locate the AWS account of interest. You can perform the following assets management tasks:
-
Assign a billing profile: Update the billing profile of an AWS account.
-
Select the asset name from the assets list to open the asset settings window.
-
Select the target billing profile from the drop-down list.
-
Save your changes.
-
-
Tag asset: Add a tag to an AWS account.
-
Store support billing: Store AWS support charges to a specific AWS account.
-
Export AWS Assets: Download the list of your AWS accounts to a CSV or export to a Google Sheet.
-
Upgrade to CUR 2.0: Upgrade the Cost and Usage Report format for an eligible AWS account.
-
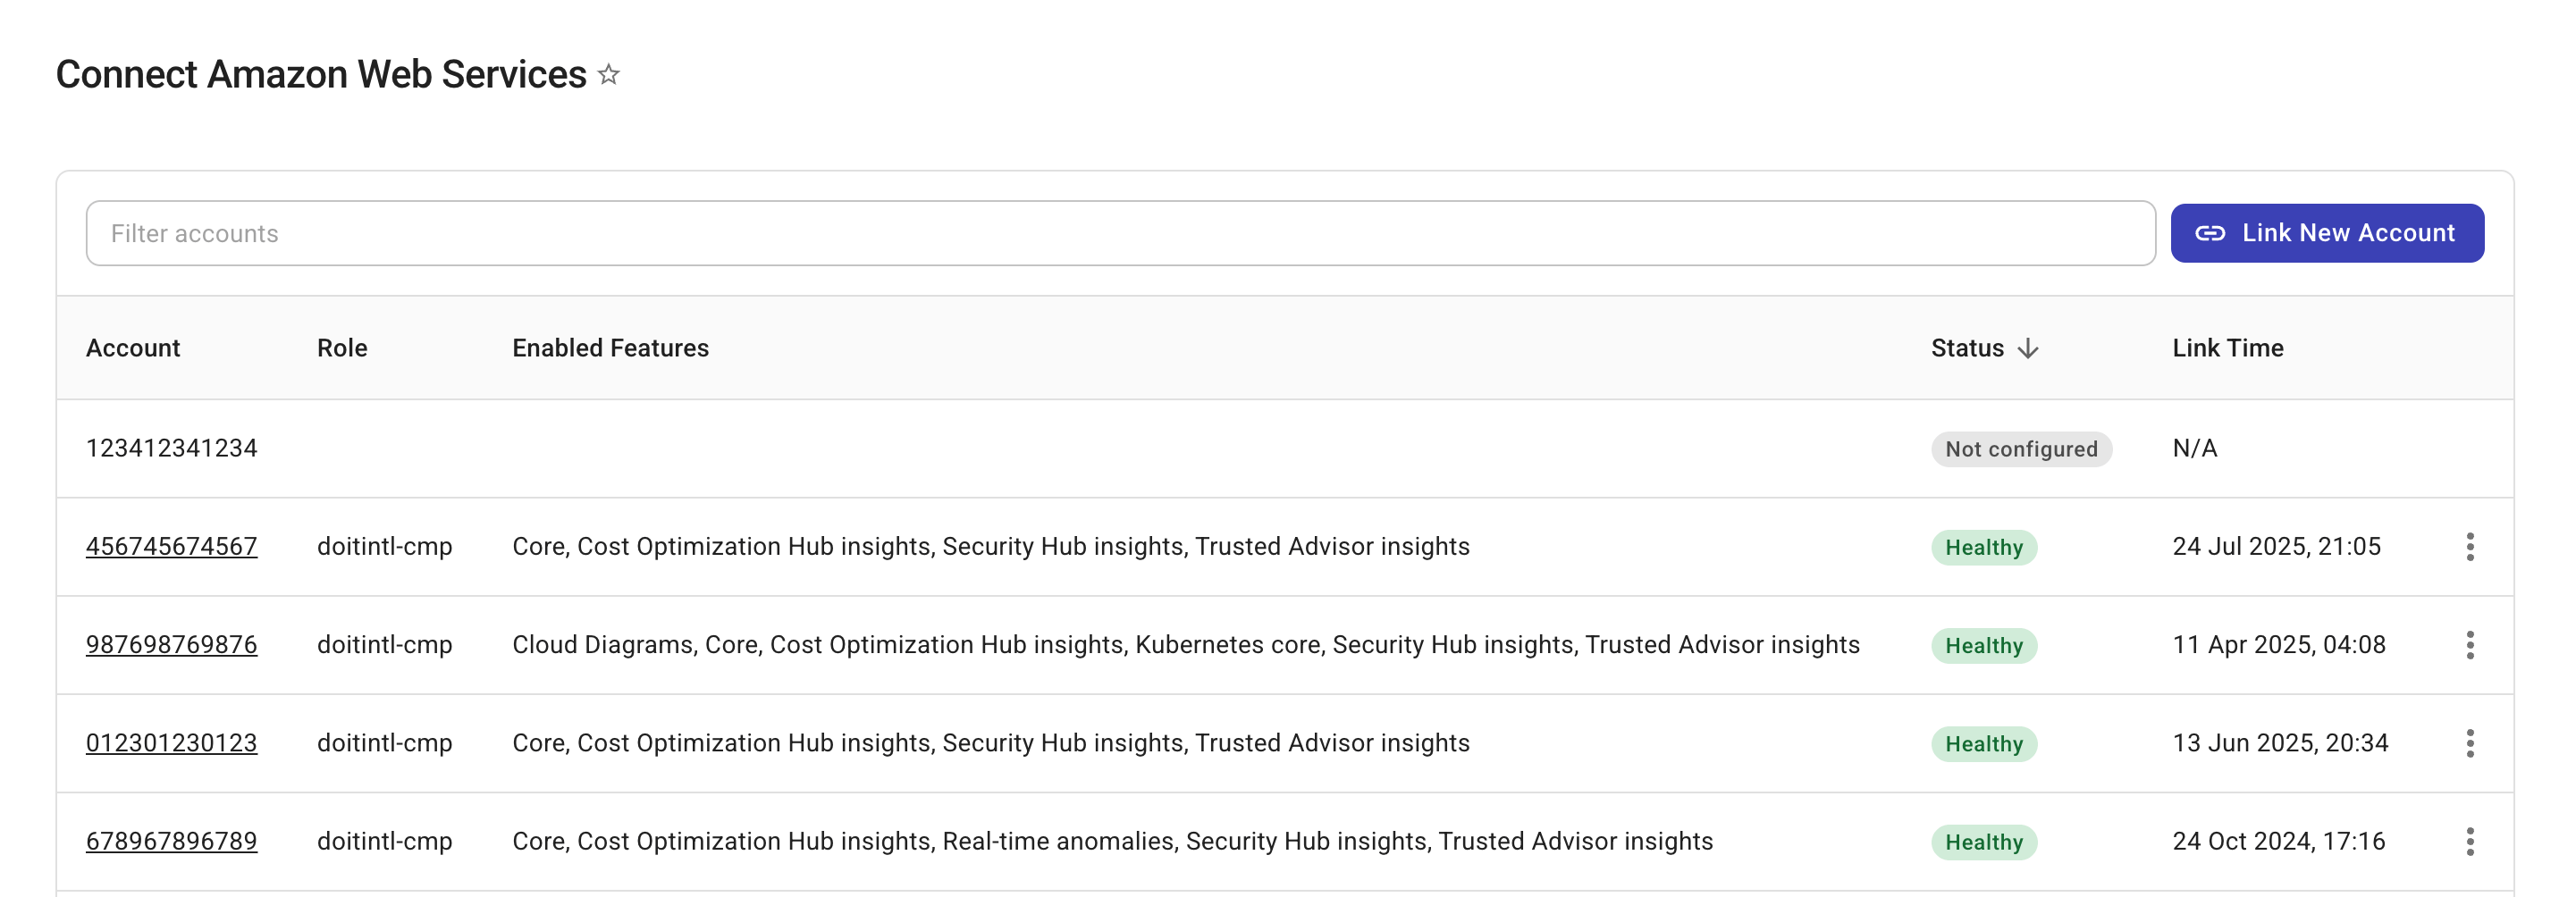
Enable features on AWS accounts
To unlock advanced functionalities for your AWS accounts:
-
Select Manage on the integration card.
-
Select Link new account to enable advanced features. See Link AWS accounts for details.