Audit AI API keys
This tutorial walks you through building a flow that audits your OpenAI and Anthropic API keys and emails you a report of keys that deserve attention — without writing any code. Along the way you'll learn how to chain OpenAI and Anthropic actions with Filter, Date/time transform, and Notification nodes.
OpenAI and Anthropic Admin API actions are available under early preview. To request access, submit a support request.
Goal and objectives
-
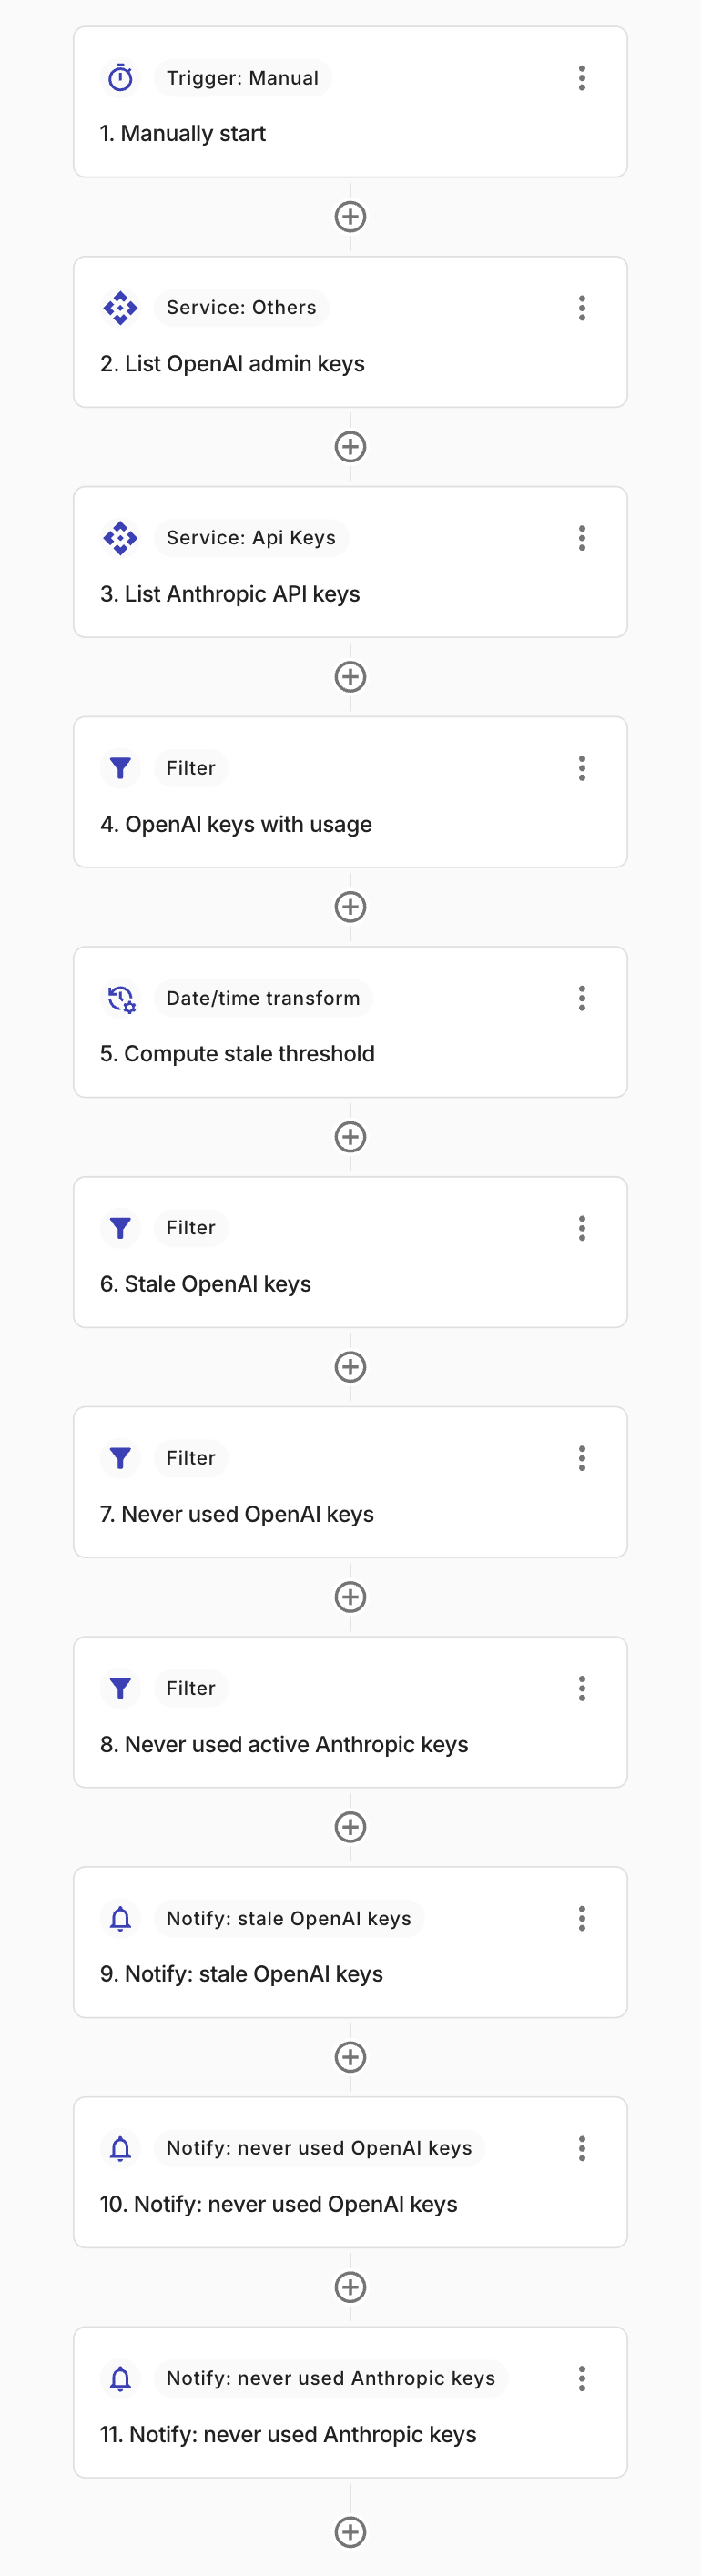
Goal: To create a workflow that lists all OpenAI admin API keys and Anthropic API keys, classifies them into stale (not used in the last 90 days) and never used, and emails a formatted report for each category. The flow is read-only: it never modifies or deactivates any key.
-
Objectives: In this tutorial, you'll learn how to:
-
Call OpenAI and Anthropic Admin API actions from a flow.
-
Split one action's output into several branches with filter nodes.
-
Build a rolling time window with a date/time transform node instead of a code node.
-
Format notification messages as tables and skip notifications when there is nothing to report.
-
Below is the complete flow you'll build:
Before you begin
Create an OpenAI Admin API connection and an Anthropic Admin API connection. The Anthropic connection must include an Admin API key, which is required for API key management operations.
Start building
-
Sign in to the DoiT console, select Automation and operations from the top navigation mega menu, and then select CloudFlow.
-
Select Create CloudFlow.
Step 1: Add a trigger
In the What should start your flow block, select Manually start. You can switch to a custom schedule later — for example, to run the audit weekly — but a manual trigger is easier while you build and test the flow.
Step 2: List OpenAI admin keys
-
In the What do you want to do block, select Perform an action, choose OpenAI, and then select the
admin-api-keys-listaction. -
On the Connection tab, select your OpenAI Admin API connection.
-
On the Test tab, select Test to run the action. The response contains a
dataarray of admin API keys; each key includes fields such asid,name,owner, andlast_used_at, which the rest of the flow references.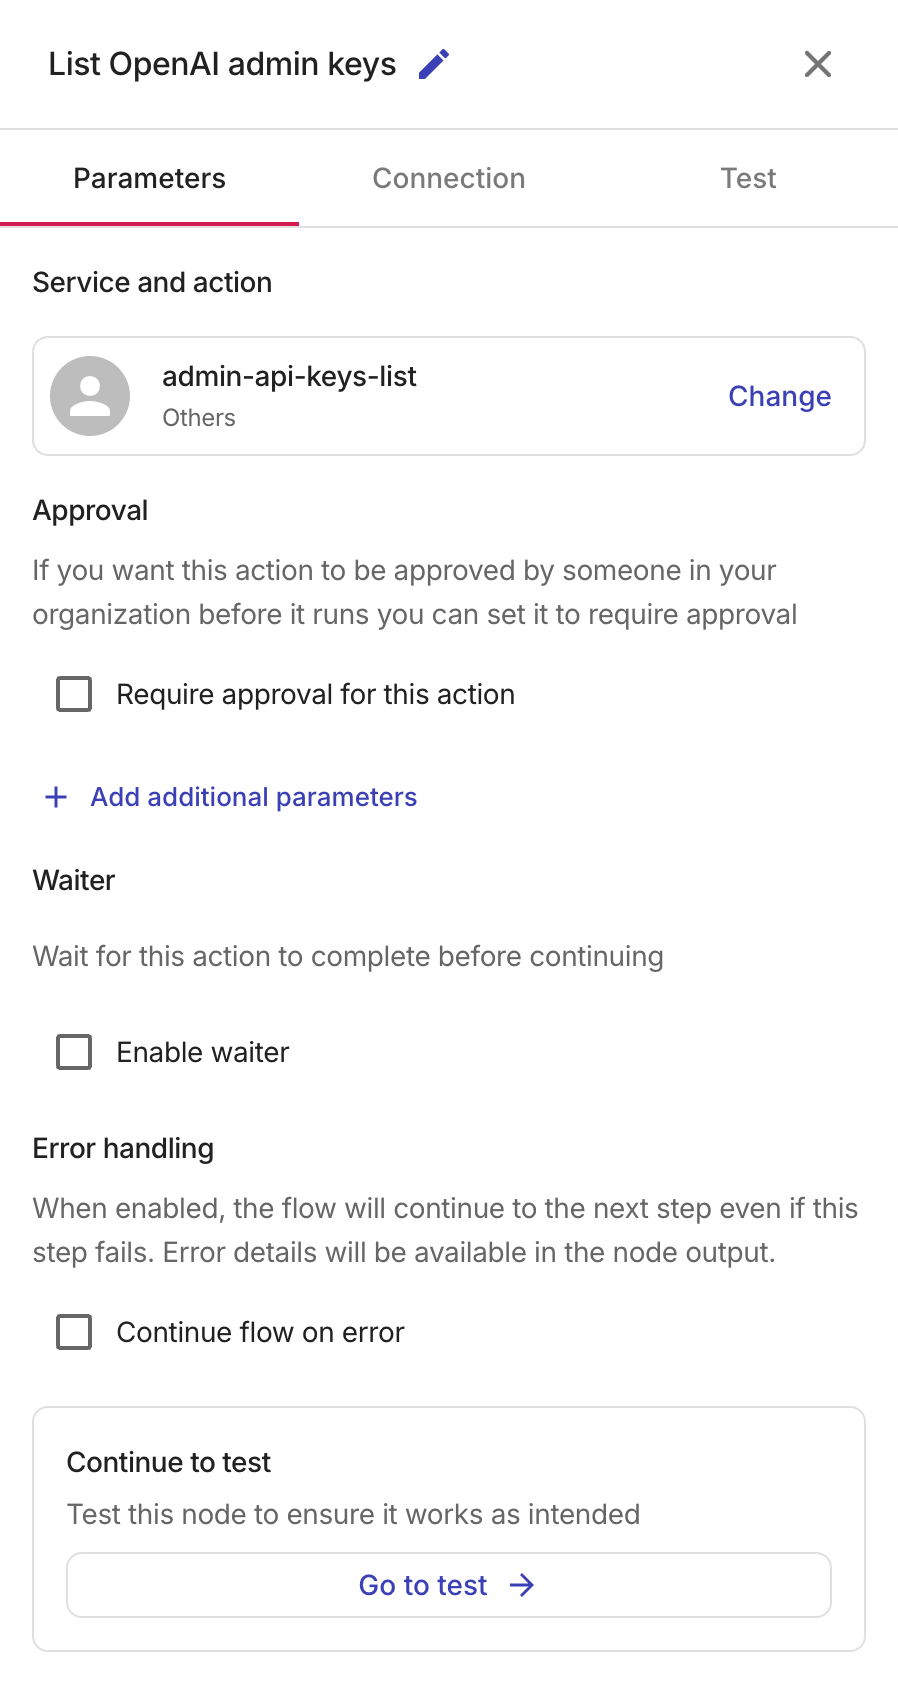
Step 3: List Anthropic API keys
-
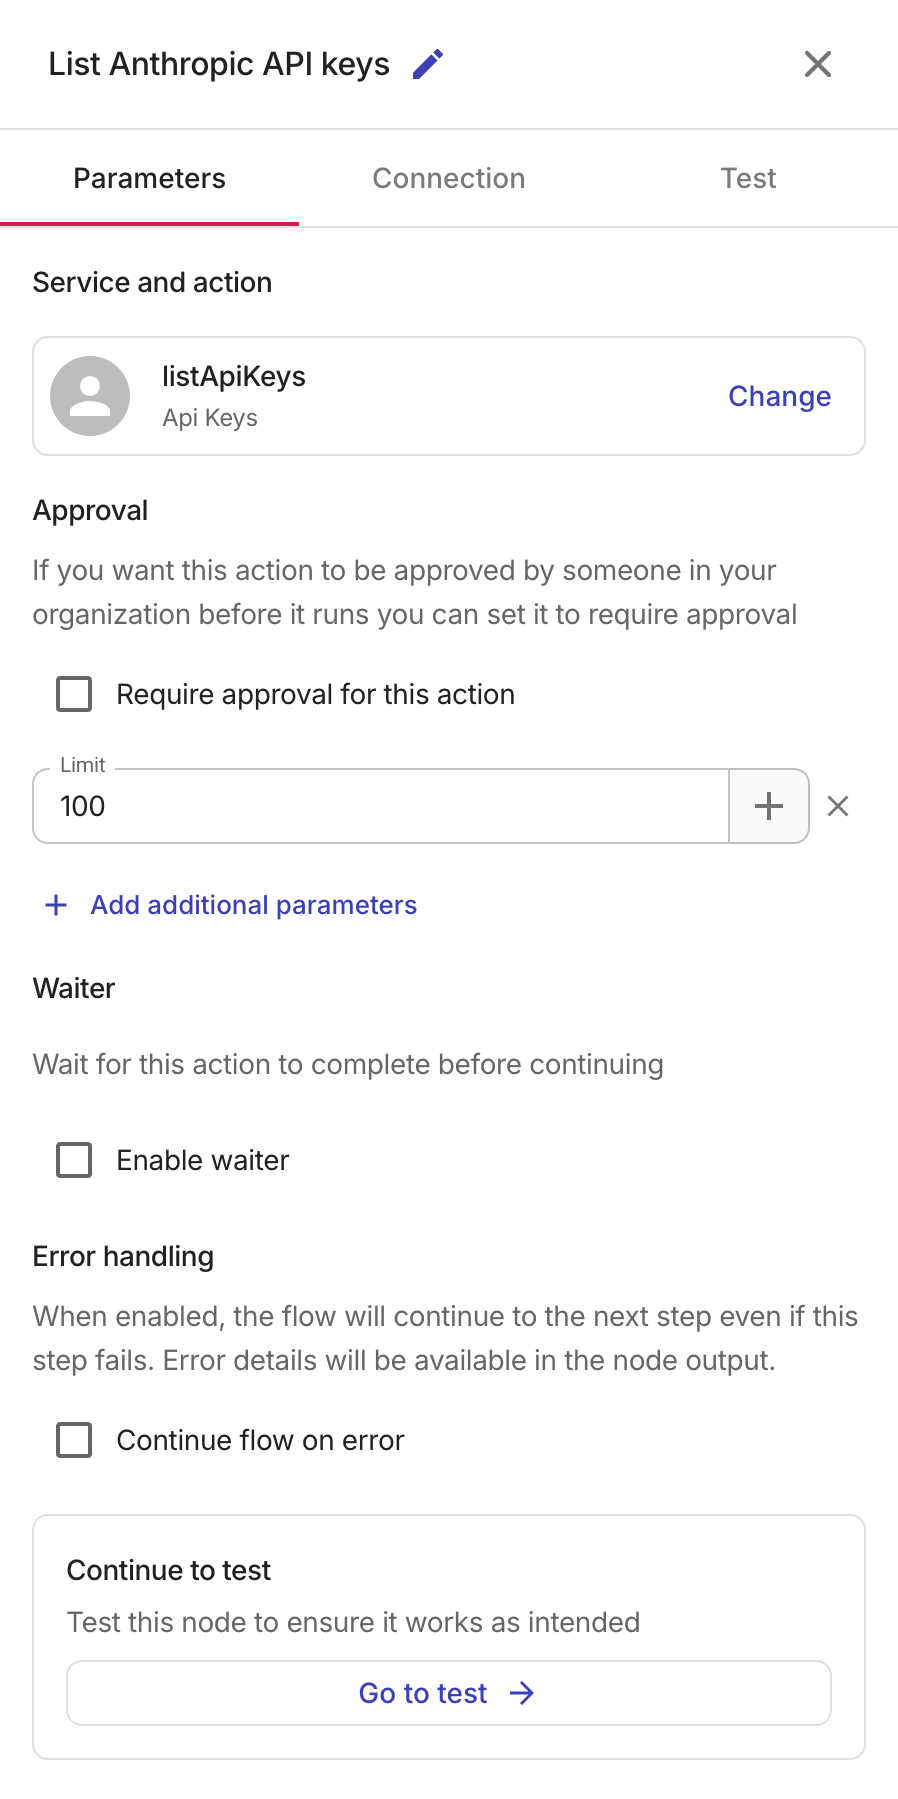
Add another Perform an action node to the flow, choose Anthropic, and then select the
listApiKeysaction. -
On the Parameters tab, select Add additional parameters and set Limit to
100so a single run returns up to 100 keys. -
On the Connection tab, select your Anthropic Admin API connection, then test the action on the Test tab.
Step 4: Keep only OpenAI keys with usage
The last_used_at field of an OpenAI key is empty if the key has never been used. Keys with usage and keys without usage need different treatment — you can compare a timestamp against a 90-day threshold only when the timestamp exists — so the flow first splits the key list in two.
-
Add a Filter node and name it
OpenAI keys with usage. -
In Field, select the plus icon (+) and choose
2. List OpenAI admin keys.data. -
In Filter 1, set the condition
data.last_used_at is not null.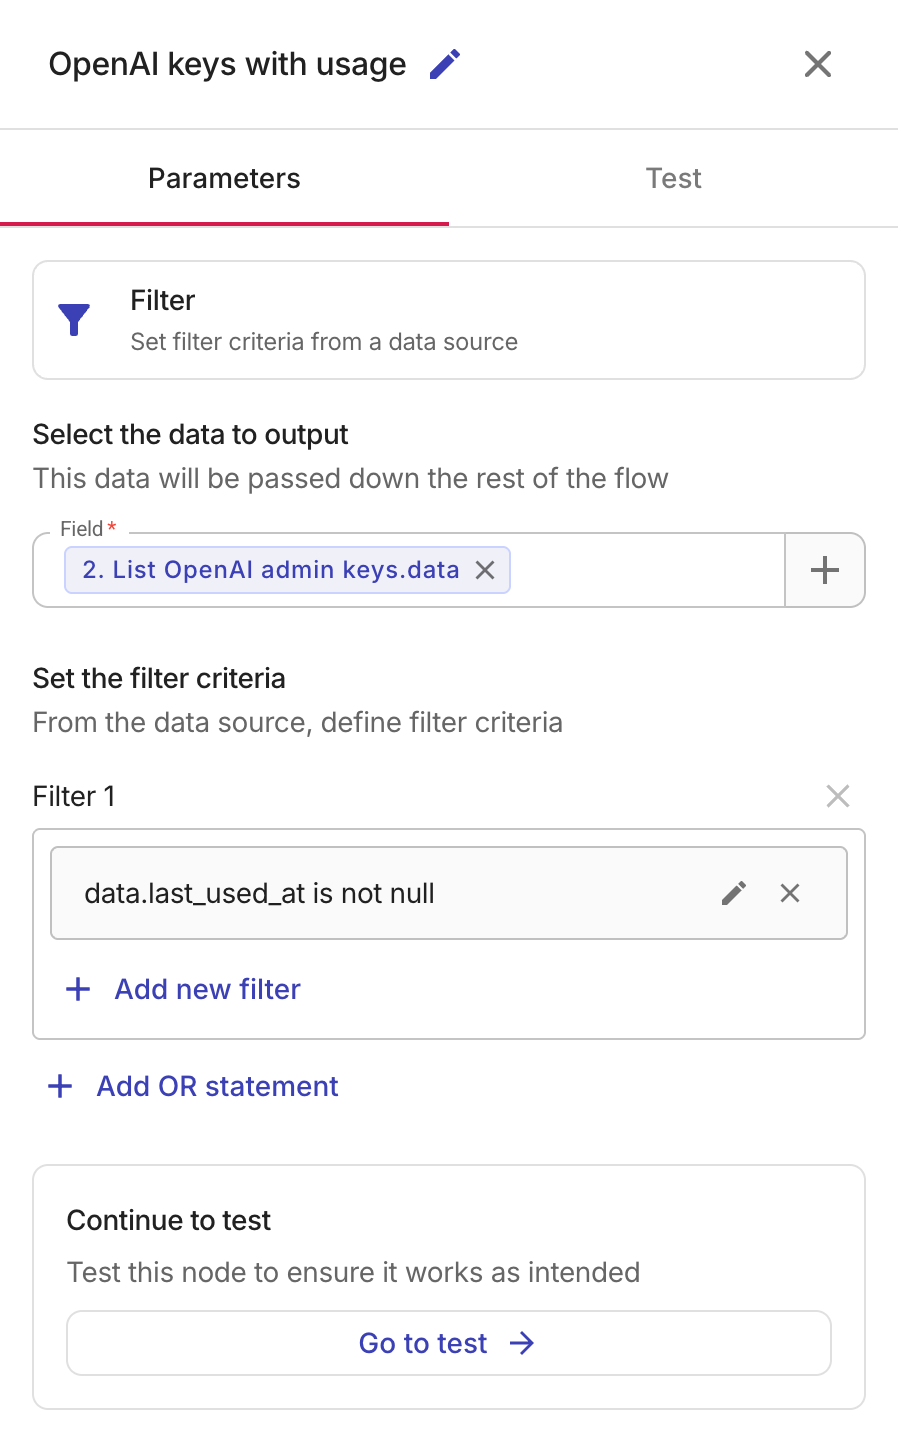
The node outputs only the keys that have been used at least once.
Step 5: Compute the stale threshold
A key is stale when its last usage is more than 90 days in the past — in other words, when last_used_at + 90 days is still earlier than the time the flow runs. A date/time transform node computes that comparison value and also formats the raw timestamp into a readable date for the report.
-
Add a Date/time transform node and name it
Compute stale threshold. -
In Select which field you want to transform, select the plus icon (+) and choose
4. OpenAI keys with usage.last_used_at. -
Set the transform action to Add, with Value
90and DurationDays, and name the new fieldstaleAfter. -
Select Add another transform. Choose the same
last_used_atfield as input, set the transform action to Format, name the new fieldlastUsedDate, and select theYYYY-MM-DDdate format.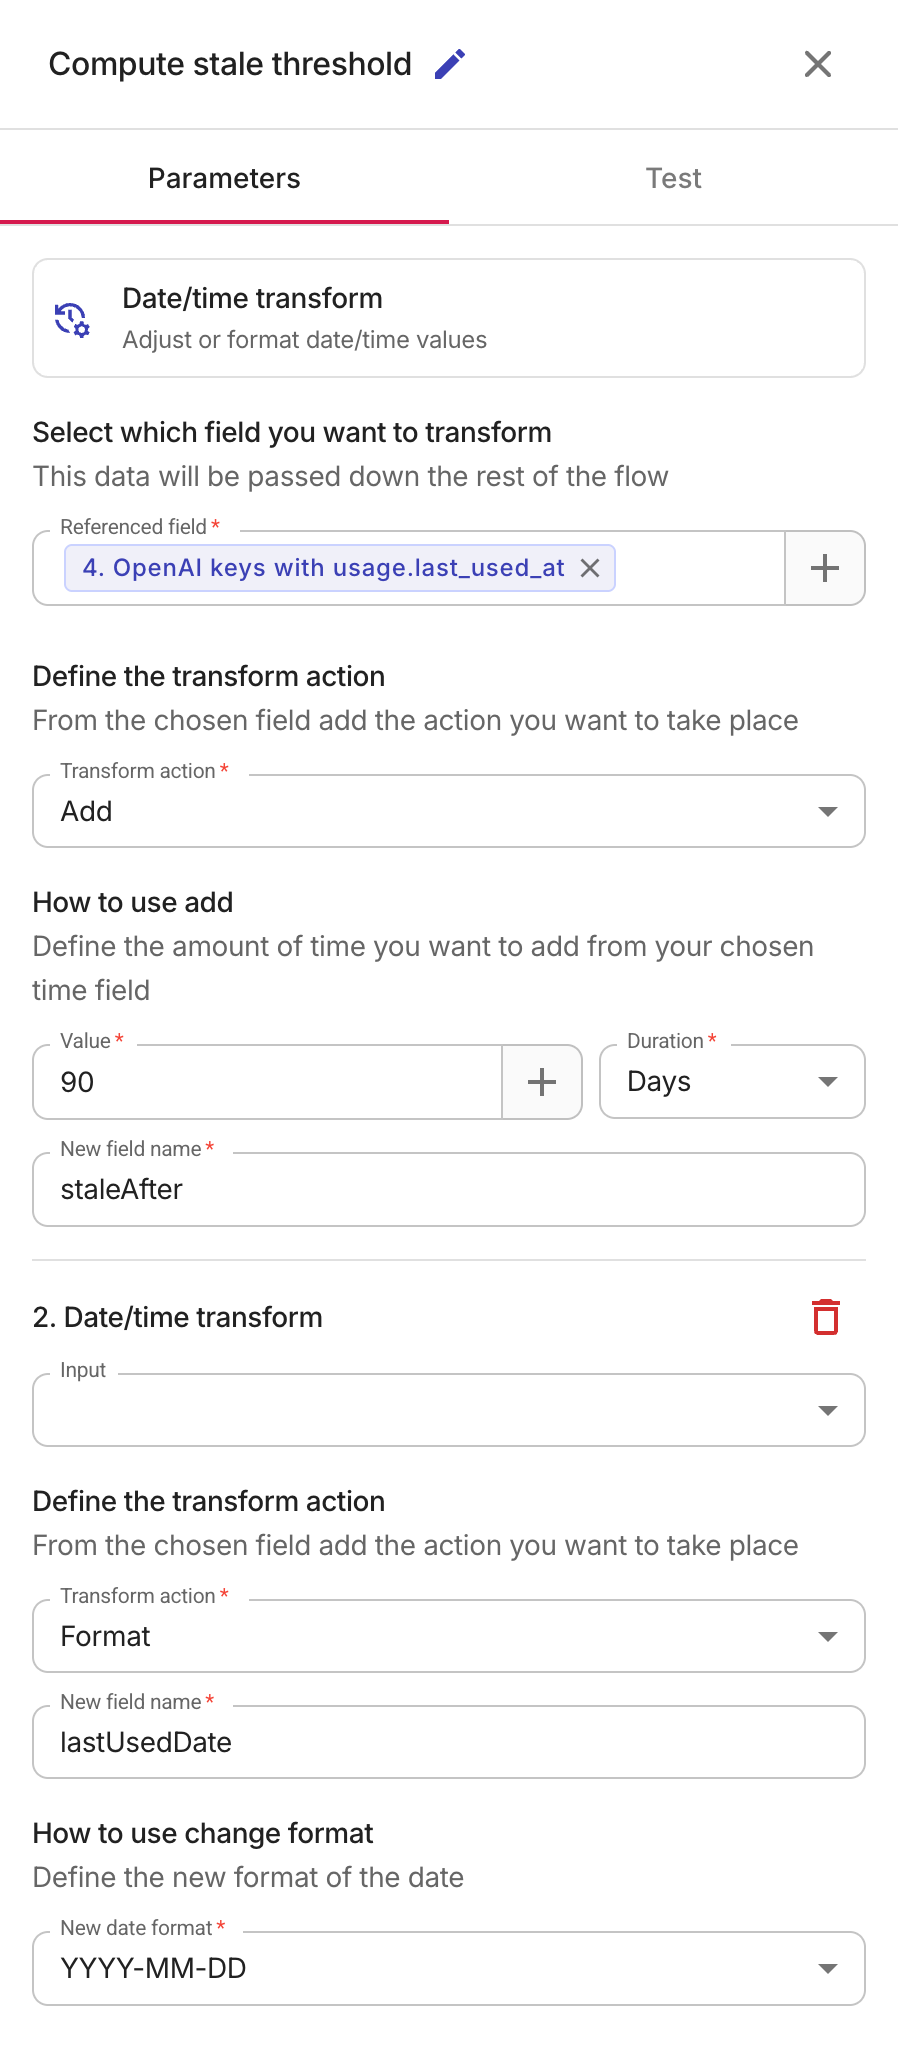
The node passes each key through with two new fields: staleAfter (a timestamp 90 days after the last usage) and lastUsedDate (a human-readable date).
Step 6: Filter for stale OpenAI keys
-
Add a Filter node and name it
Stale OpenAI keys. -
In Field, choose
5. Compute stale threshold. -
In Filter 1, set the condition
staleAfter < Start of the flow. Start of the flow is a built-in variable that resolves to the time the current run started.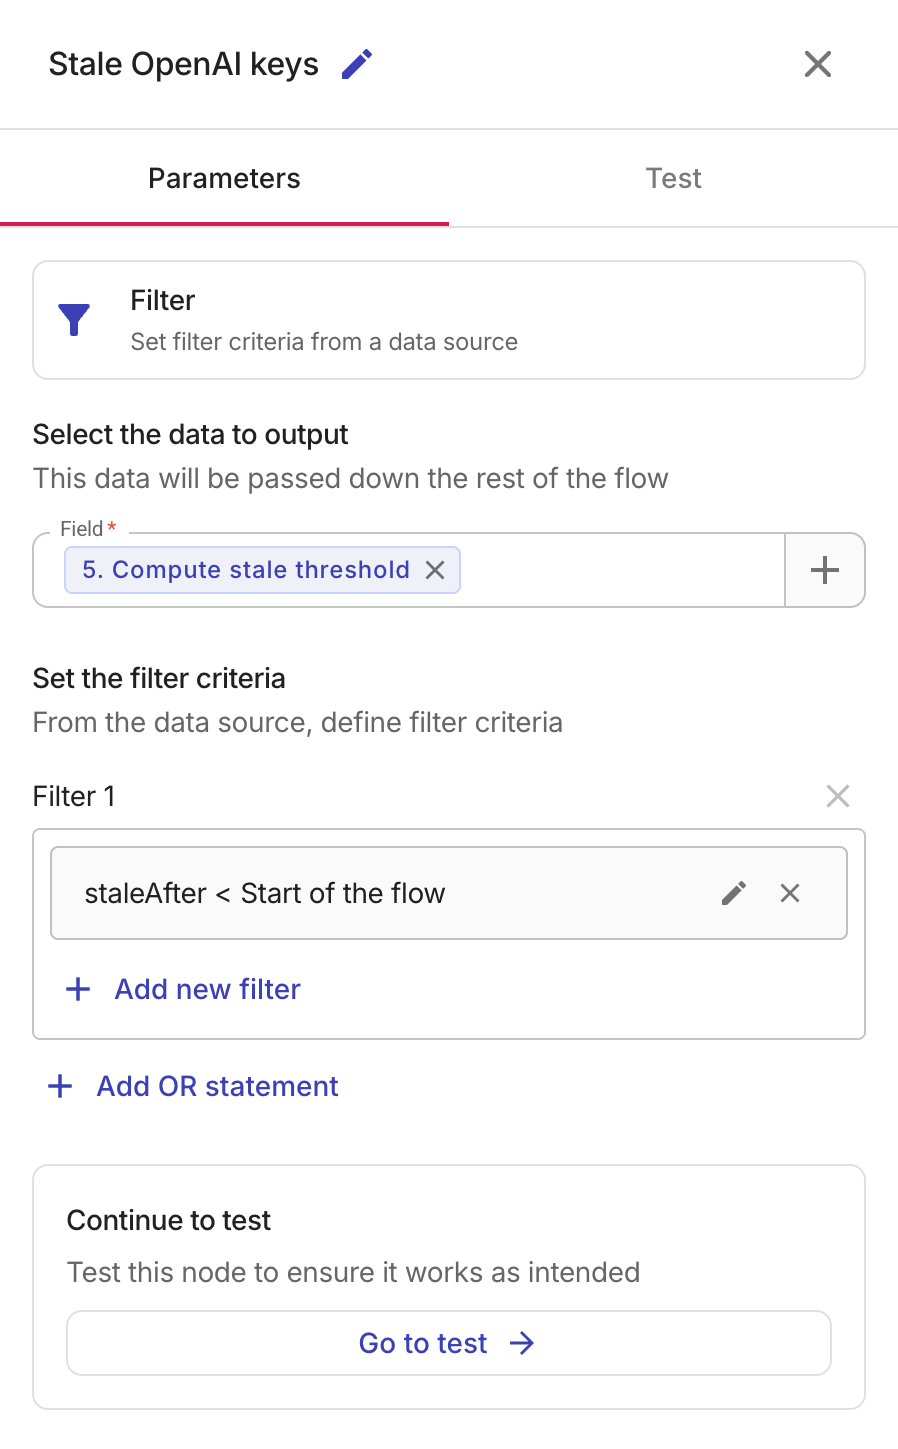
If a key's staleAfter timestamp is still in the past when the flow runs, the key hasn't been used for more than 90 days.
Step 7: Filter for never-used OpenAI keys
Add another Filter node named Never used OpenAI keys. This is the mirror image of Step 4: the Field is 2. List OpenAI admin keys.data again, and the condition is data.last_used_at is null.
Note that both this node and the Step 4 node read from the same OpenAI action output. A flow can branch one node's output into as many downstream paths as you need.
Step 8: Filter for never-used active Anthropic keys
-
Add a Filter node and name it
Never used active Anthropic keys. -
In Field, choose
3. List Anthropic API keys.data. -
In Filter 1, add two conditions combined with AND:
data.last_used_at is nullanddata.status == active.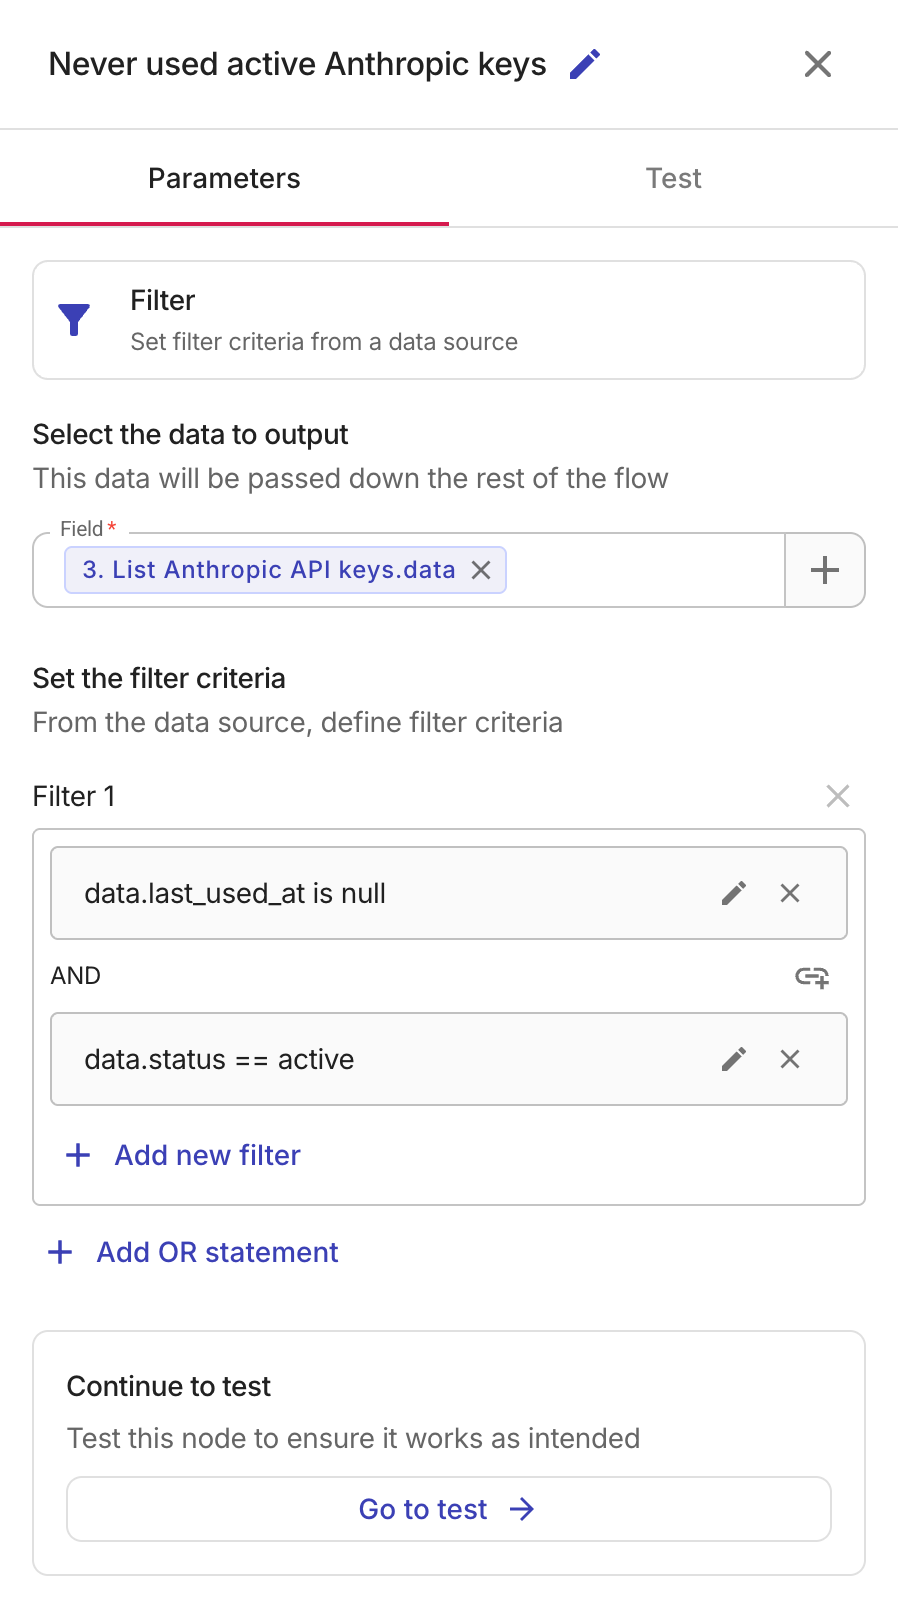
The status condition excludes keys that are already inactive or archived, so the report only lists keys that still grant access.
Step 9: Send the reports
The flow ends with three notification nodes, one per category. Keeping each category in its own notification keeps every email focused on a single filter result.
-
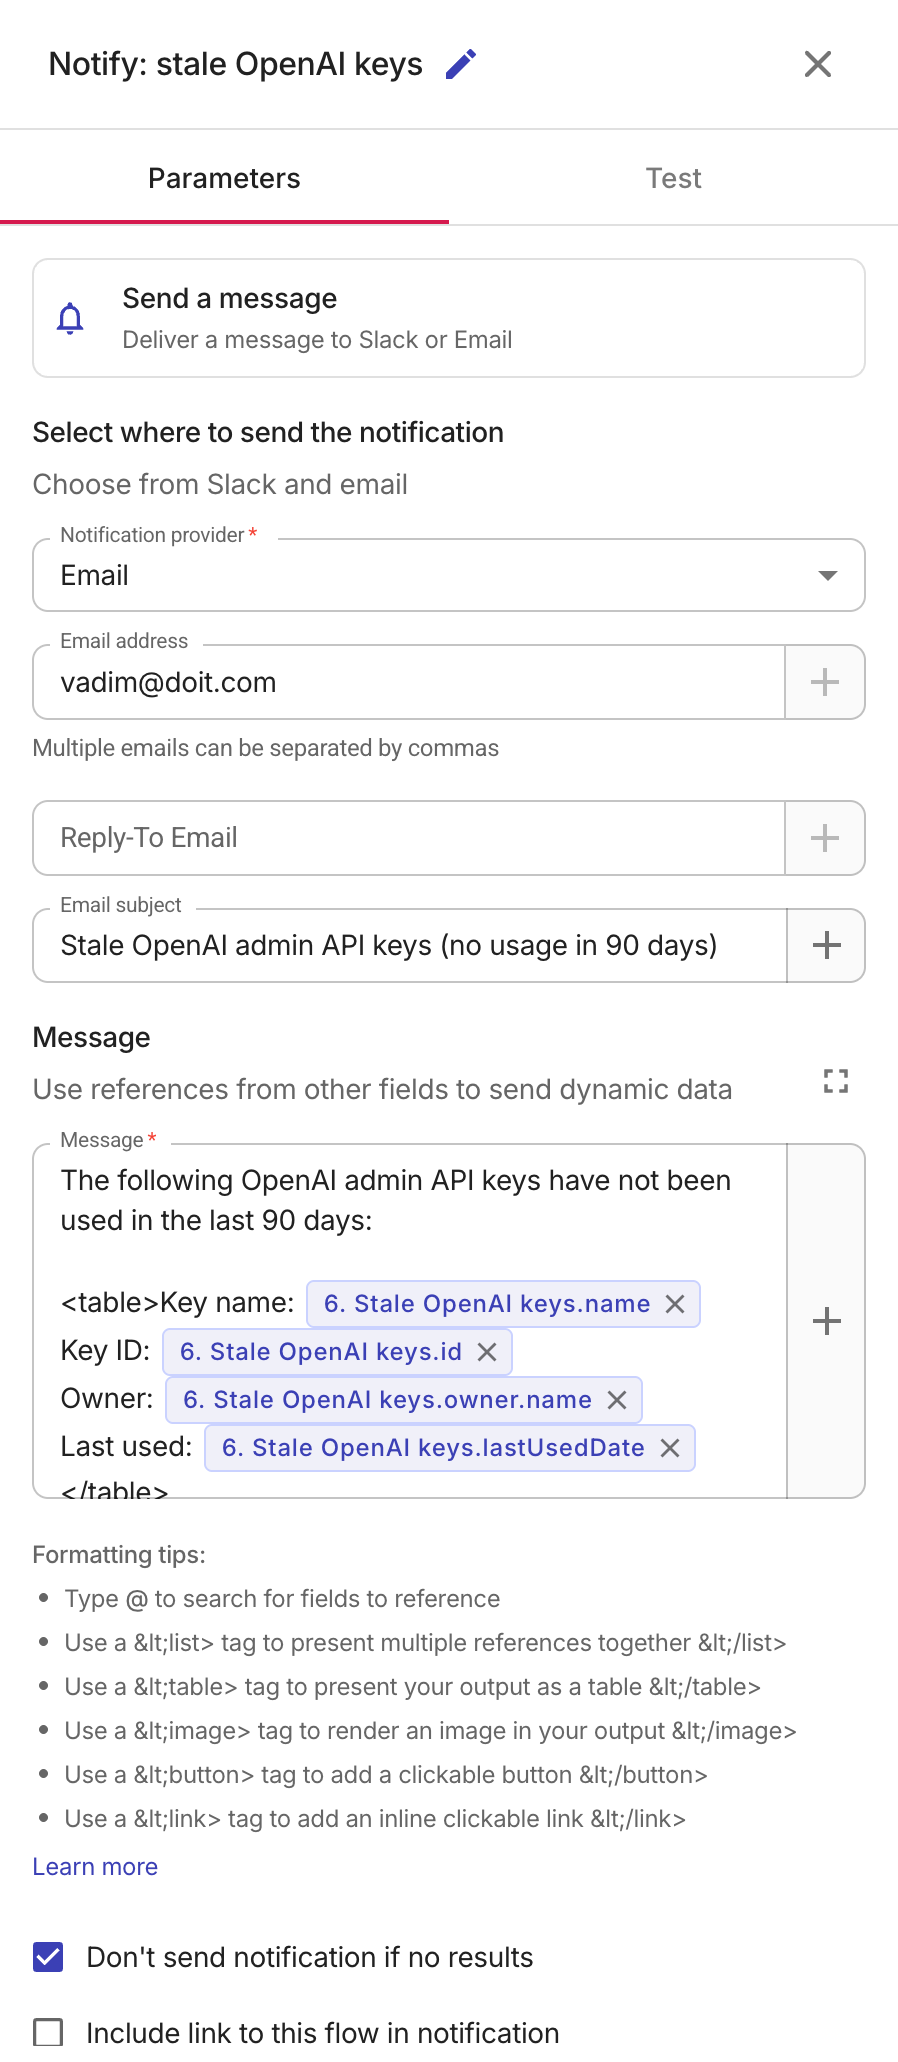
Add a Send a message node and name it
Notify: stale OpenAI keys. -
Set Notification provider to Email and enter the recipient address and the subject, for example
Stale OpenAI admin API keys (no usage in 90 days). -
In Message, type the introduction text, then build a
<table>block. Each line inside the table becomes a column: type the column header followed by a colon, then select the plus icon (+) to insert the referenced field:The following OpenAI admin API keys have not been used in the last 90 days:<table>Key name: {6. Stale OpenAI keys.name}Key ID: {6. Stale OpenAI keys.id}Owner: {6. Stale OpenAI keys.owner.name}Last used: {6. Stale OpenAI keys.lastUsedDate}</table> -
Select Don't send notification if no results so the email is skipped entirely when the filter matched no keys.
-
Repeat for the other two categories:
-
Notify: never used OpenAI keys: reference thename,id, andowner.namefields from the7. Never used OpenAI keysnode. -
Notify: never used Anthropic keys: reference thename,id, andcreated_atfields from the8. Never used active Anthropic keysnode.
-
The notification renders one table row per key that passed the referenced filter, and empty values display as a dash. See the Notification node page for all message formatting options.
Publish and run the flow
Select Publish, then select Run to start the audit. On the Run history page you can follow each step and expand it to inspect its output.
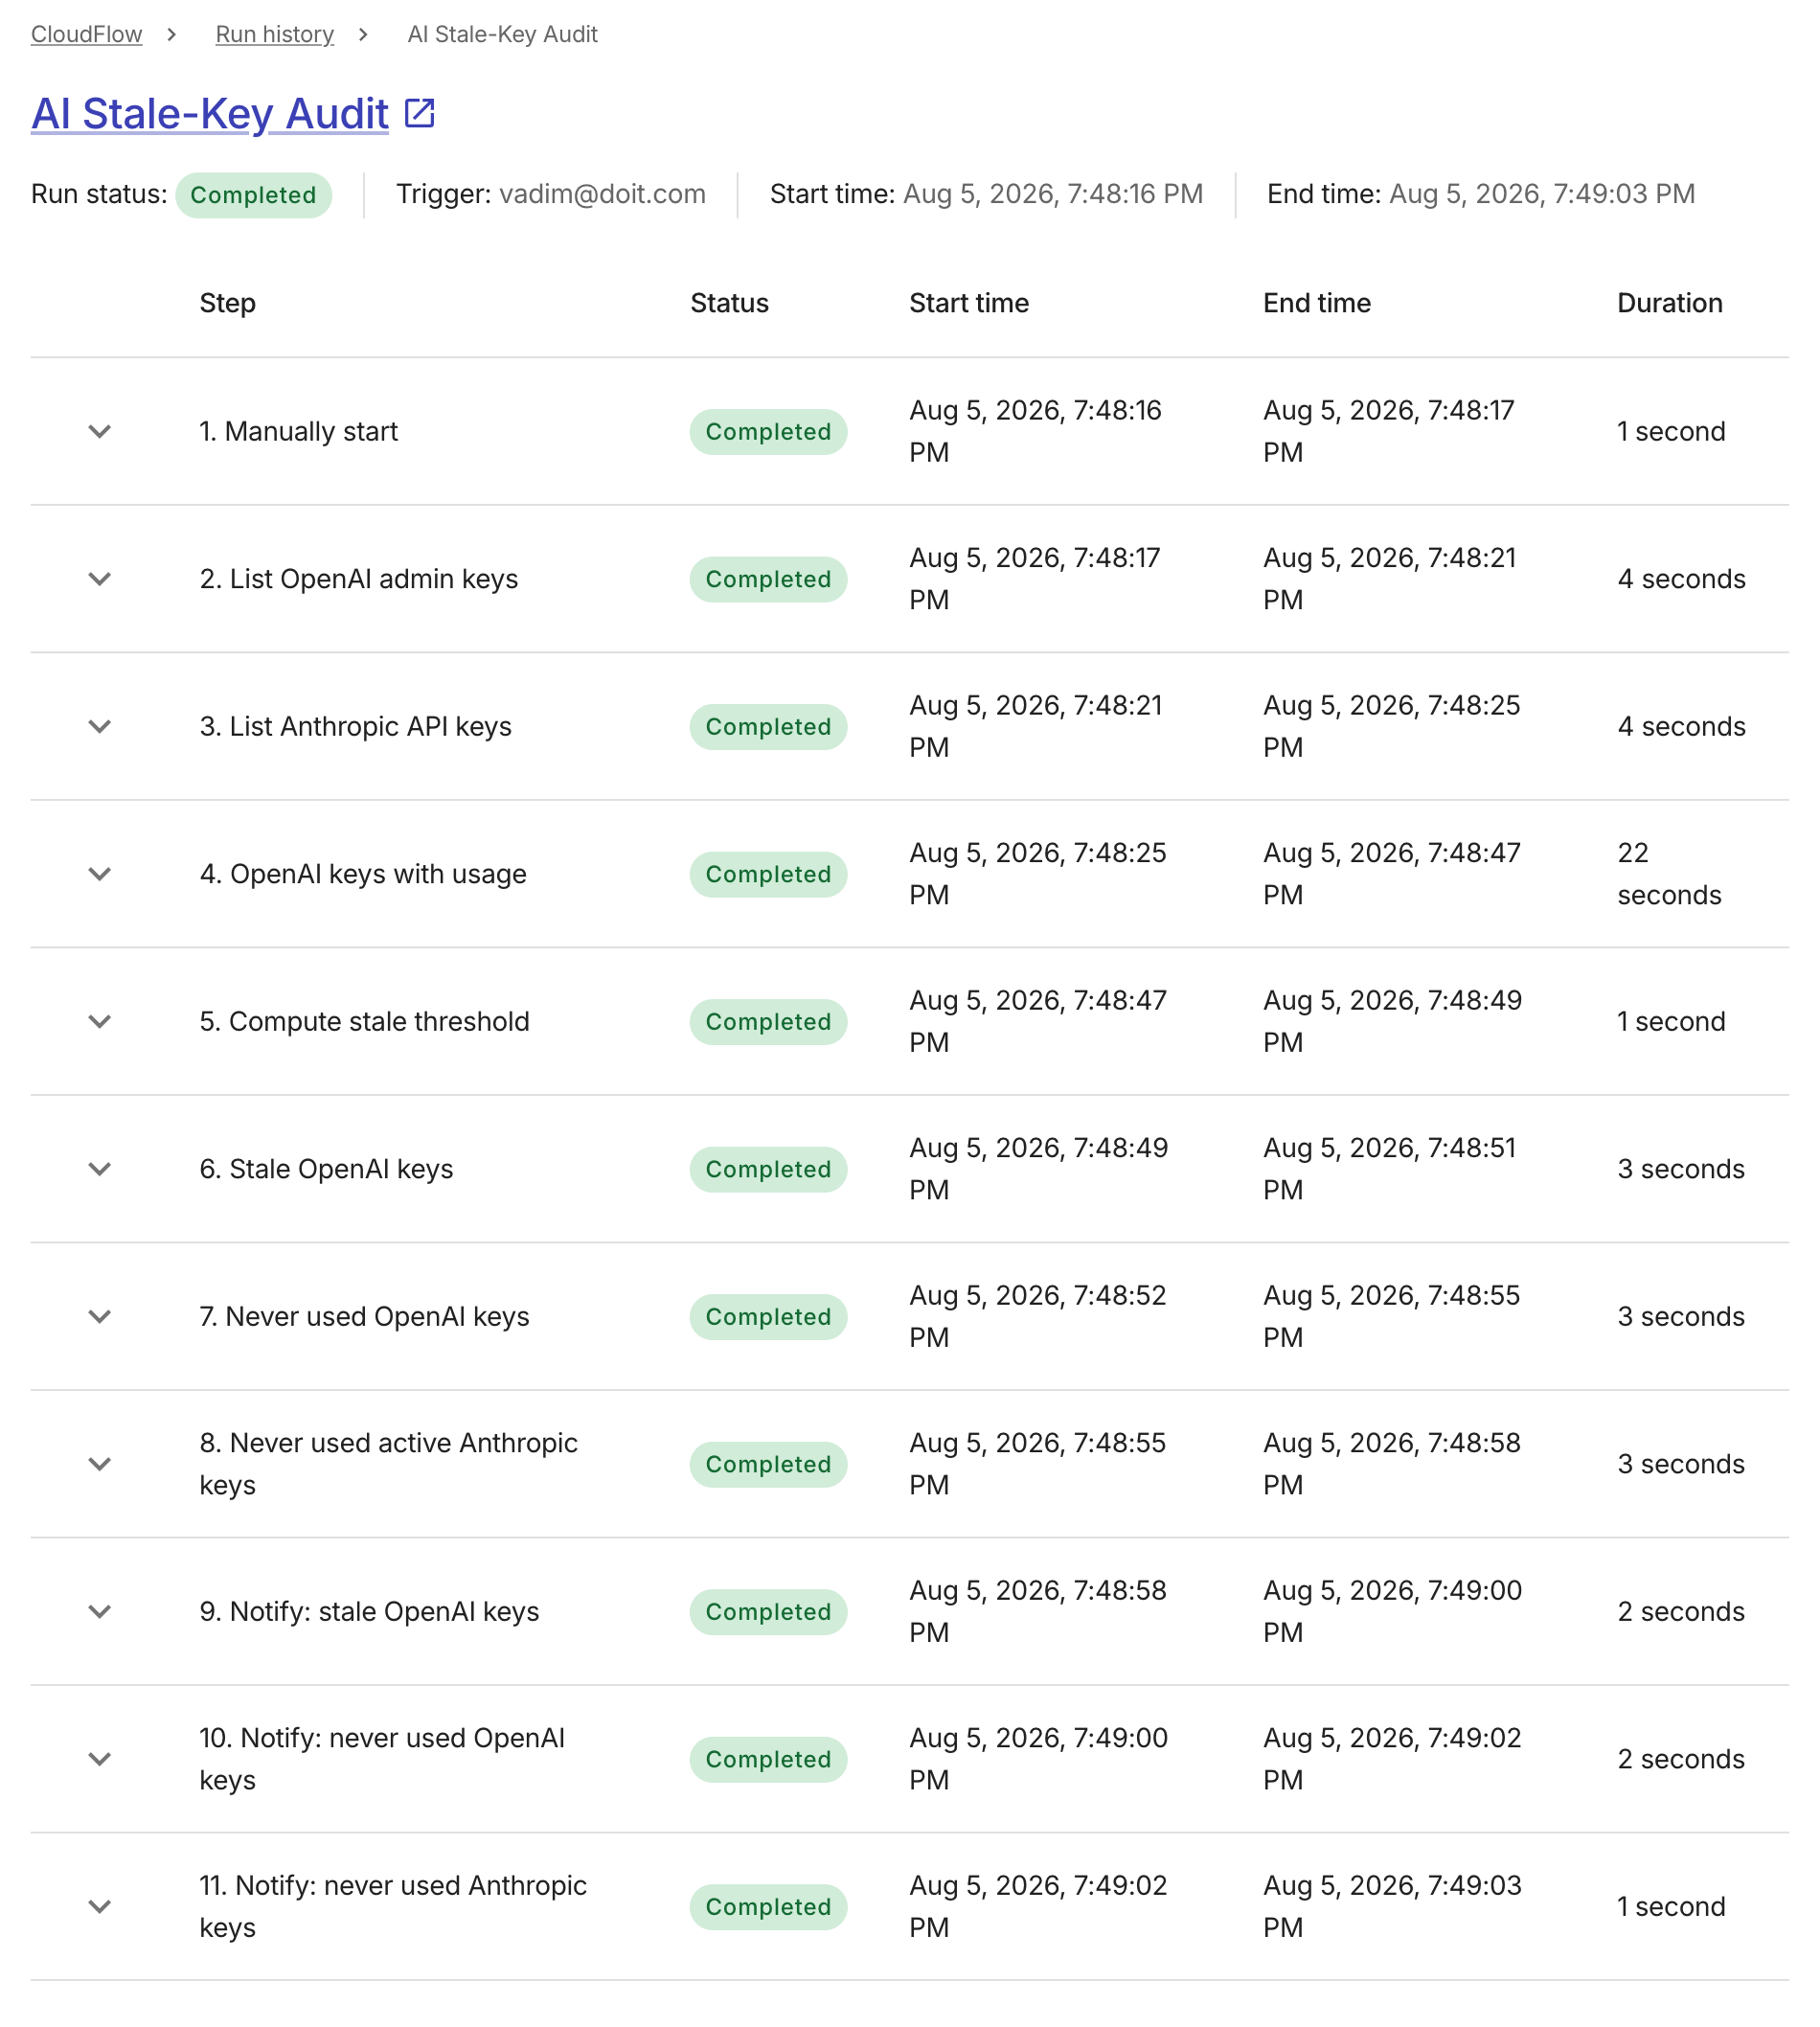
When the run completes, you receive up to three emails — one per category that found matching keys. Each email contains a table of the keys with their names, IDs, and owners, so you can decide which keys to rotate or delete.