Azure connection
When you create a connection to access Microsoft Azure cloud resources, you must define the scope of the connection. An Azure connection uses a Microsoft Entra ID application in your tenant that CloudFlow authenticates to with workload identity federation. No credentials or secrets are stored in the DoiT platform: the federated credential is pinned to this specific connection, so the application can only be used by flows that use this connection.
The DoiT console provides a step-by-step wizard to help you create an Azure connection. The wizard walks you through five steps: Details, Scope, Policies and permissions, Deploy to Microsoft Azure, and User access.
If the Azure tenant is already connected to Cloud Intelligence, you can create a connection from existing permissions instead of running this wizard. A connection imported this way reuses the linked Cloud Connect configuration's tenant-wide, read-only access. Run the wizard when you need a dedicated Entra ID application, a narrower scope (management group, subscription, or resource group), or write permissions.
Required permissions
To create an Azure connection, your DoiT account must have the CloudFlow Manager permission. See CloudFlow permissions.
Prerequisites
To deploy the connection in the Deploy to Microsoft Azure step, you need an Azure account that has:
-
Permission to create app registrations in the Microsoft Entra tenant.
-
The
Microsoft.Authorization/roleAssignments/writepermission at the scope you select in the Scope step, for example as an Owner or User Access Administrator of that management group, subscription, or resource group.
Step 1: Details
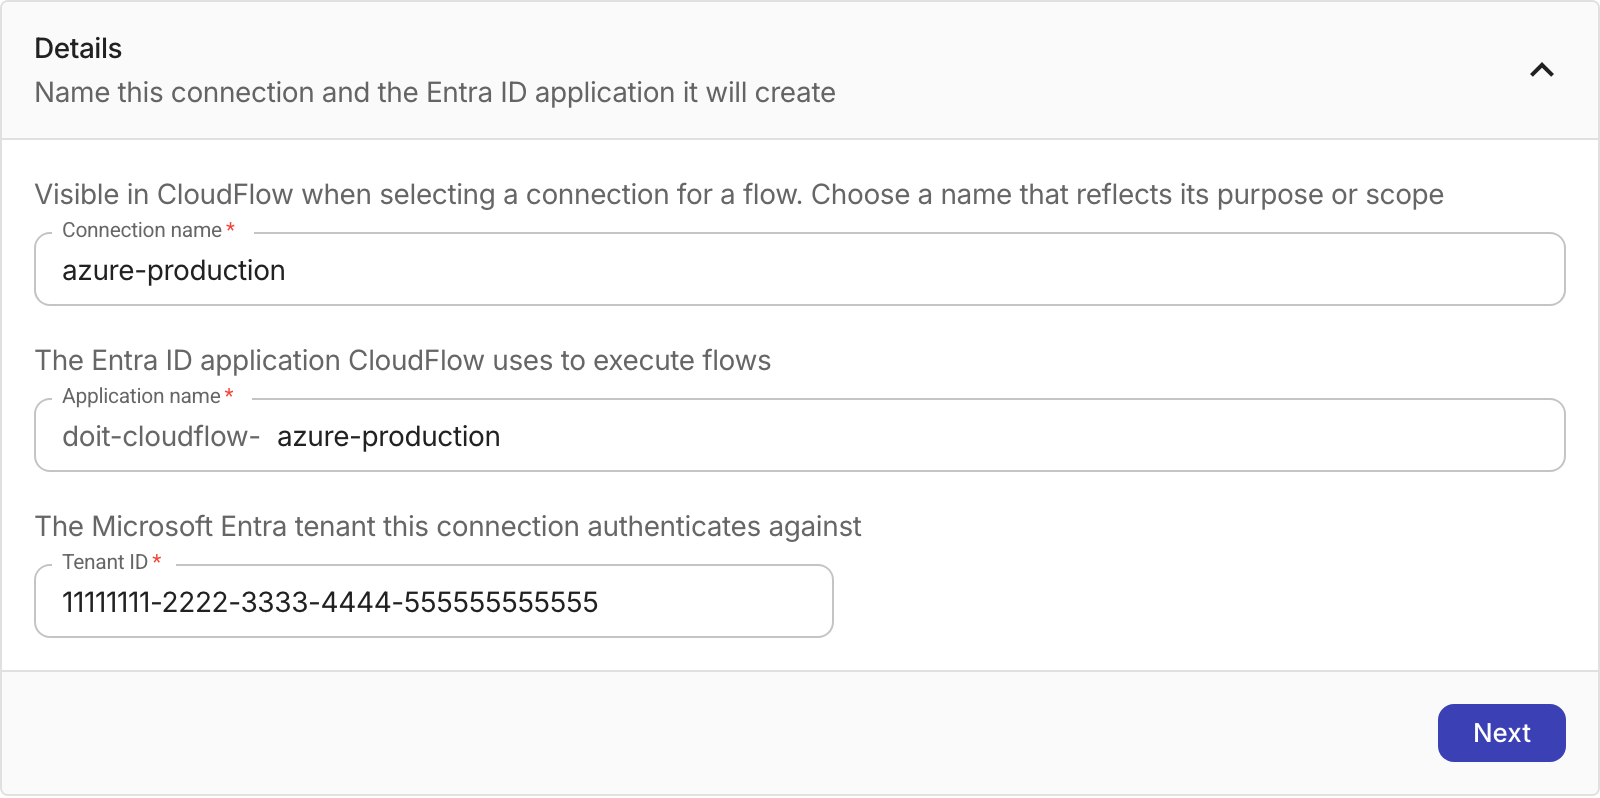
When you launch the wizard, first name the connection and the Entra ID application it creates.
-
Sign in to the DoiT console, select Automation and operations from the top navigation mega menu, and then select CloudFlow.
-
From the side bar, select Connections.
-
From the Connections pane, select the Azure tab.
-
Select Create connection. The Create your Microsoft Azure connection wizard is displayed.
-
If not already expanded, select the arrow to expand Details.
-
In Connection name, enter a unique name that reflects the purpose or scope of this connection. This connection exists in the DoiT platform and defines your users' permissions to interact with the flow itself.
-
In Application name, enter a name for the Entra ID application that CloudFlow uses to execute flows. The name is automatically prefixed with
doit-cloudflow-. By default, the application name matches your connection name. You can change it if you need a different name. This application does not have any permissions on the DoiT platform. -
In Tenant ID, select the Microsoft Entra tenant this connection authenticates against, or enter its GUID manually.
-
Select Next.
Step 2: Scope
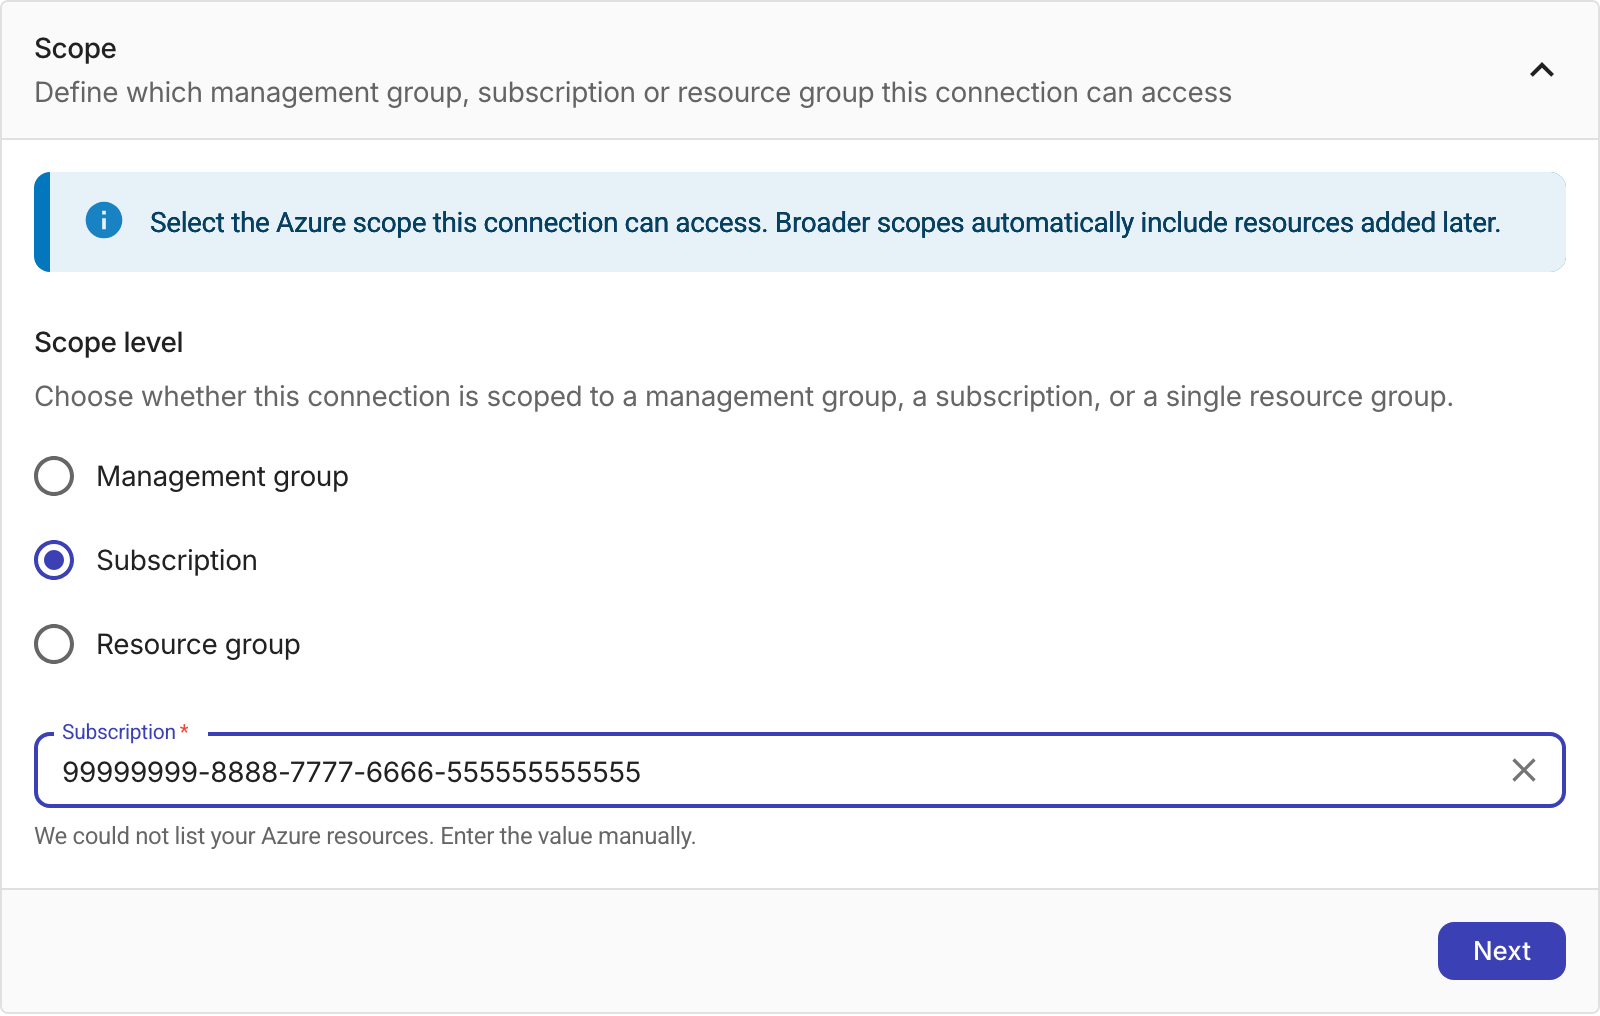
In Scope, define the Azure resources that this connection can access. Broader scopes automatically include resources added later.
-
If not already expanded, select the arrow to expand Scope.
-
Choose the scope level:
-
Management group: The connection can access all subscriptions under the management group, including subscriptions added to it later.
-
Subscription: The connection can access a single subscription, including resource groups added to it later.
-
Resource group: The connection can access a single resource group within a subscription.
-
-
Select the management group, subscription, or resource group, or enter its ID manually. For the Resource group level, select the subscription first, then the resource group.
-
Select Next.
Step 3: Policies and permissions
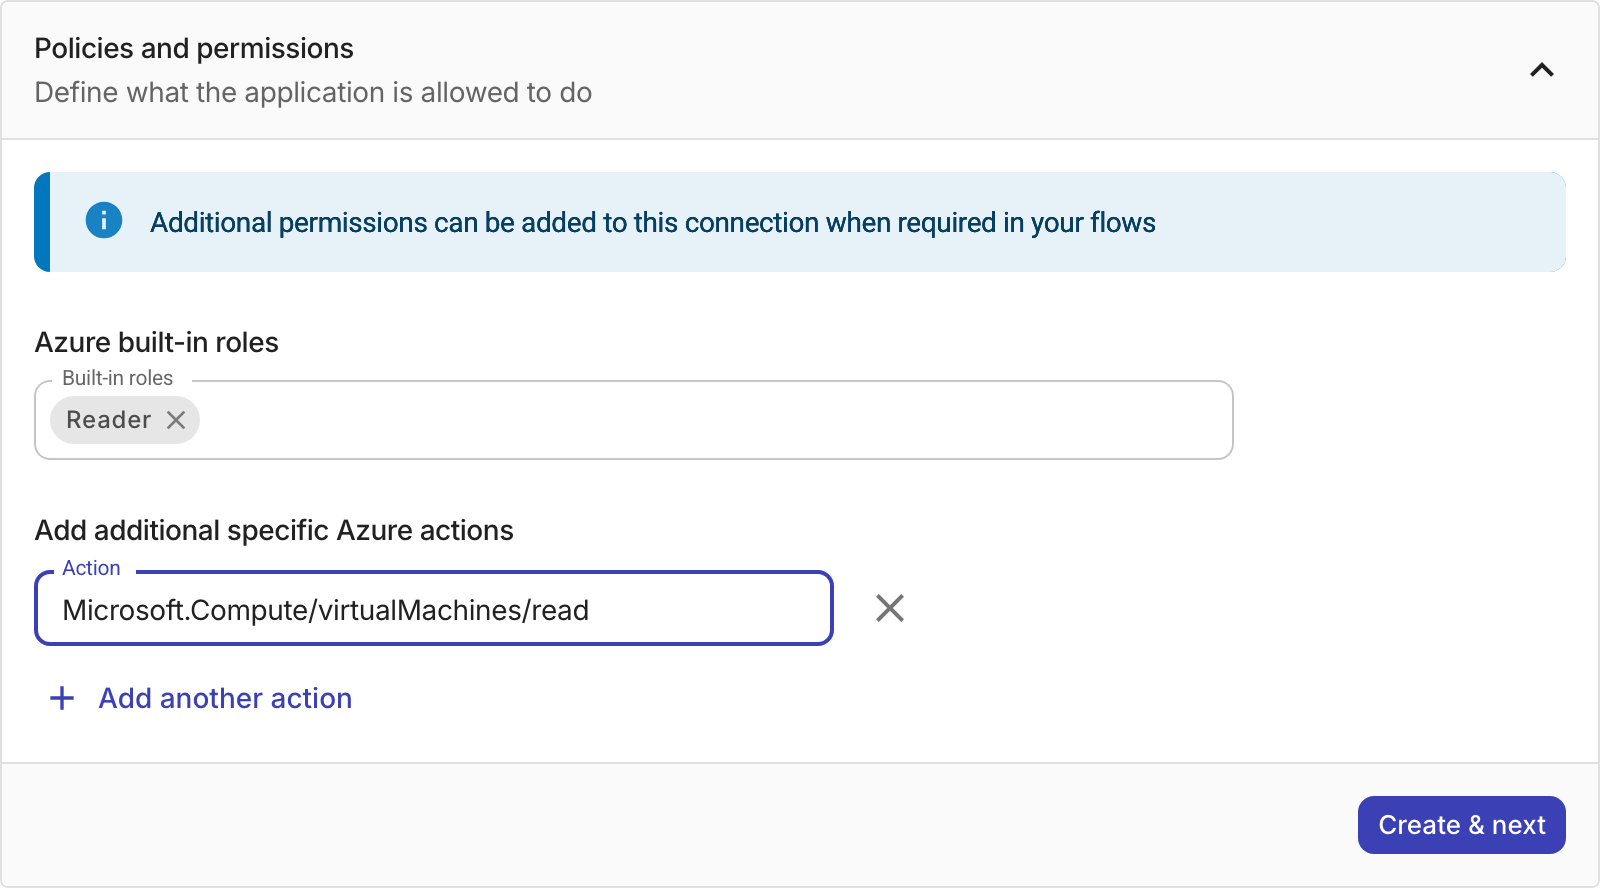
Define the permissions for the Entra ID application that the flow uses when it executes. You must select at least one built-in role or add at least one custom action.
-
If not already expanded, select the arrow to expand Policies and permissions.
-
In Built-in roles, select the Azure built-in roles that you want to assign to this connection, for example, Reader. You can also enter the name of any other built-in role.
-
(Optional) In Action, enter an additional specific Azure action, for example,
Microsoft.Compute/virtualMachines/read. The wizard bundles custom actions into a custom role that is created and assigned during deployment. -
(Optional) If the flow requires more Azure actions, select Add another action and repeat for each action you want to add.
-
Select Create & next. The connection is created in the DoiT platform with the status Pending setup. It keeps the Pending setup or Pending permissions status until verification succeeds in the next step.
Step 4: Deploy to Microsoft Azure
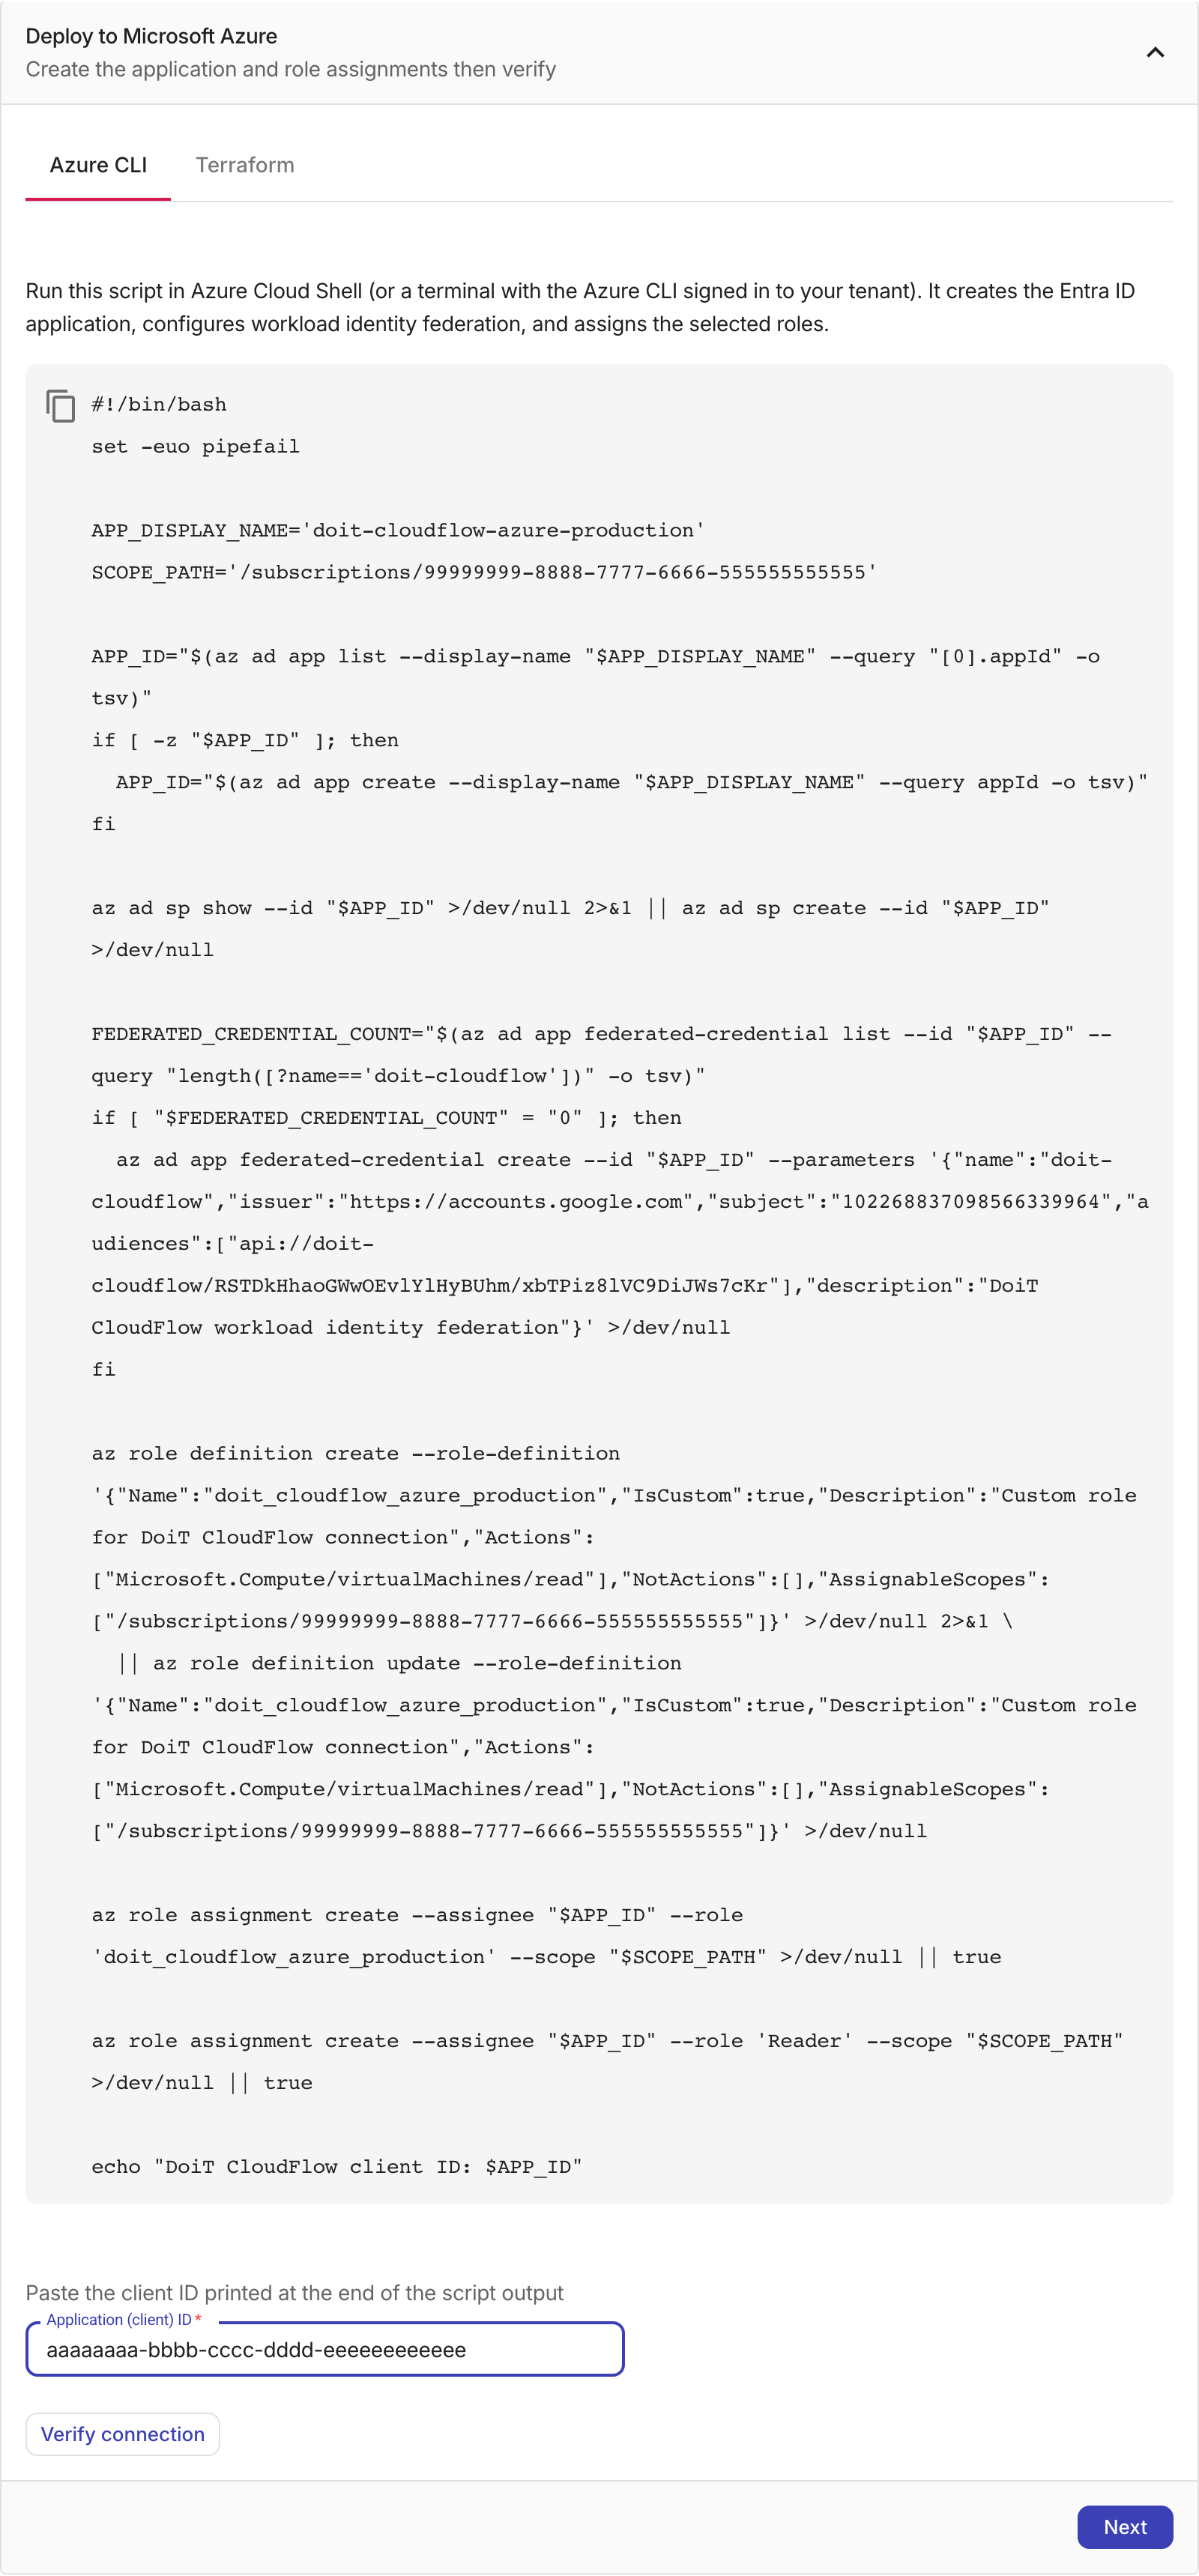
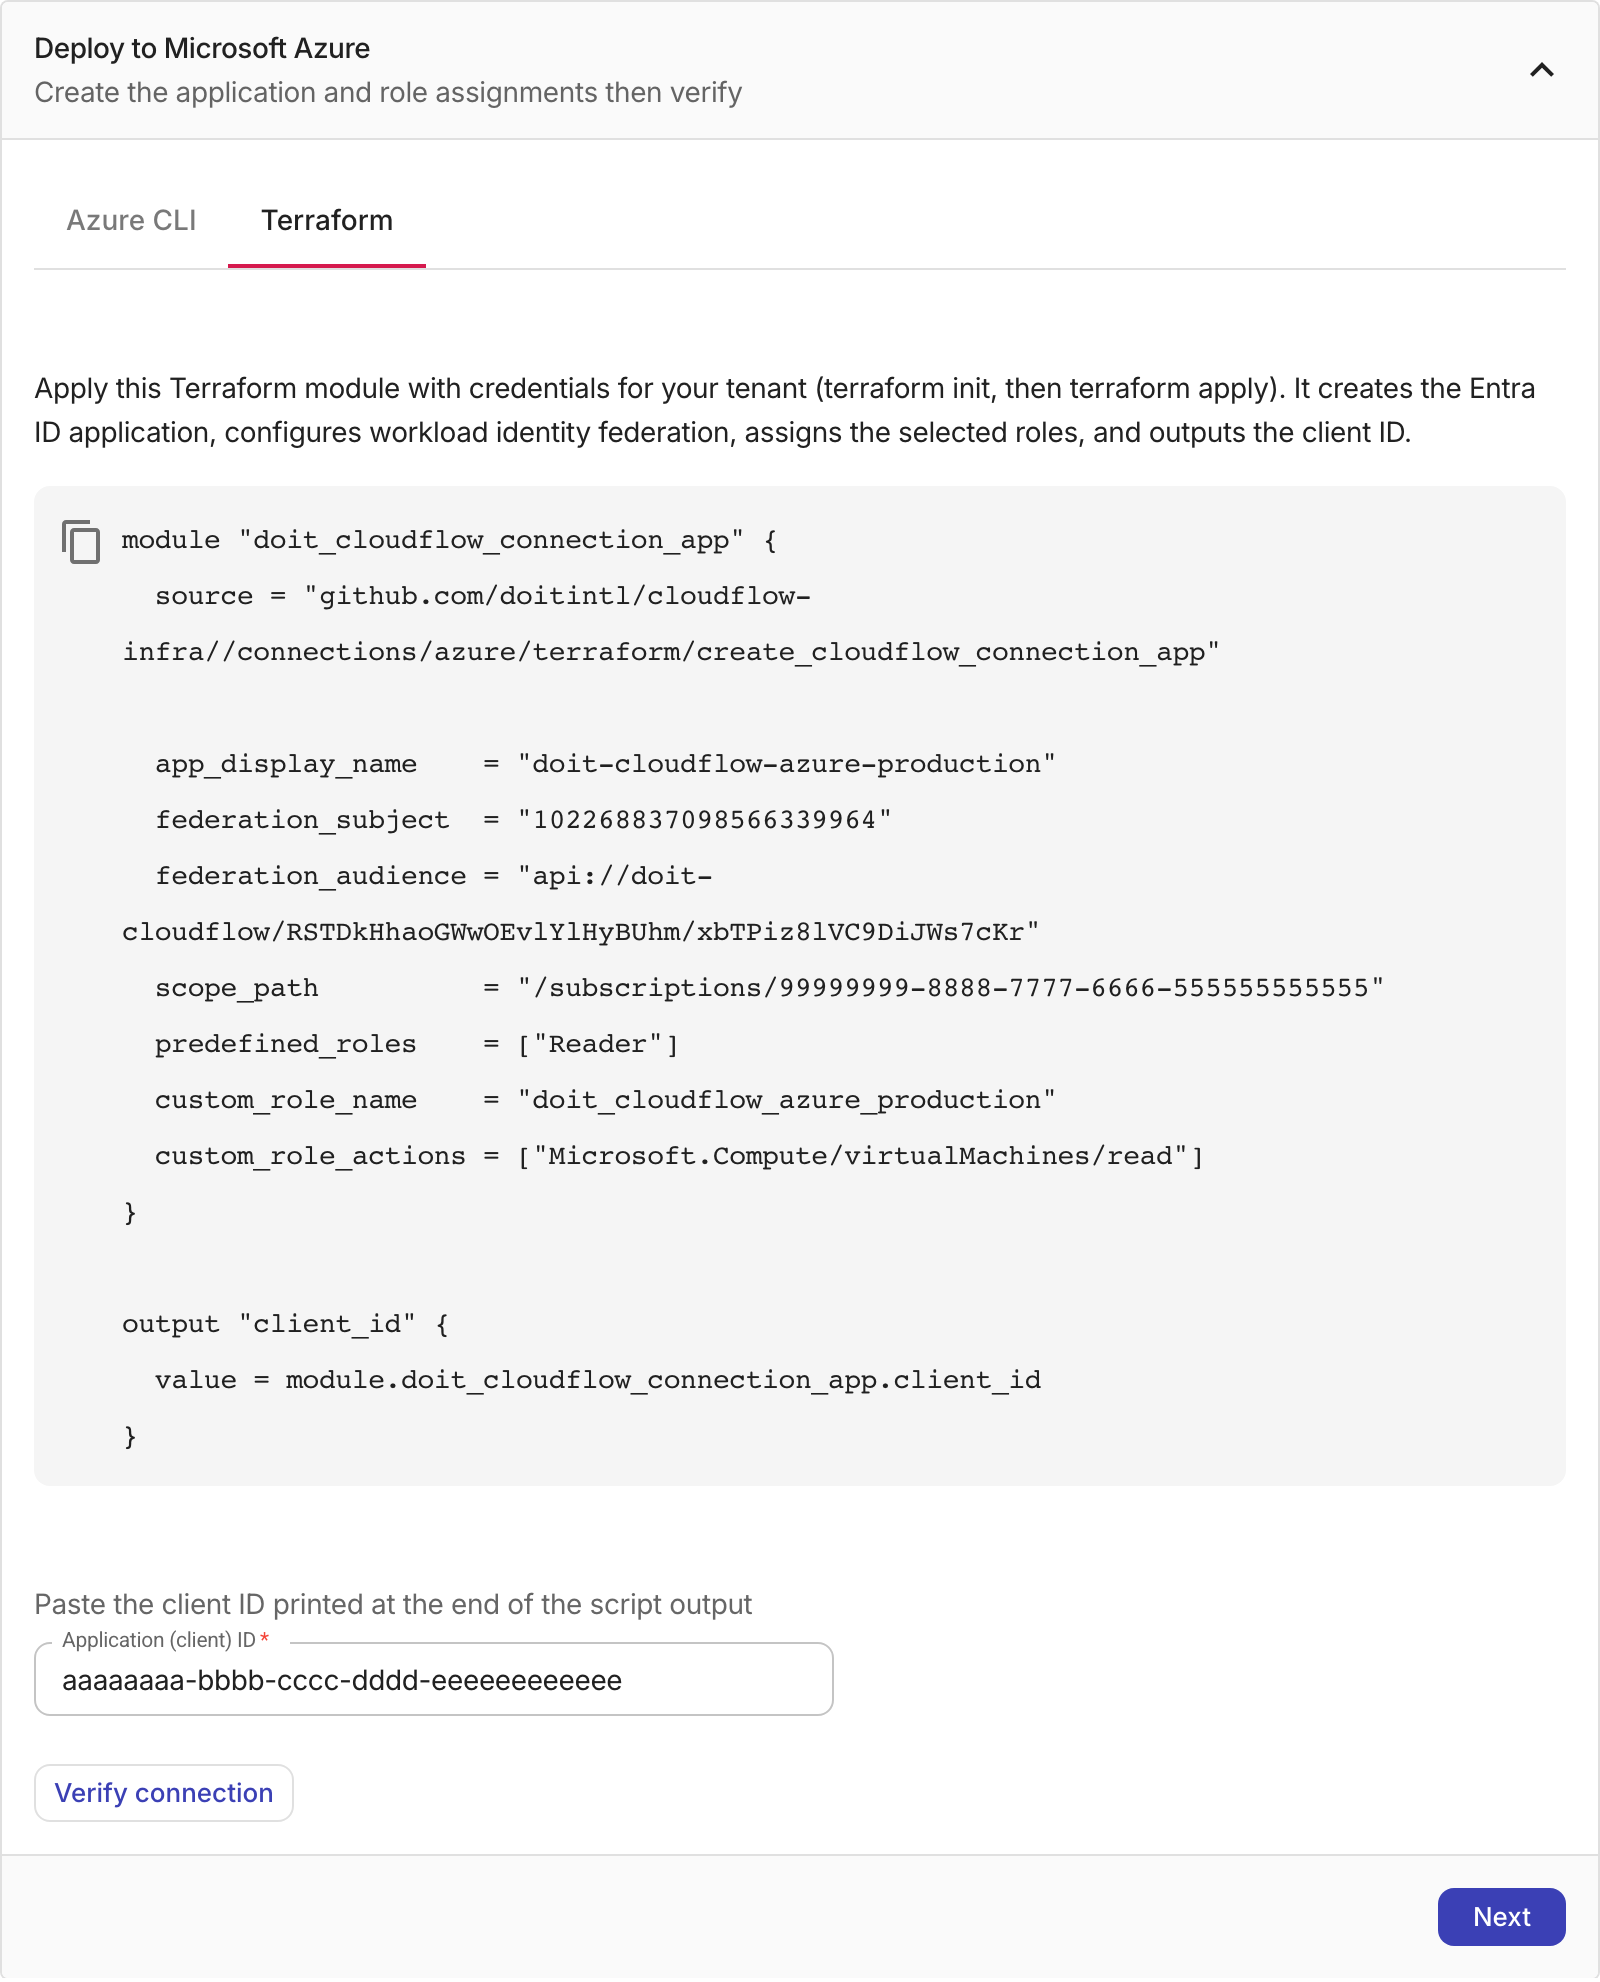
You must create the Entra ID application, configure workload identity federation, and assign the selected roles in your Azure tenant. You do this by running an Azure CLI script or by applying a Terraform module. Both are generated for you and produce the same result.
-
If not already expanded, select the arrow to expand Deploy to Microsoft Azure.
- Azure CLI
- Terraform
-
Select the Azure CLI tab.
-
Copy the provided script.
-
Open Azure Cloud Shell (or a terminal with the Azure CLI signed in to your tenant) using an account that satisfies the prerequisites.
-
Paste the script and run it. It creates the Entra ID application and service principal, configures workload identity federation, creates the custom role if you added custom actions, and assigns the selected roles at the scope you chose.
-
Copy the application client ID printed at the end of the script output, on the line starting with
DoiT CloudFlow client ID:.
-
Select the Terraform tab.
-
If you have not already done so, install Terraform in your shell environment.
-
Copy the provided code block into a
.tffile in a new directory, then runterraform initandterraform applyinside the directory, with credentials for your tenant that satisfy the prerequisites. The module creates the Entra ID application, configures workload identity federation, assigns the selected roles, and outputs the client ID. -
Copy the
client_idvalue from the Terraform output.
For more information, see the GitHub repository that stores connection scripts for Terraform with supporting documentation and examples.
-
In Application (client) ID, paste the client ID you copied from the deployment output.
-
Select Verify connection. The verification checks that the federated credential and role assignments are in place:
-
Connection verified: The connection becomes active and is ready to use.
-
Workload identity federation is not configured yet: The script or Terraform module has not been run, or it did not complete. Run the deployment, then verify again.
-
Role assignments were not found: The application exists but its role assignments are missing or still propagating in Azure. Re-run the role assignment part of the deployment if needed, wait a minute, then verify again.
-
-
Once verification succeeds, select Next.
Step 5: User access
Specify which DoiT accounts have access to this connection and are authorized to use it in a flow.
-
If not already expanded, select the arrow to expand User access.
-
In Email, select the email address of a DoiT account who can use this connection.
-
In Connection access level, select the access level the DoiT account has.
-
To add another account, select Add another account.
-
Repeat these steps for each DoiT account who can use this connection.
-
Select Finish connection. Once the connection is created, you can use it in your flows, for example, in an Azure node.
How CloudFlow accesses your tenant
Azure connections don't store credentials or secrets in the DoiT platform. Access uses workload identity federation: the deployment adds a federated credential to the Entra ID application whose subject and audience are pinned to this specific connection, so CloudFlow can only exchange its own identity for a token of this application, and only for flows that use this connection. To revoke access, delete the connection's role assignments or the application in your Azure tenant.