GCP connection
When you create a connection to access GCP cloud resources, you must define the scope of the connection. A GCP connection must use a Google Cloud Service account.
The console provides a step-by-step wizard to help you create a GCP connection. The wizard walks you through five steps: Details, Scope, Policies and permissions, Deploy, and User access.
Required permissions
To create a GCP connection, your DoiT account must have the CloudFlow Manager or CloudFlow Editor permission.
Prerequisites
To create connections for your Google Cloud environment, the corresponding Google Cloud organization or project must be linked to an active billing account.
If the Google Cloud resource is already connected to Cloud Intelligence, you can create a connection from existing permissions instead of running this wizard. Select Create connection when you need a dedicated CloudFlow service account, custom scope, or separate roles.
Step 1: Details
When you launch the wizard, you first name the connection and the service account it creates.
-
Sign in to the DoiT console, select Automation and operations from the top navigation mega menu, and then select CloudFlow.
-
From the side bar, select Connections.
-
From the Connections pane, select the Google Cloud tab.
-
Select Create connection.
-
If not already expanded, select the arrow to expand Details.
-
In Connection name, enter a unique name that reflects the purpose or scope of this connection. This connection exists in the platform and defines your users' permissions to interact with the flow itself.
-
In Service account name, enter a name for the Google Cloud service account to use with this connection. The name is automatically prefixed with
doit-cloudflow-. By default, the service account name matches your connection name. You can change it if you need a different name. This is the service account that CloudFlow uses to execute flows. -
In Custom IAM role ID, enter an identifier for the Google Cloud custom role that defines permissions for this connection. The role ID is automatically prefixed with
doit.cloudflow.. By default, the IAM role ID matches your connection name. You can change it if you need a different role ID. This custom role does not have any permissions on the platform. -
Select Next.
Step 2: Scope
In the Scope step, define the Google Cloud resources that this connection can access.
-
If not already expanded, select the arrow to expand Scope.
-
In Project ID, choose the Google Cloud projects and organizations that your flows run on when using this connection.
-
Choose the binding level. The binding level tells CloudFlow whether to apply IAM at the organization or project.
-
Select Next to proceed to the next step.
Step 3: Policies and permissions
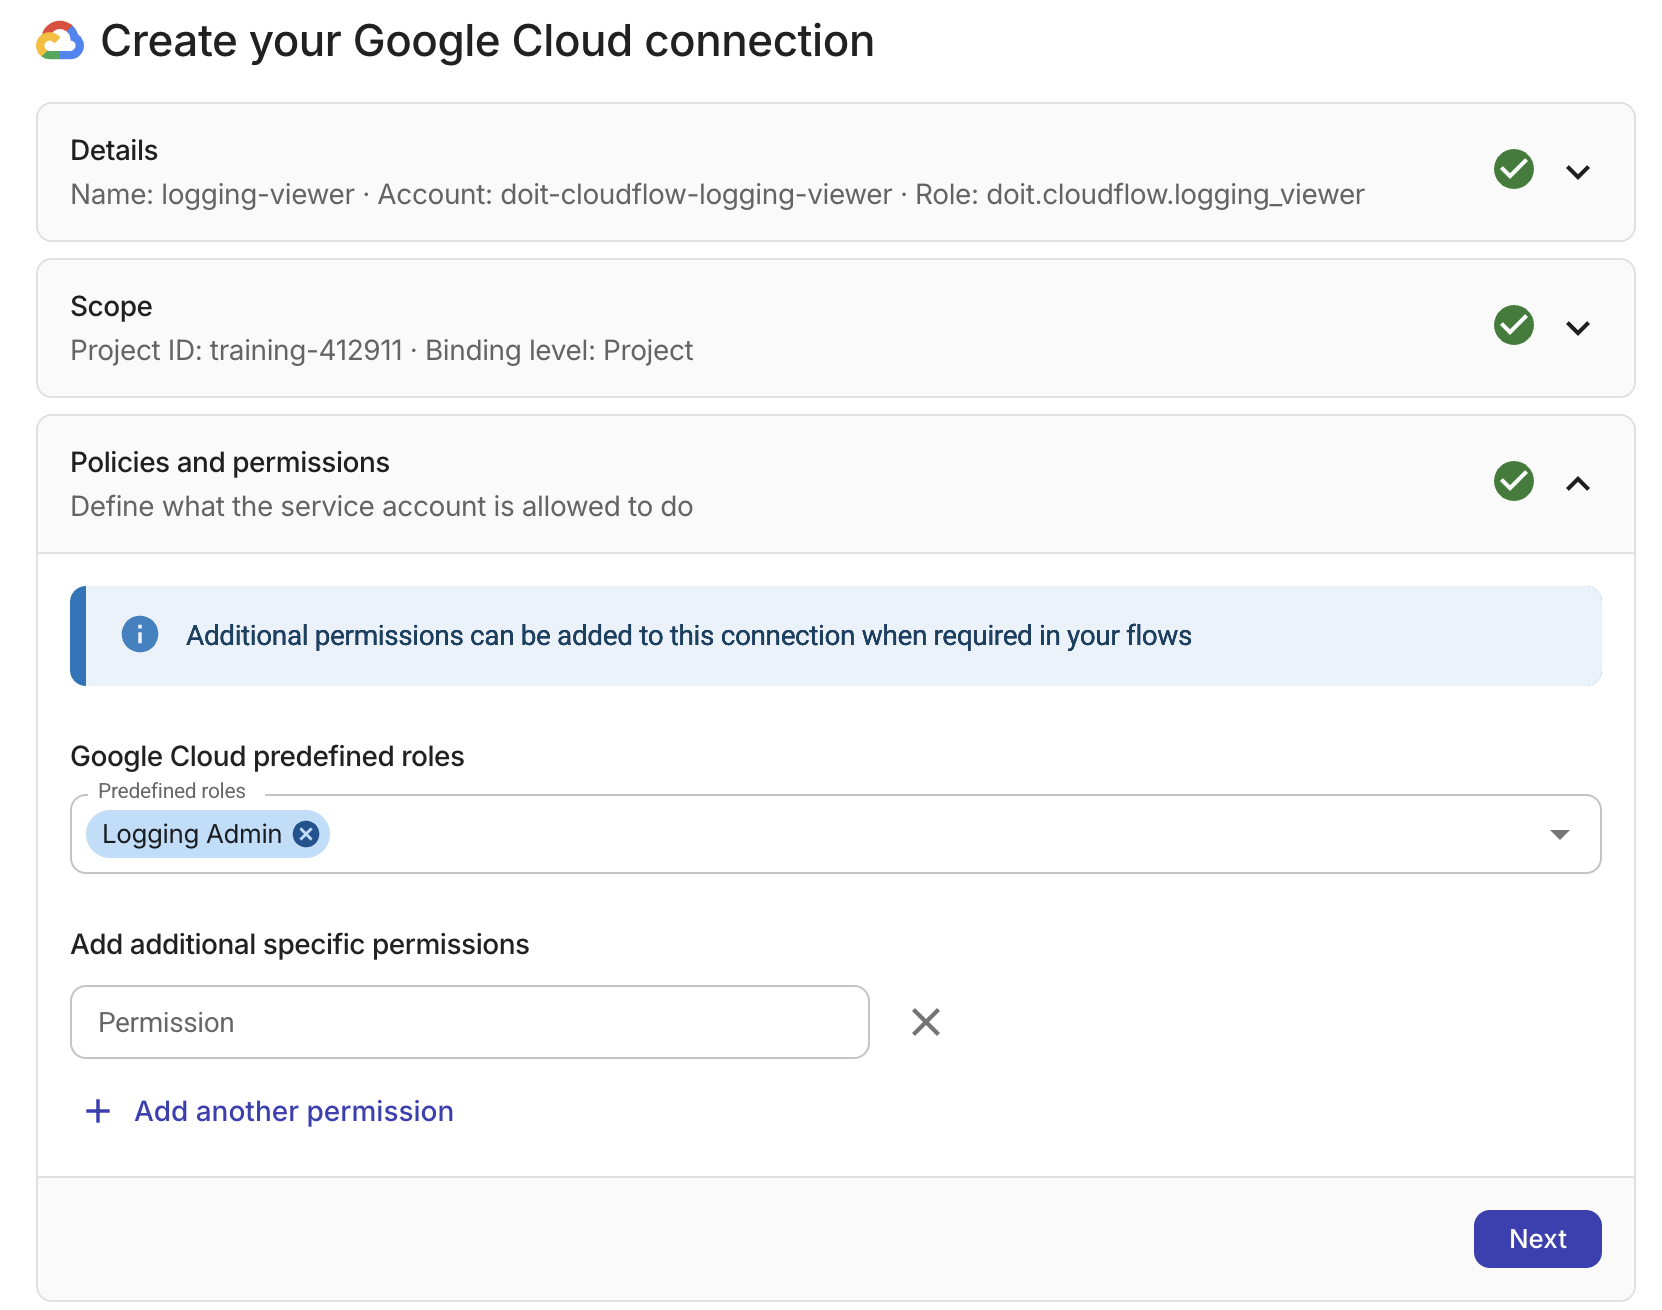
Define the permissions for the custom role that the flow assumes when it executes.
-
In GCP predefined roles, select the Google Cloud predefined roles that you want to add to this connection.
-
In Permission, enter the additional permission, for example,
storage.objects.get. -
(Optional) If a flow requires additional GCP permissions, select Add another permission. Repeat for each additional GCP permission you want to add.
-
Select Next.
Step 4: Deploy to Google Cloud
You must create the Google Cloud service account and custom role with the specified permissions. You do this using Google Infrastructure Manager or Terraform. This is done by deploying Terraform configurations, either directly or via Google Infrastructure Manager. These must be applied individually to each Google Cloud project included in your connection scope.
-
If not already expanded, select the arrow to expand Deploy to Google Cloud.
- Infrastructure Manager
- Terraform
- Select the Infrastructure Manager tab.
- Copy the provided code block.
- Select Open Google Cloud Shell for the project you want to deploy to.
- Paste the code and run the command.
- Repeat for each project in your connection scope.
- Select the Terraform tab.
- If you have not already done so, install Terraform in your shell environment.
- Install Google Cloud CLI and authenticate your Google Cloud account.
- Select Download main.tf to create a
main.tffile. The file is saved in your Downloads folder. - Create a new directory and copy the
main.tffile to the new directory. If it is a new directory, runterraform initinside the directory to initialize the Terraform project before running other commands. - Copy the provided code block and paste it into the
main.tffile. - Run
terraform applyin the project you want to deploy to. - Repeat for each project in your connection scope.
For more information, see the GitHub repository that stores connection scripts for Terraform with supporting documentation and examples.
-
The wizard validates the deployment. Once validation succeeds, select Next.
Step 5: User access
Specify which DoiT accounts have access to this connection and are authorized to use it in a flow.
-
If not already expanded, select the arrow to expand User access.
-
In Email, select the email address of a DoiT account who can use this connection.
-
In Connection access level, select the access level the DoiT account has.
-
To add another account, select Add another account.
-
Repeat these steps for each DoiT account who can use this connection.
-
Select Finish connection. It may take a few minutes to create your connection. Once the connection is created, you can use it in your flows.