ワークスペース
ワークスペースを使用すると、関連するフローやフォルダーをまとめてグループ化し、チームやプロジェクトをまたいだオートメーションの整理と管理を容易にできます。関心事を分離することで、自分にとって重要なフローだけを表示できます。たとえば、本番環境のコストやコンプライアンス関連フローを 1 つのワークスペースにまとめ、サンドボックスや非本番の検証用フローを別のワークスペースにまとめることで、クラウド環境のセグメントと同様の構成にできます。
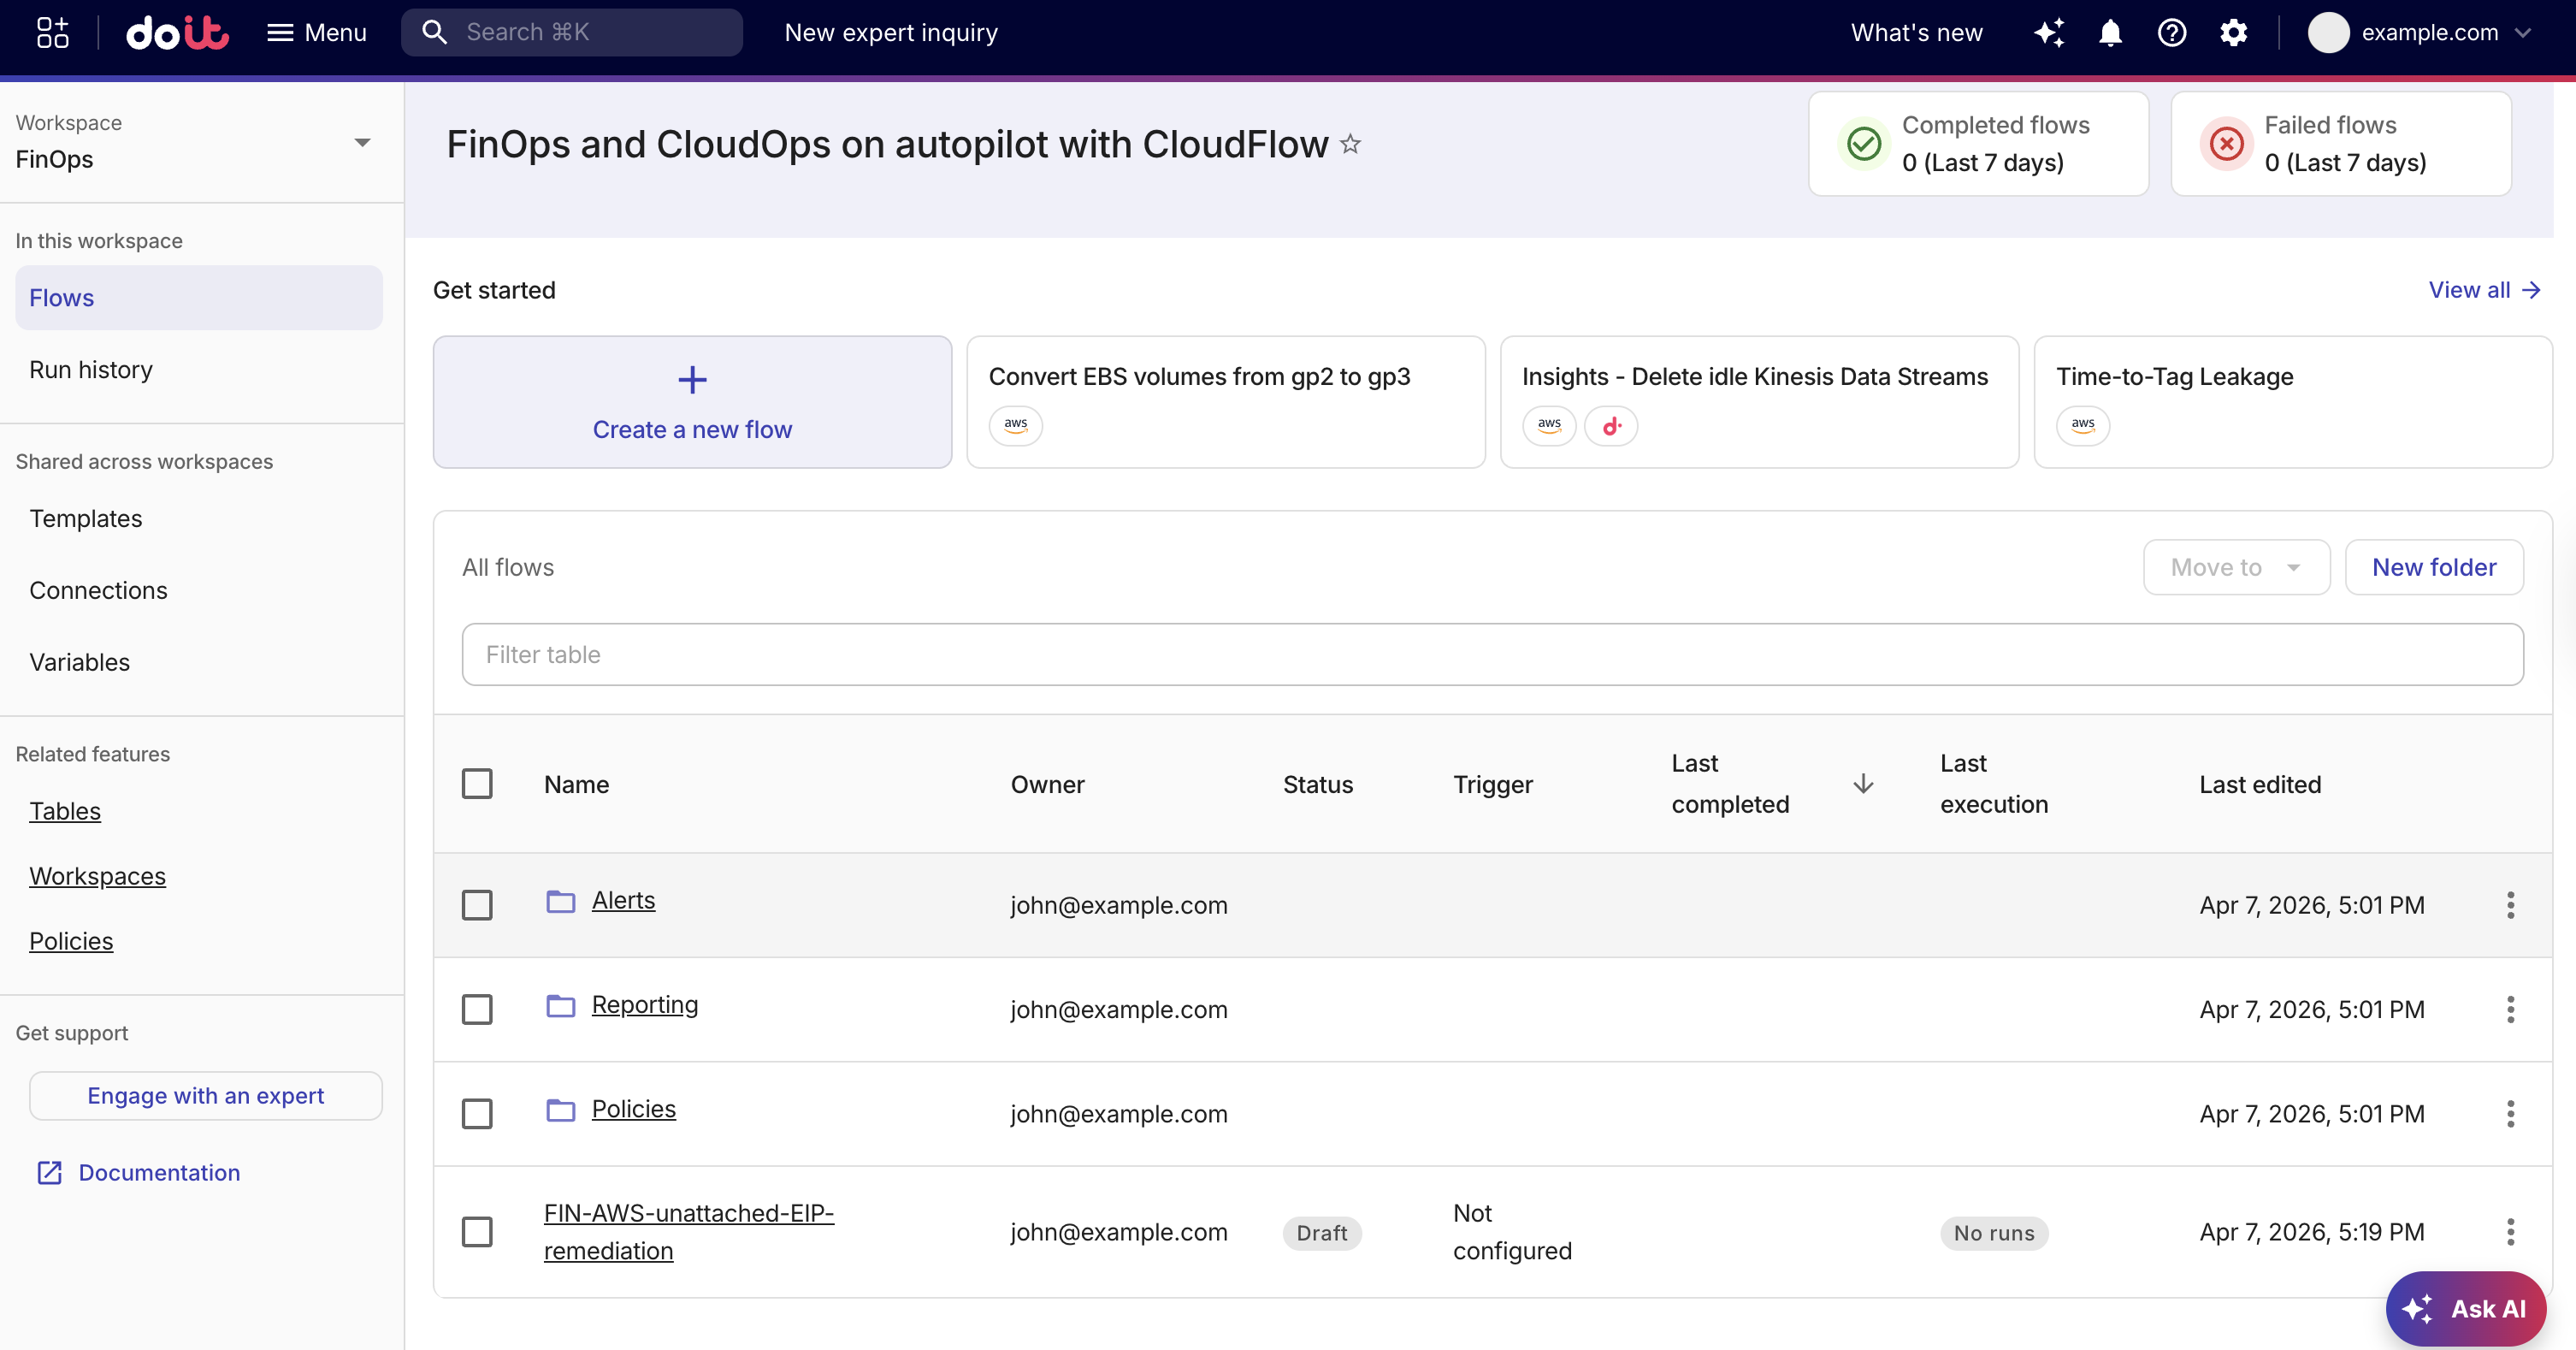
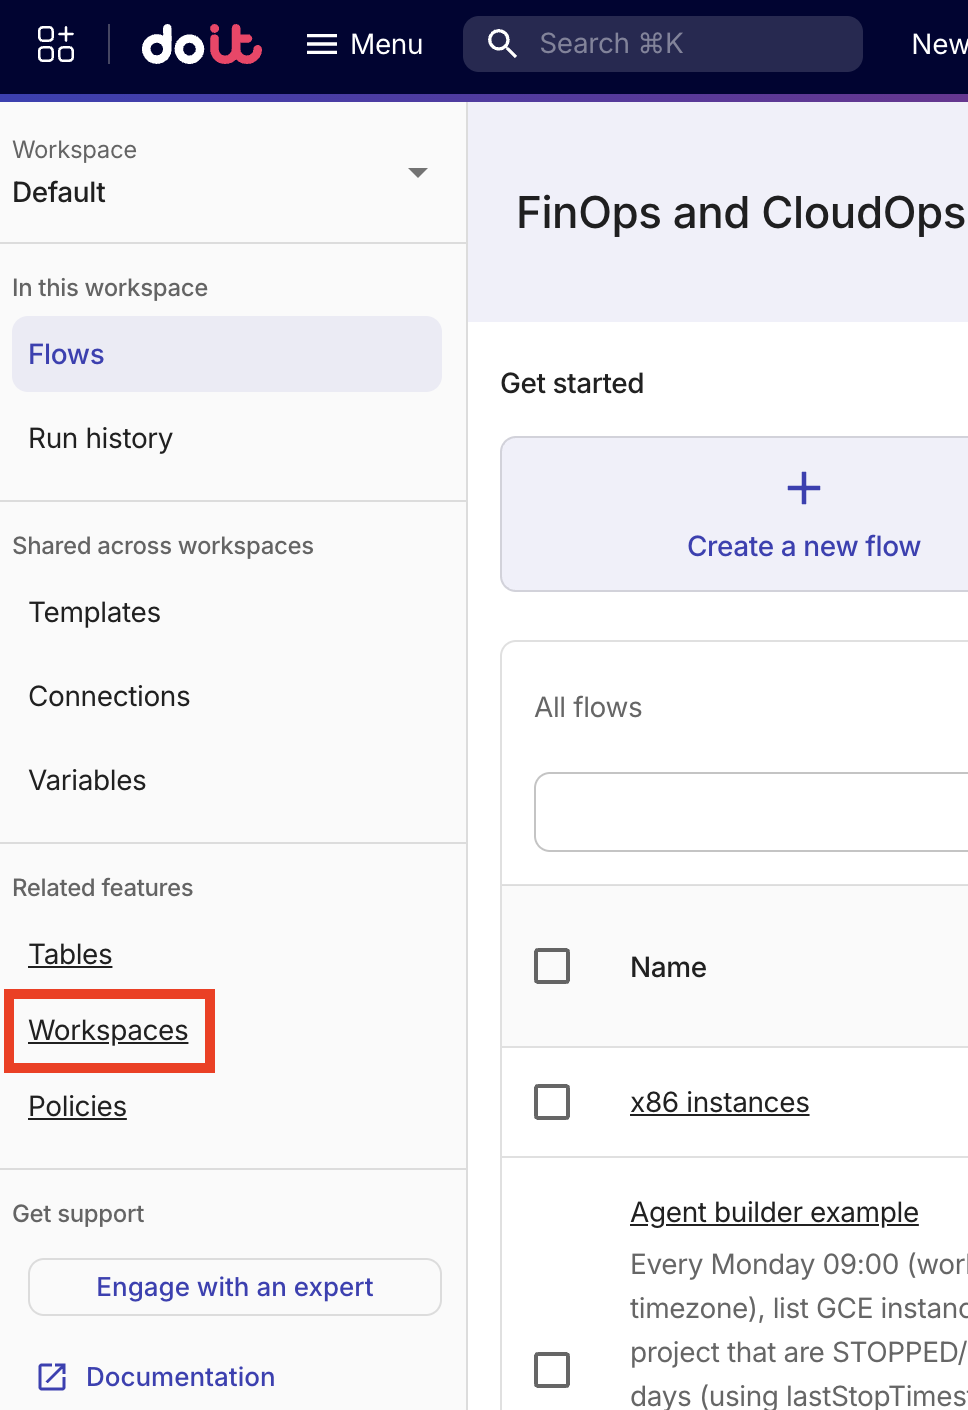
ワークスペースを選択すると、サイドバーには次の項目が表示されます。
-
Workspace: 現在選択中のワークスペース(Default を含む)。Workspace では、ワークスペースの一覧表示・作成・選択ができます。ワークスペースの名前変更、編集、削除を行うには、サイドバーの Related features 内にある Workspaces を使用します。ワークスペース一覧はフィルターや検索が可能です。
-
In this workspace: All flows には、現在選択しているワークスペースのフォルダービューが表示されます。Run history は選択中のワークスペースに適用されます。
-
Shared across workspaces: Templates、Connections、Variables は組織全体で共有されるリソースです。
-
Related features: Tables、Workspaces、Policies など、フローに適用される CloudFlow の機能です。
表示しているワークスペース内では、folders によってフローが All flows の下で階層的にネストされます。ワーク��スペースは関連するフローとフォルダーをグループ化します。フォルダーは各ワークスペース内のフローを整理します。
ワークスペースへアクセスする
DoiT コンソール にサインインし、上部ナビゲーションのメガメニューから Automation and operations を選択し、CloudFlow を選択します。
ワークスペースを作成する
ワークスペースを作成するには、次の手順を実行してください。
-
サイドバーの Workspace でワークスペースの一覧を展開し、Create new workspace を選択します。
-
Create new workspace で、ワークスペース名を入力します。名前は一意である必要があり、最大 64 文字まで指定できます。
-
必要に応じて、説明(最大 256 文字)を入力します。
-
Create を選択します。
ワークスペースを切り替える
ワークスペースは機能間で引き継がれます。これにより、フローの設定から実行履歴への遷移など、機能間を移動してもフィルターやコンテキストが維持されます。
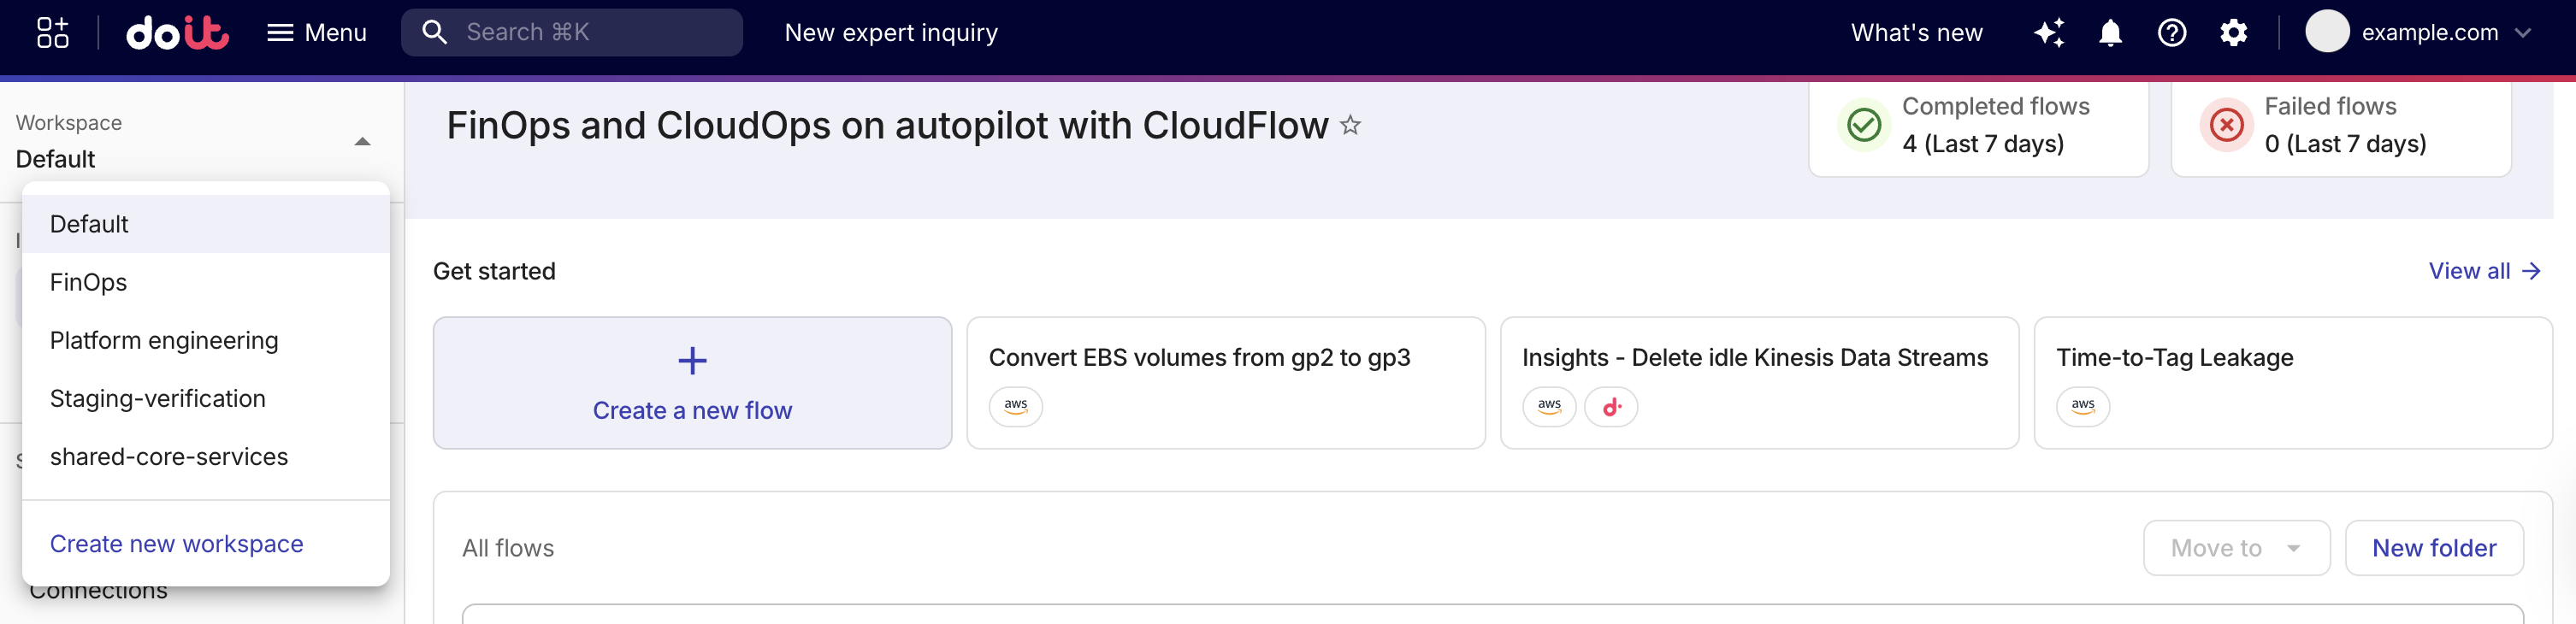
ワークスペースを切り替えるには、次の手順を実行してください。
-
サイドバーの Workspace でワークスペースの一覧を展開します。
-
別のワークスペースを選択します。
ワークスペース間でアイテムを移動する
ワークスペース間でフローやフォルダーを移動するには、CloudFlow Manager ロールが必要です。CloudFlow Editor はワークスペース間でアイテムを移動できません。
Move to workspace は、組織でワークスペース移動機能が有効になっている場合にのみ、ツールバーおよびフローやフォルダー行に表示されます。機能が組織で有効になっていない場合、これらのオプションは表示されません。機能が有効でも(たとえばロールの都合で)操作を実行できない場合は、そのオプションにカーソルを合わせると理由が表示されます。
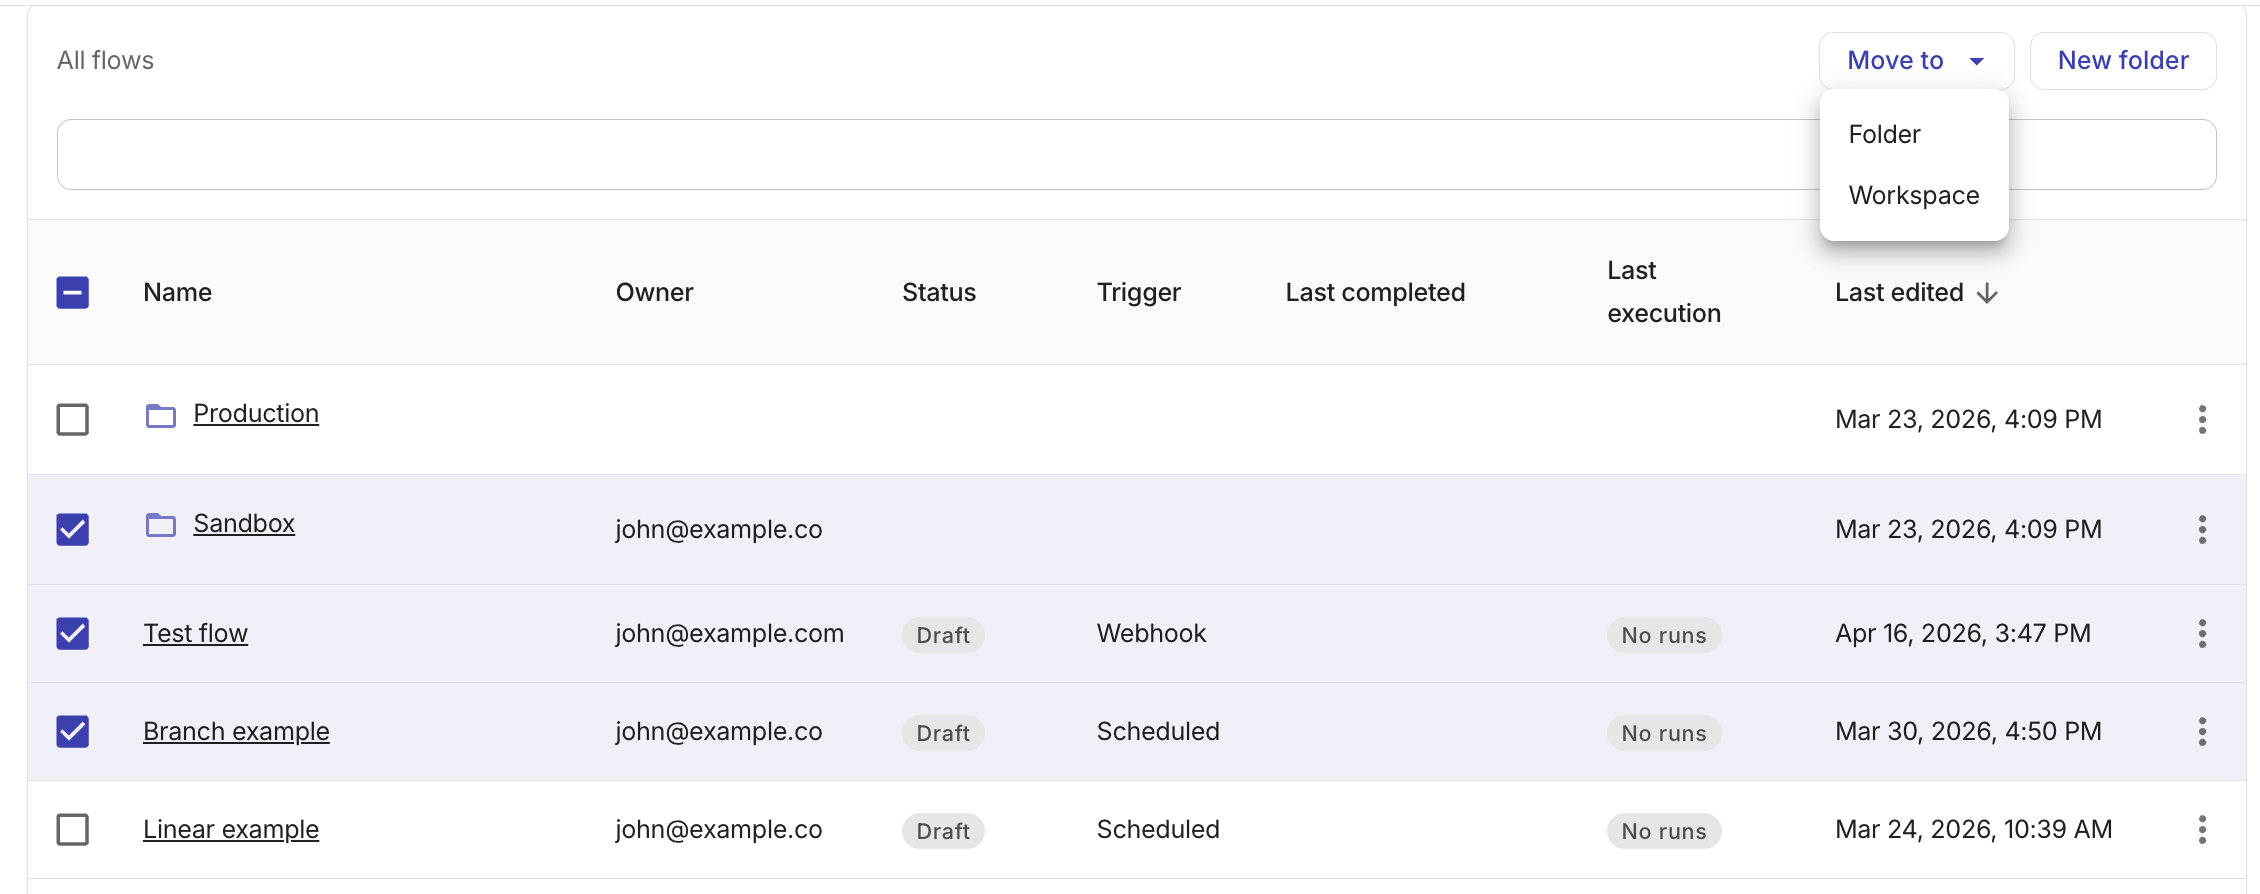
複数のフローおよび/またはフォルダーを一度に選択して移動できます。
-
All flows で、チェックボックスを使用して 1 つ以上のフローまたはフォルダーを選択します。
-
次のいずれかを実行します。
-
ツールバーで Move to workspace を選択します。
-
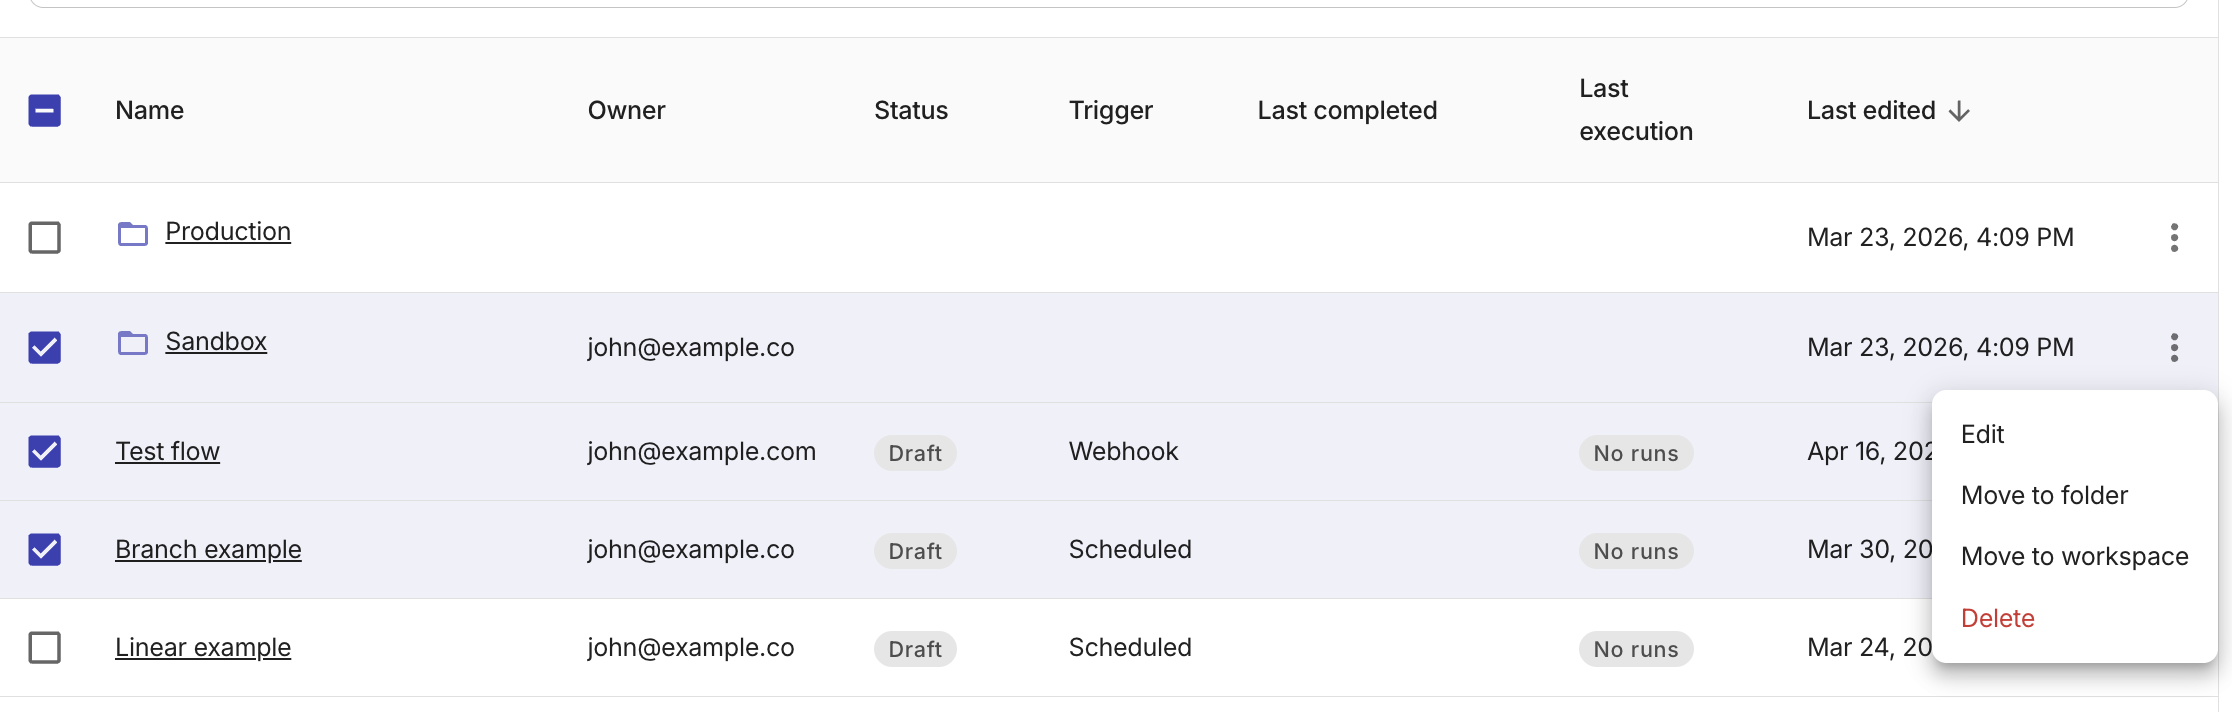
フローまたはフォルダー行の一番右端にあるケバブメニュー(⋮)を開きます。
-
-
移動先に応じて、次のいずれかを選択します。
-
Move to workspace
-
Move to folder
移動先のワークスペースまたはフォルダーを選択して確定します。選択したアイテムは、サブフォルダーやそれに含まれるフローを含めて移動されます。
-
ワークスペースを編集する
ワークスペースの name と description を編集できます。
-
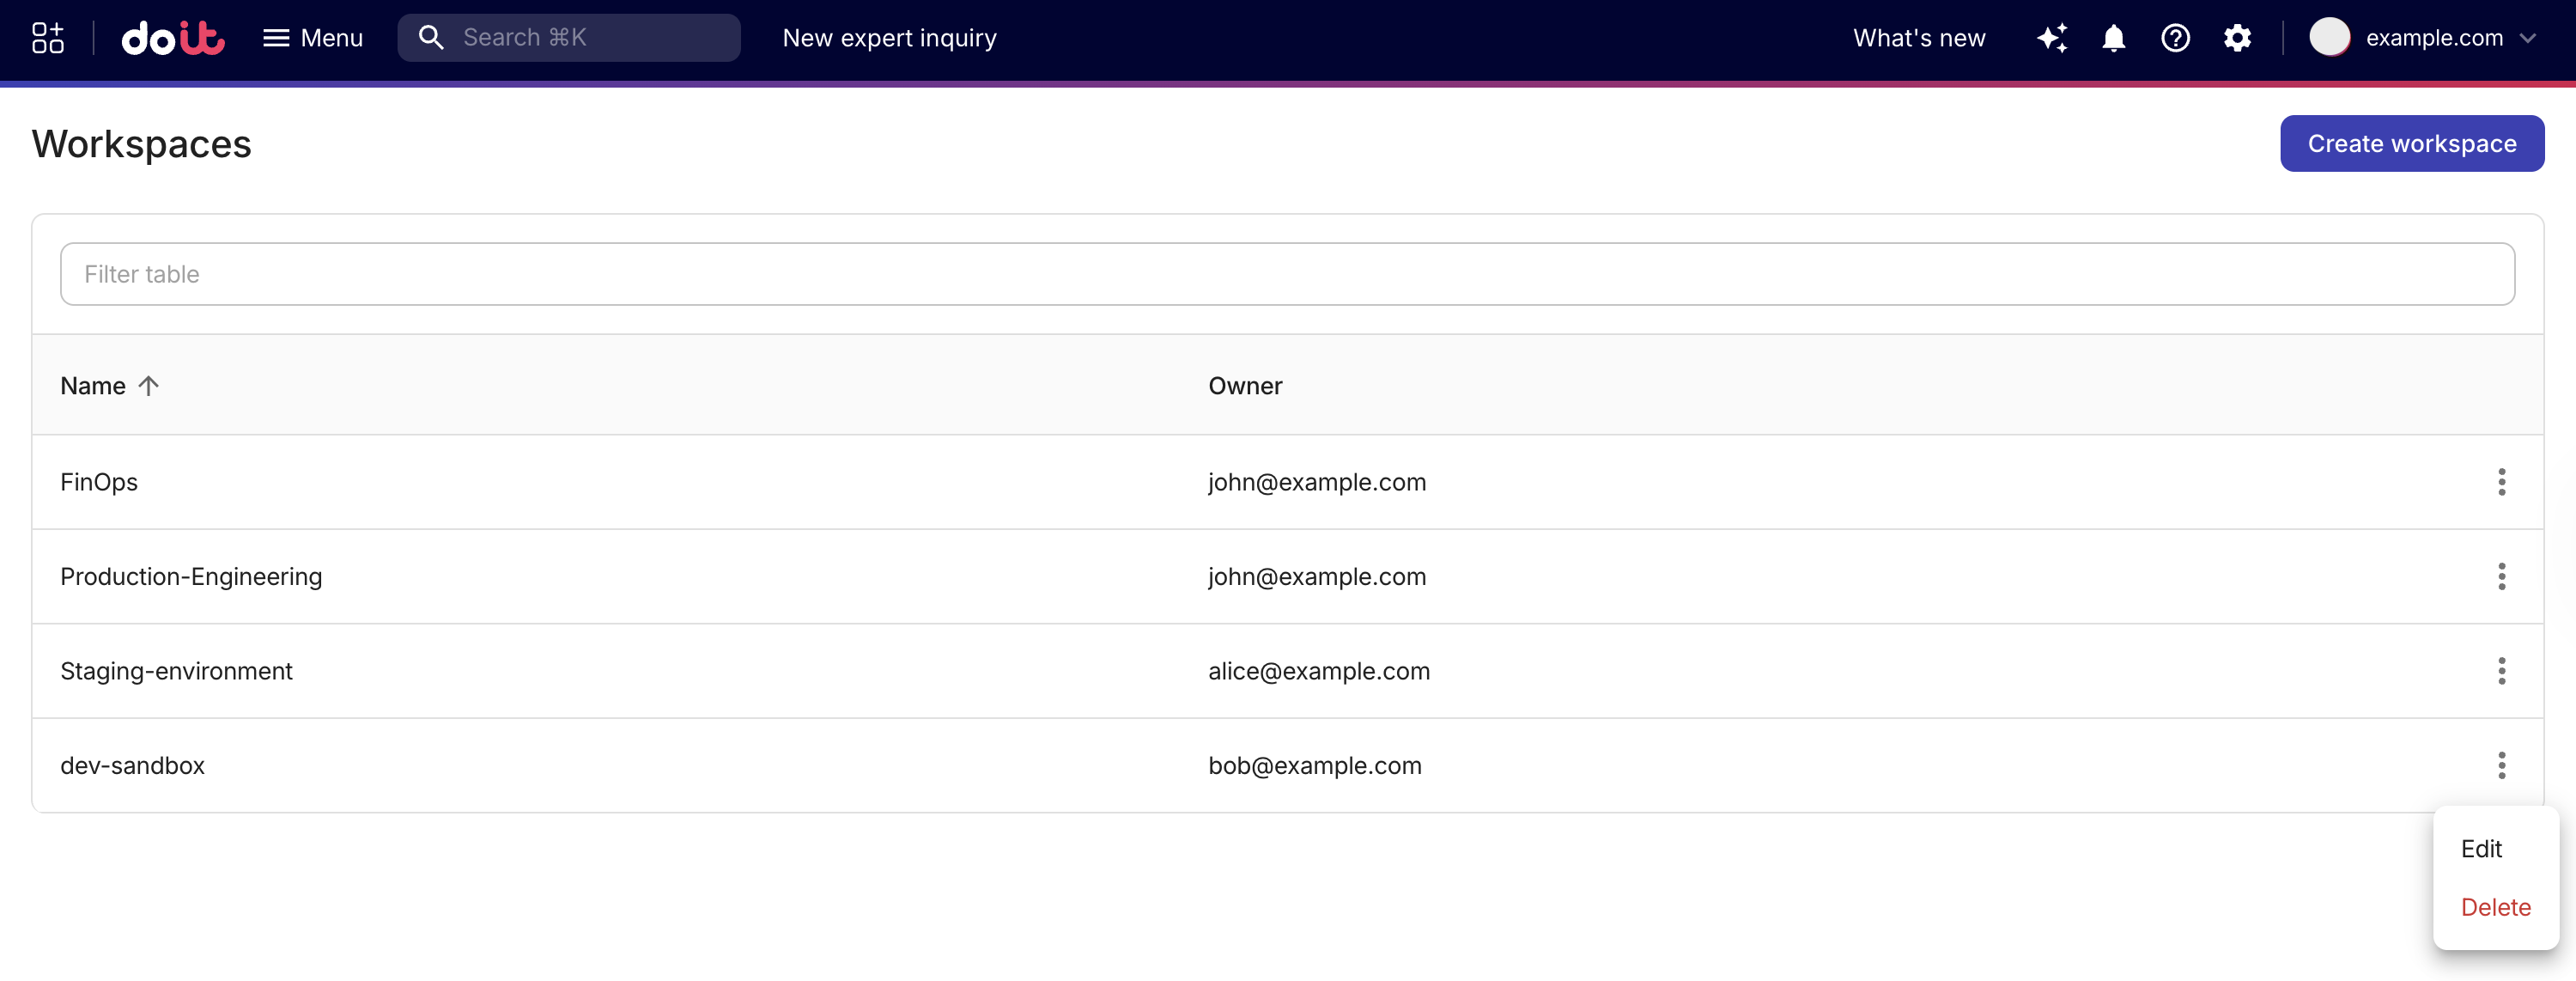
サイドバーの Related features で Workspaces を選択します。
-
編集するワークスペースを探し、その行の一番右端にあるケバブメニュー(⋮)を選択します。
-
Edit を選択します。
-
Edit workspace ダイアログで、必要に応じて名前または説明を更新します。
-
Save を選択します。
ワークスペースを削除する
フローやフォルダーを含まないワークスペースのみ削除できます。ワークスペース内にまだアイテムが残っている場合は、削除前に移動または削除する必要があります。
適切な権限が必要です。
-
サイドバーの Related features で Workspaces を選択します。
-
削除するワークスペースを探し、その行の一番右端にあるケバブメニュー(⋮)を選択します。
-
Delete を選択します。
-
確認ダイアログで Delete を選択して確定します。
フローやフォルダーを含むワークスペースでは Delete オプションは無効になっています。ツールチップには、そのワークスペース内に残っているアイテム数が表示されます。