Multi-factor authentication
Multi-factor authentication (MFA) adds an extra layer of security to your Cloud Intelligence account. When using MFA, you enter a time-based one-time password (TOTP) from an authenticator app in addition to your email and password when you sign in.
By default, MFA is mandatory for users who sign in with email and password. You can manage MFA for your entire organization if you have the Admin role, or exempt individual users if you have the Users Manager permission. Users who sign in with Google, Microsoft, or SSO are protected by their identity provider's security policies and are not prompted for an additional authentication code.
Authenticator apps
The following TOTP-compatible authenticator apps are supported:
-
Google Authenticator
-
Microsoft Authenticator
-
Authy
-
2FA Authenticator (2FAS)
-
Bitwarden
-
Ente Auth
Set up MFA for the first time
The first time you sign in with email and password, the console prompts you to enroll in MFA before you can continue.
-
Select Join DoiT Console from your invitation email. The console is displayed.
-
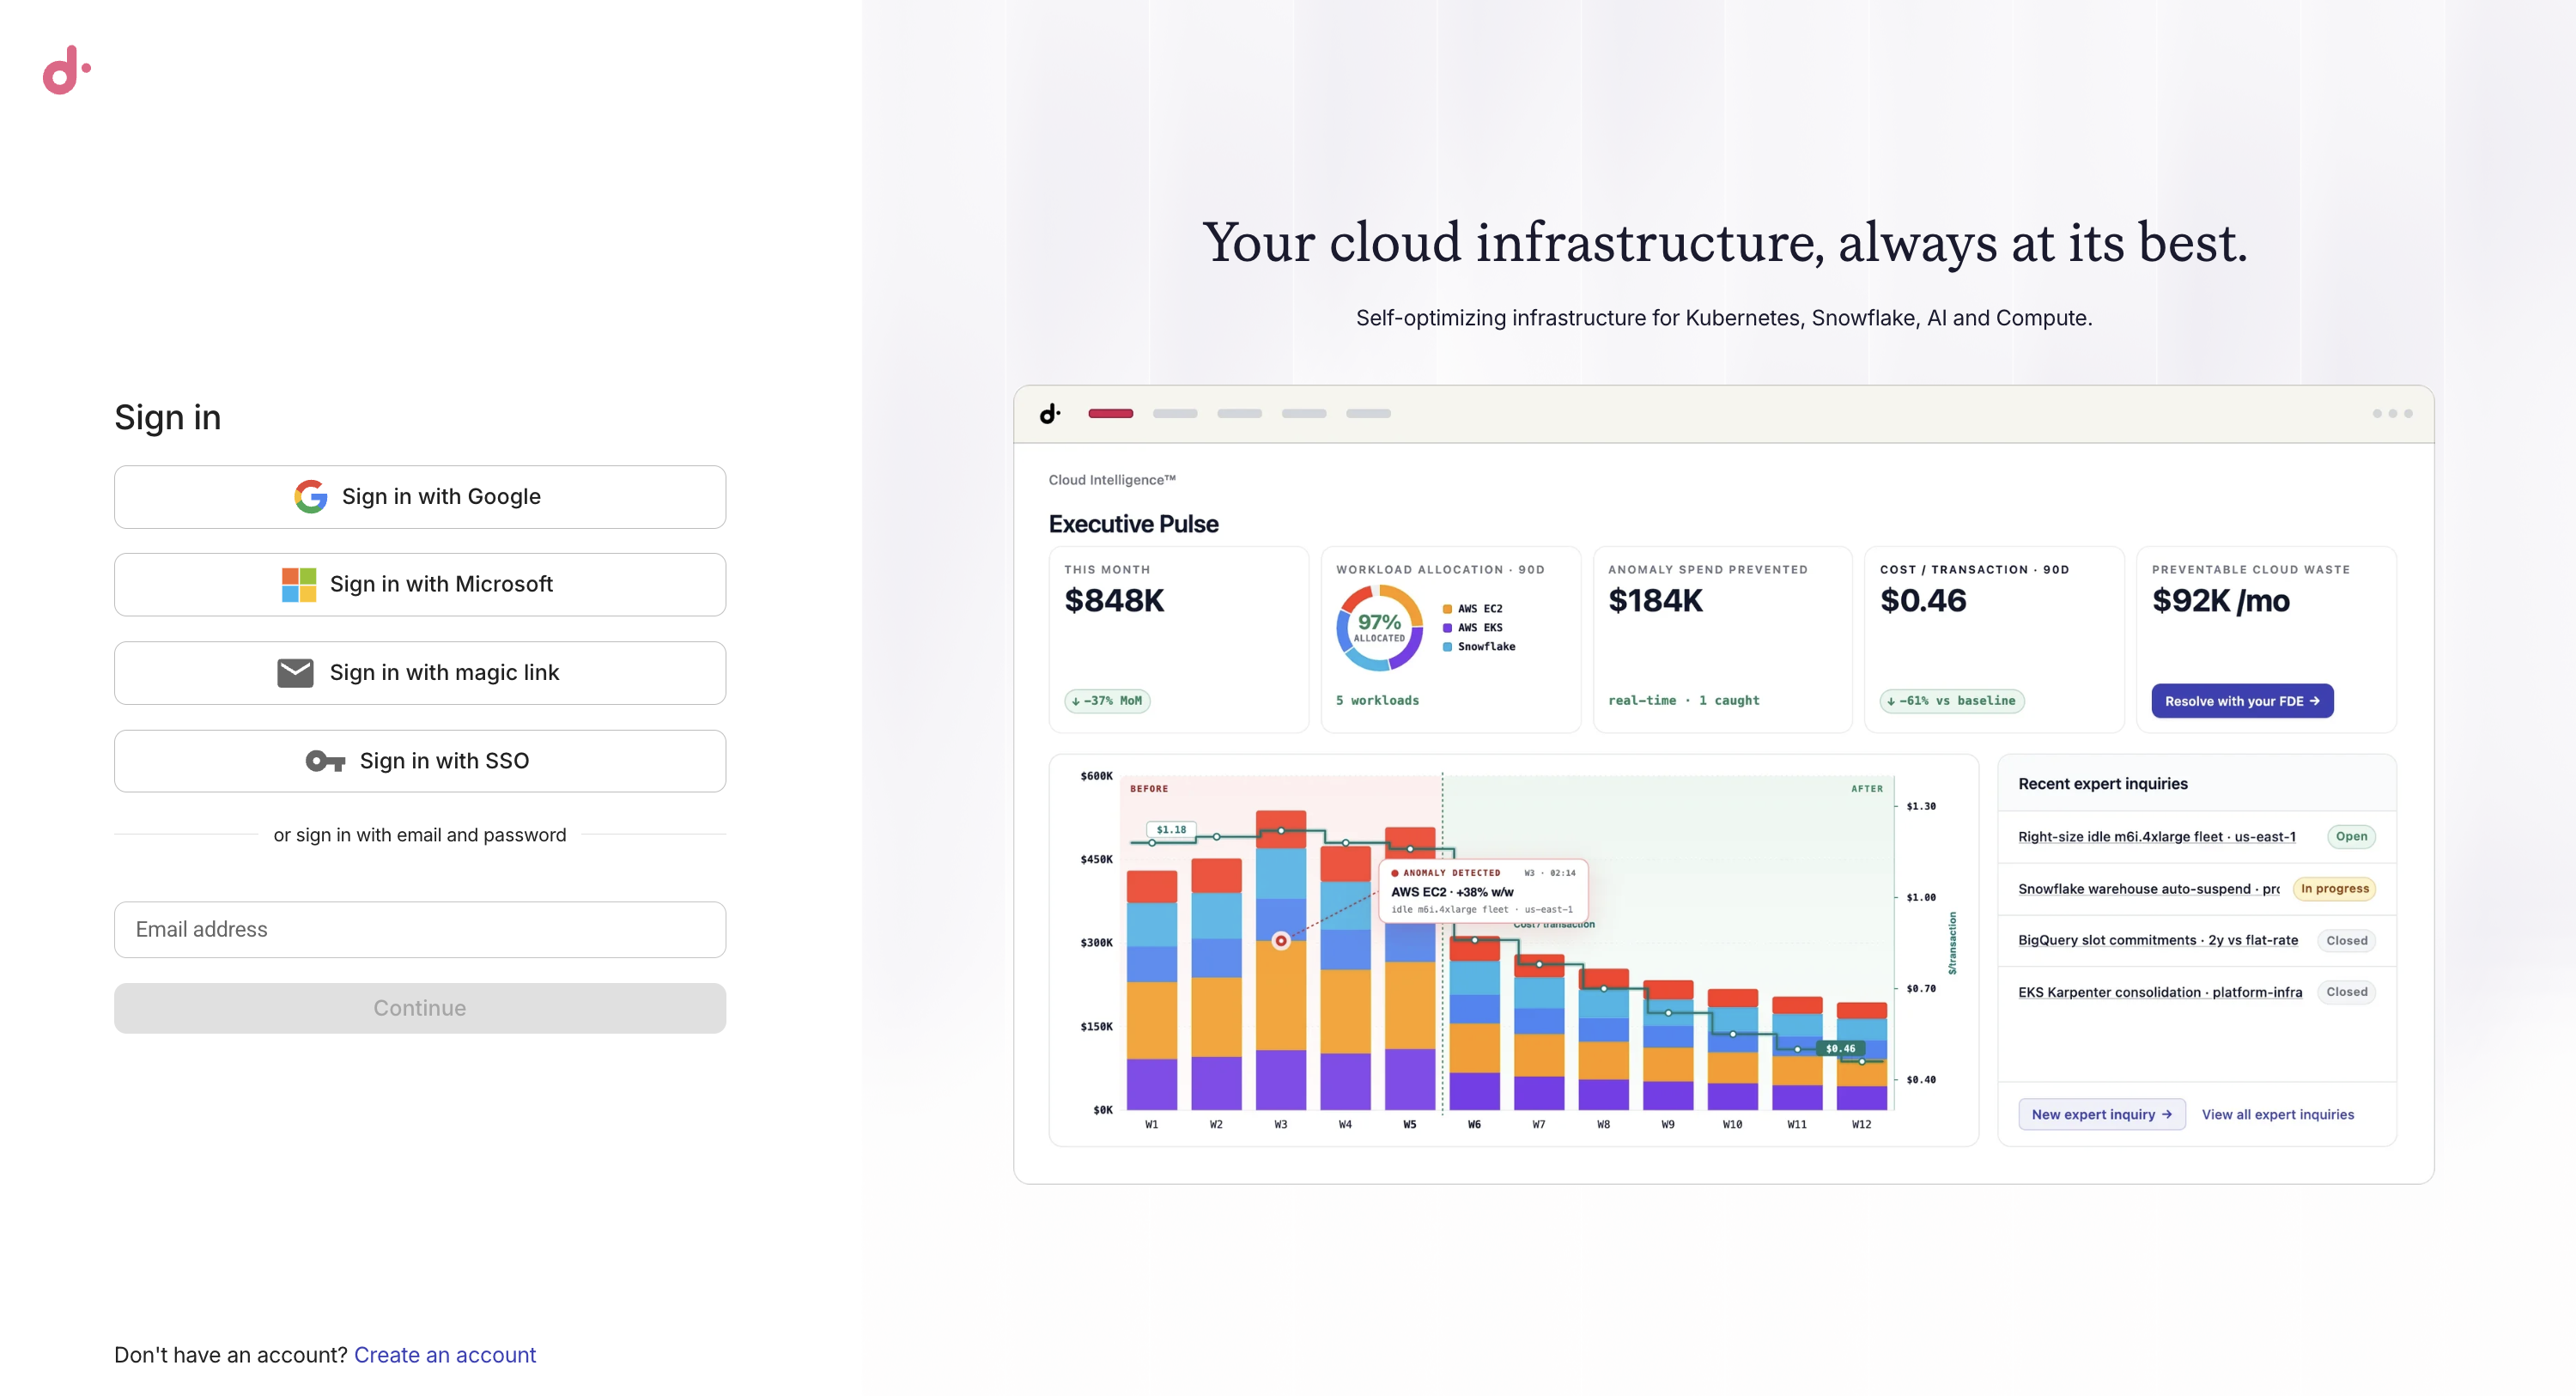
Enter your email address and password.
-
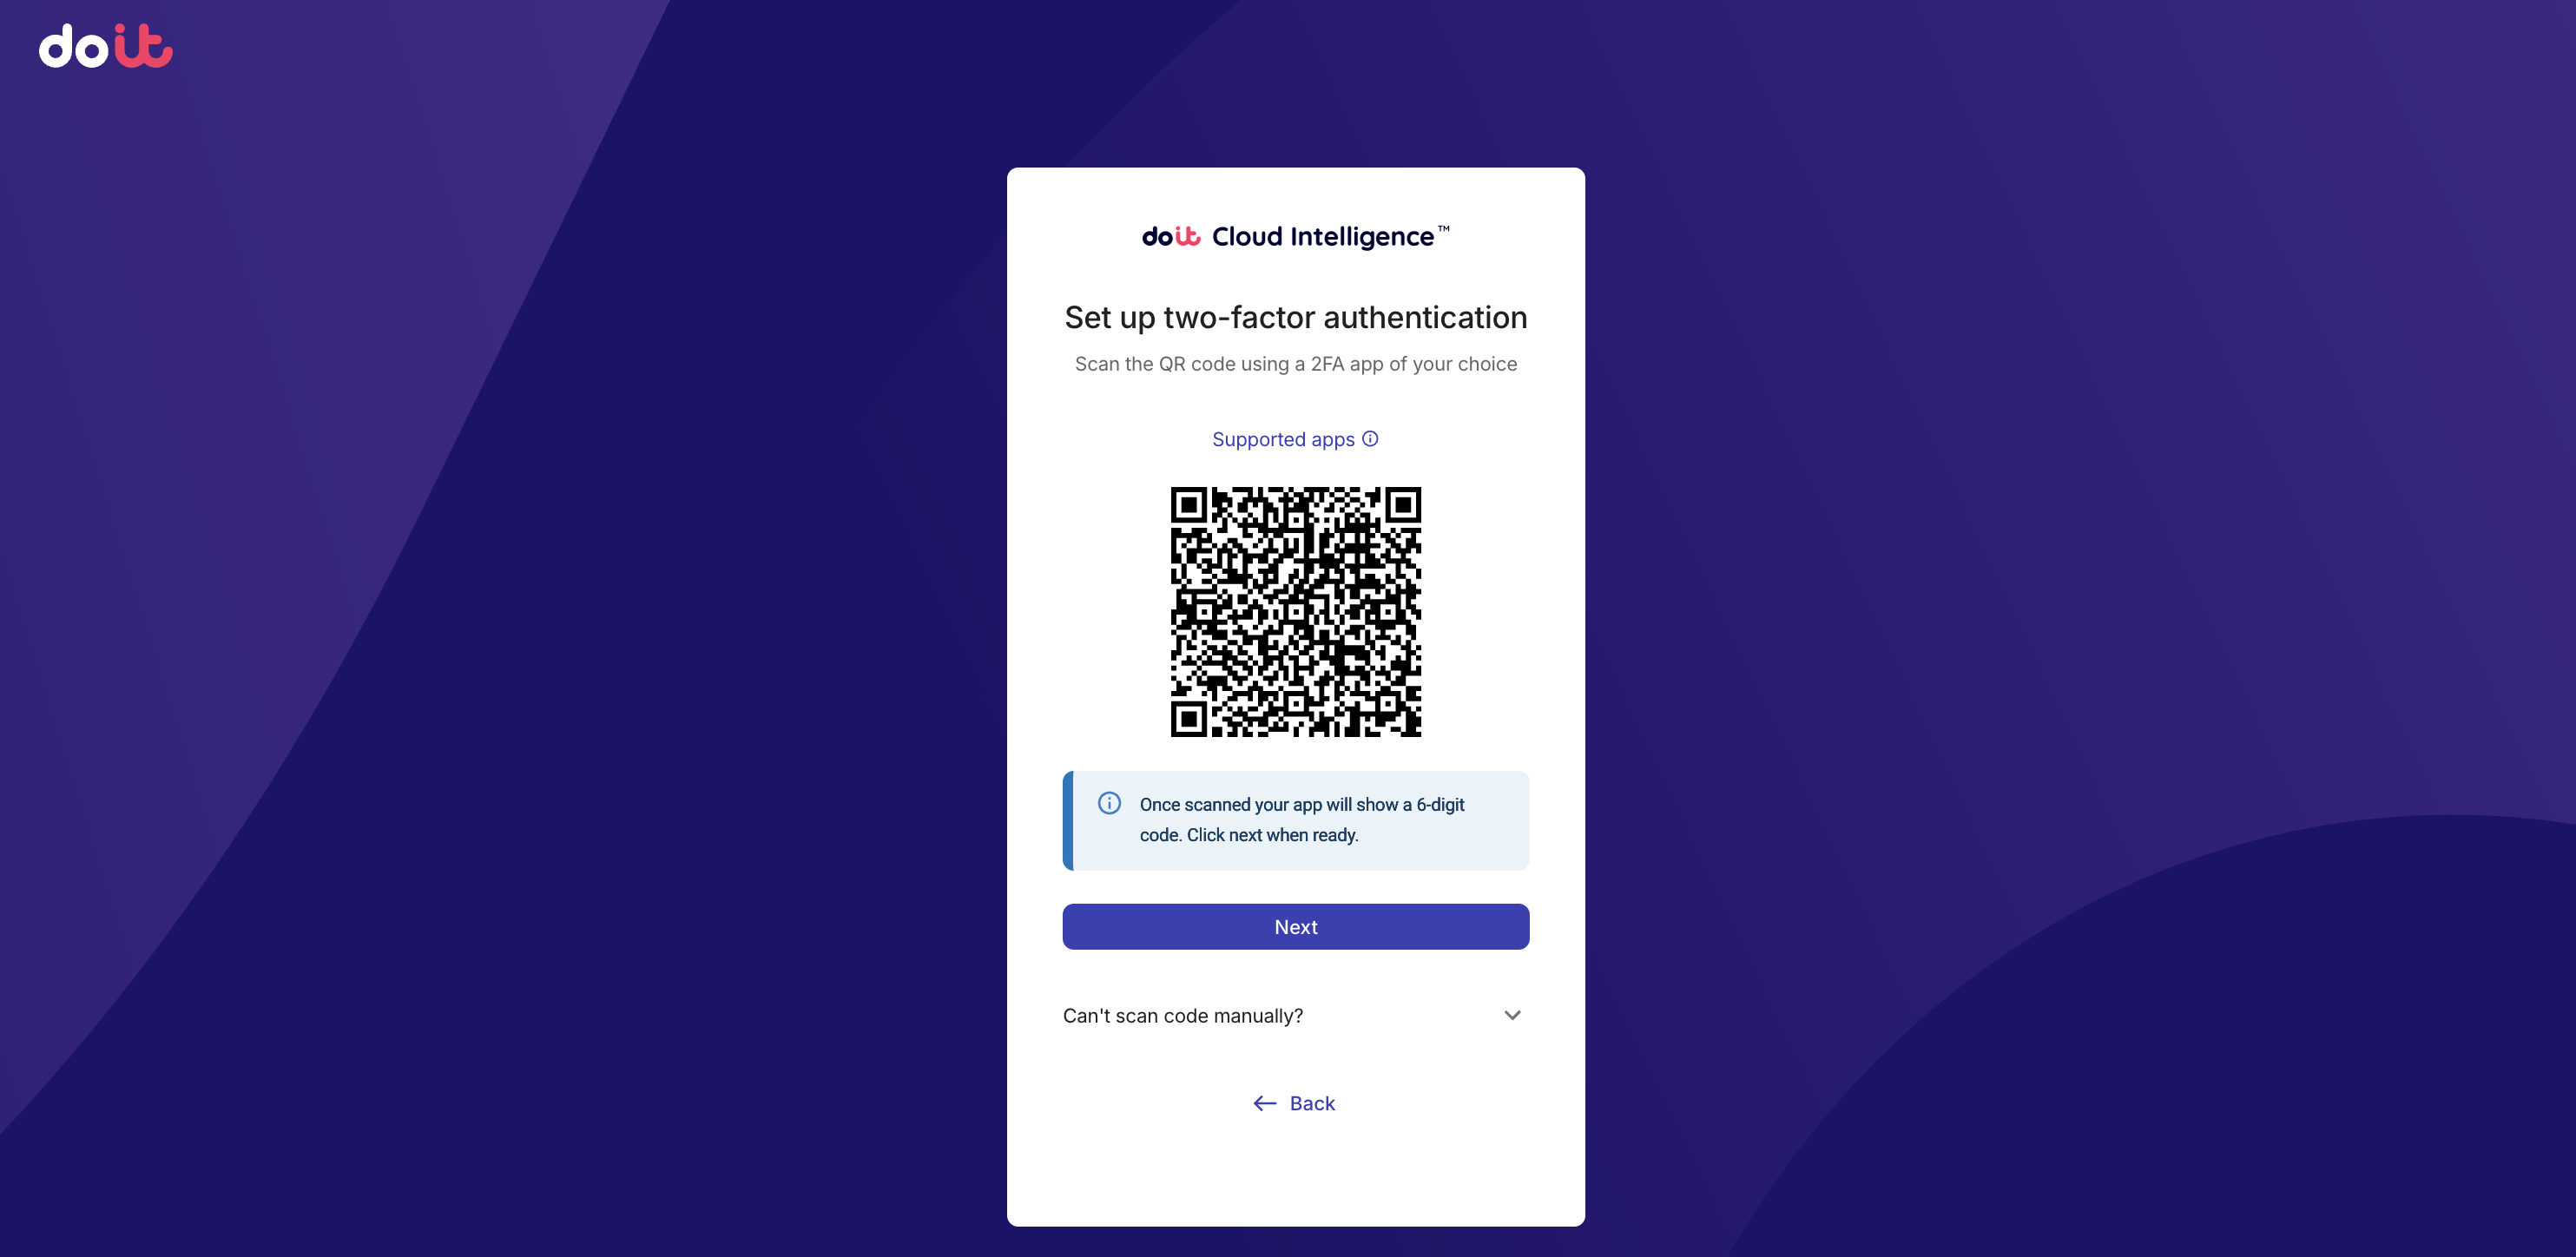
Select Sign up. The Set up two-factor authentication page is displayed.
-
Open your authenticator app (for example, Google Authenticator or Authy).
-
In your authenticator app, add the Cloud Intelligence account by scanning the QR code shown. If you cannot scan the QR code, select Can't scan code manually? to display a unique secret key that you can use instead. Once the Cloud Intelligence account is linked to your authenticator app, the app generates the 6-digit security code you need to log in.
-
Select Next.
-
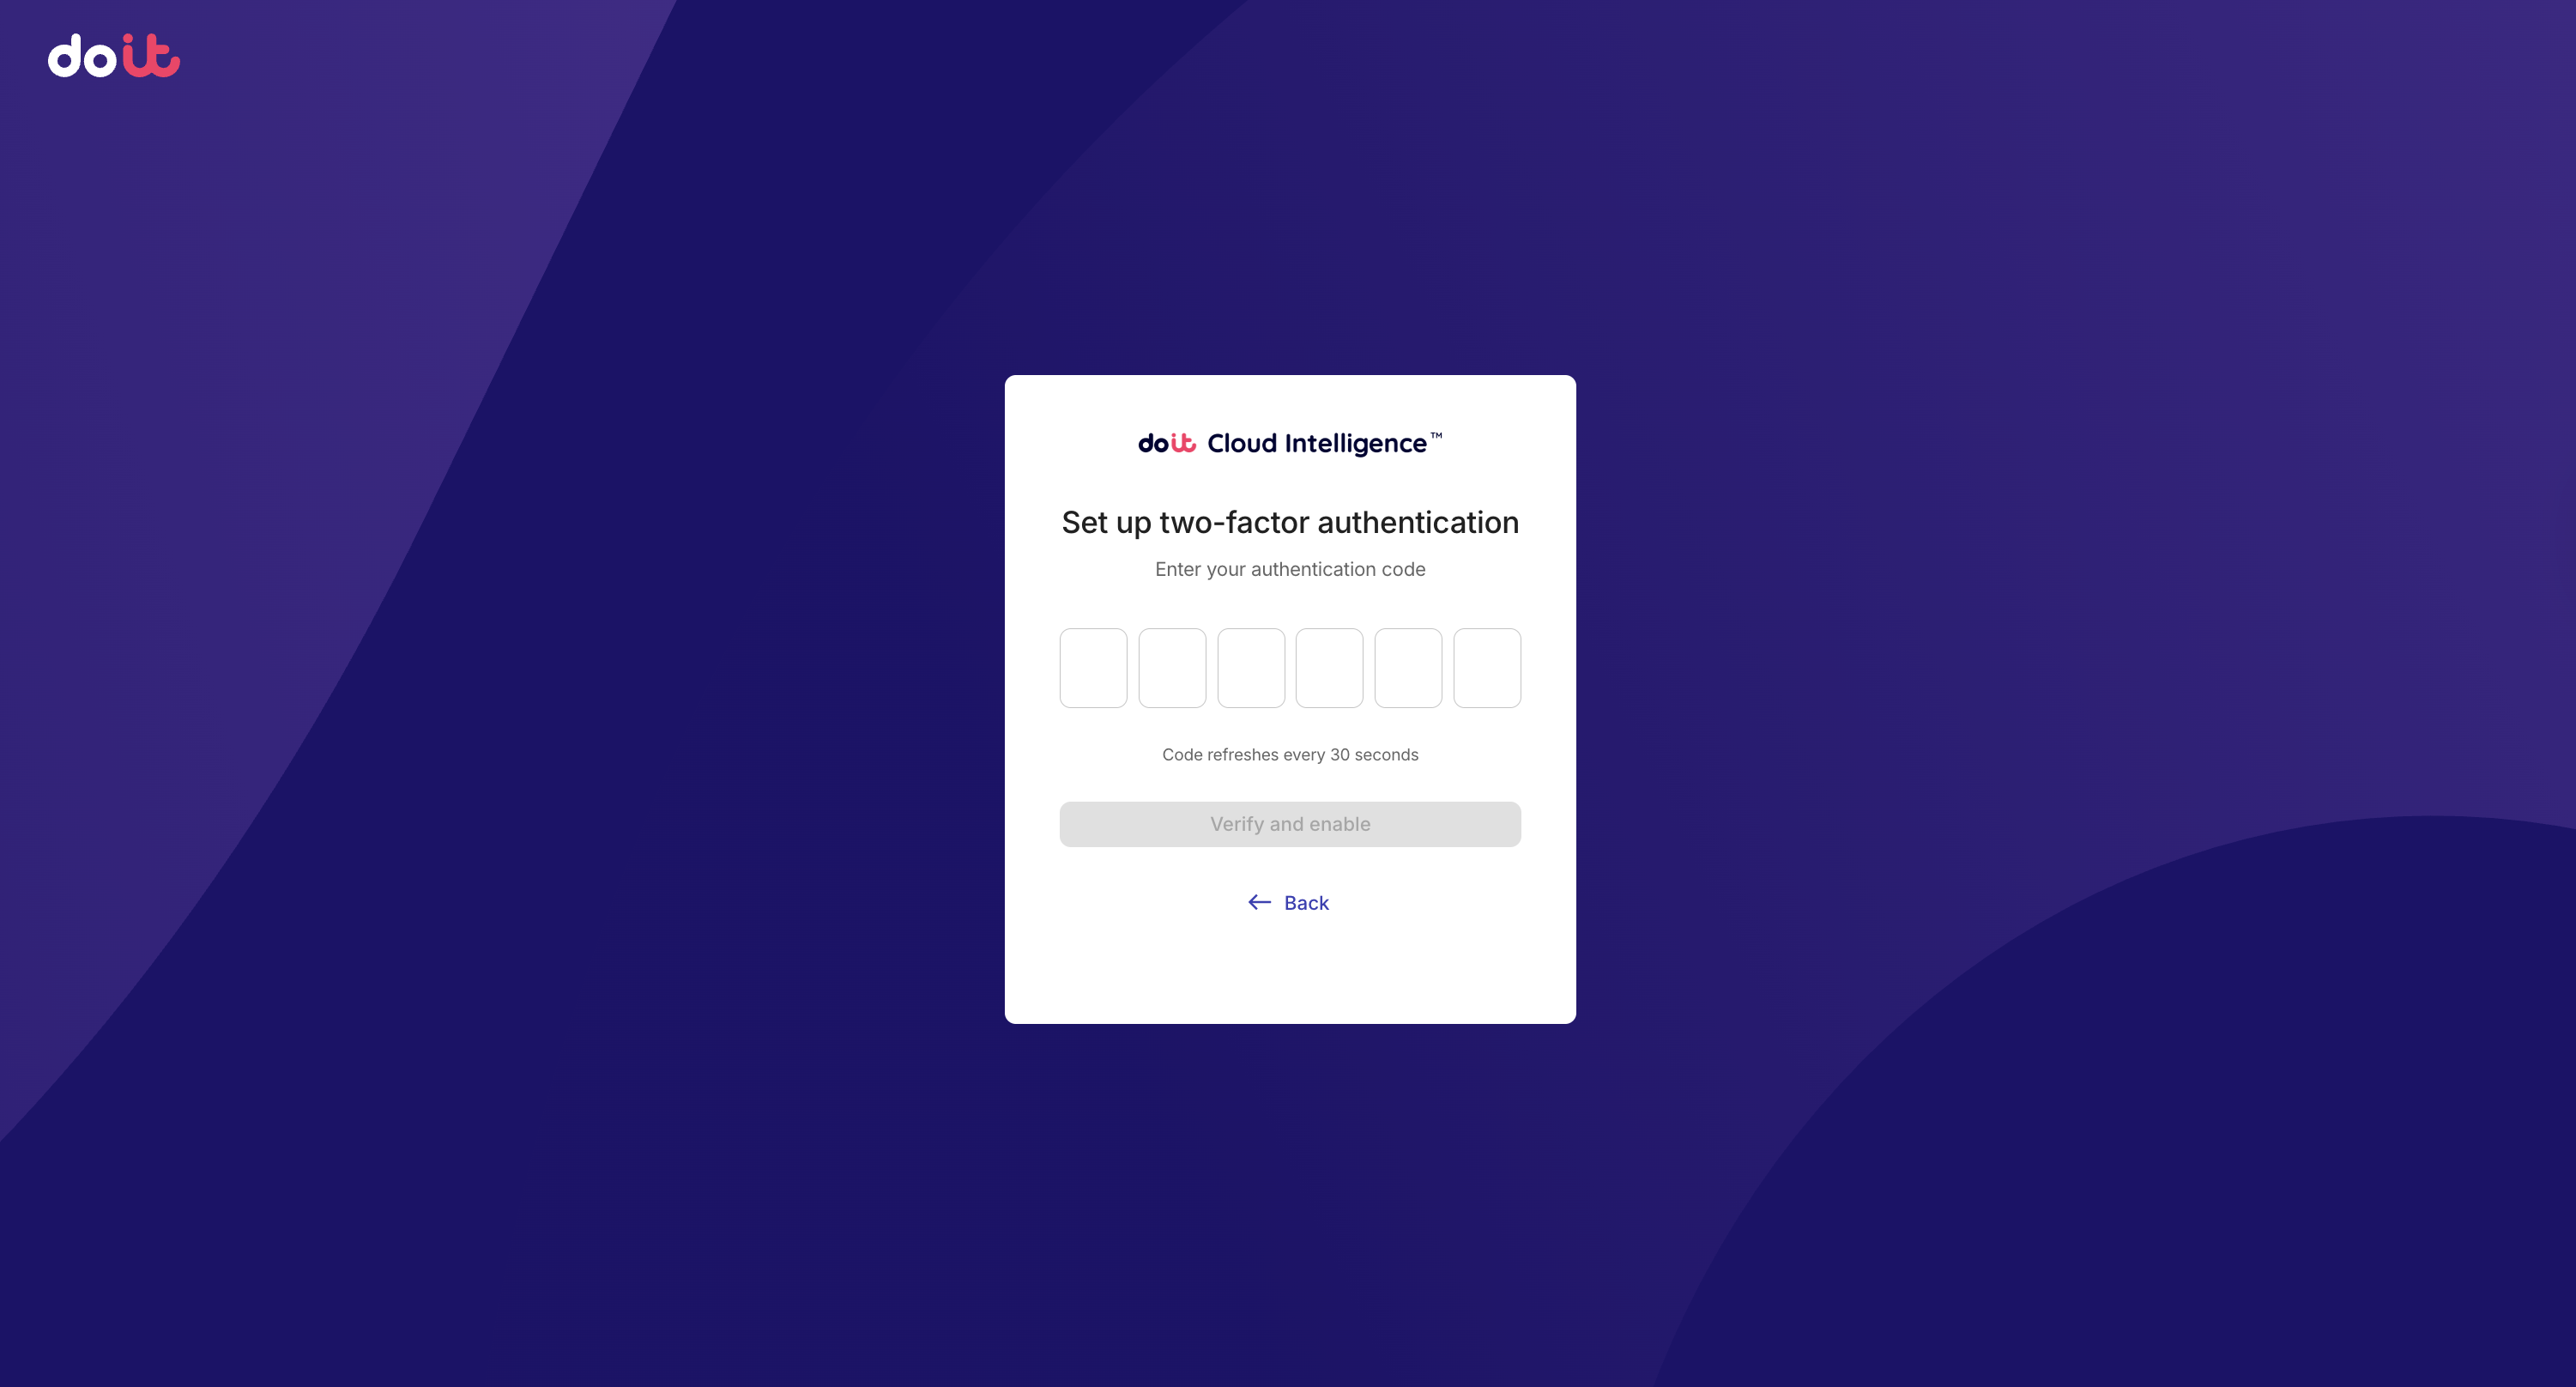
Enter the six-digit code generated by your authenticator app.
-
Select Verify and continue to complete enrollment.
-
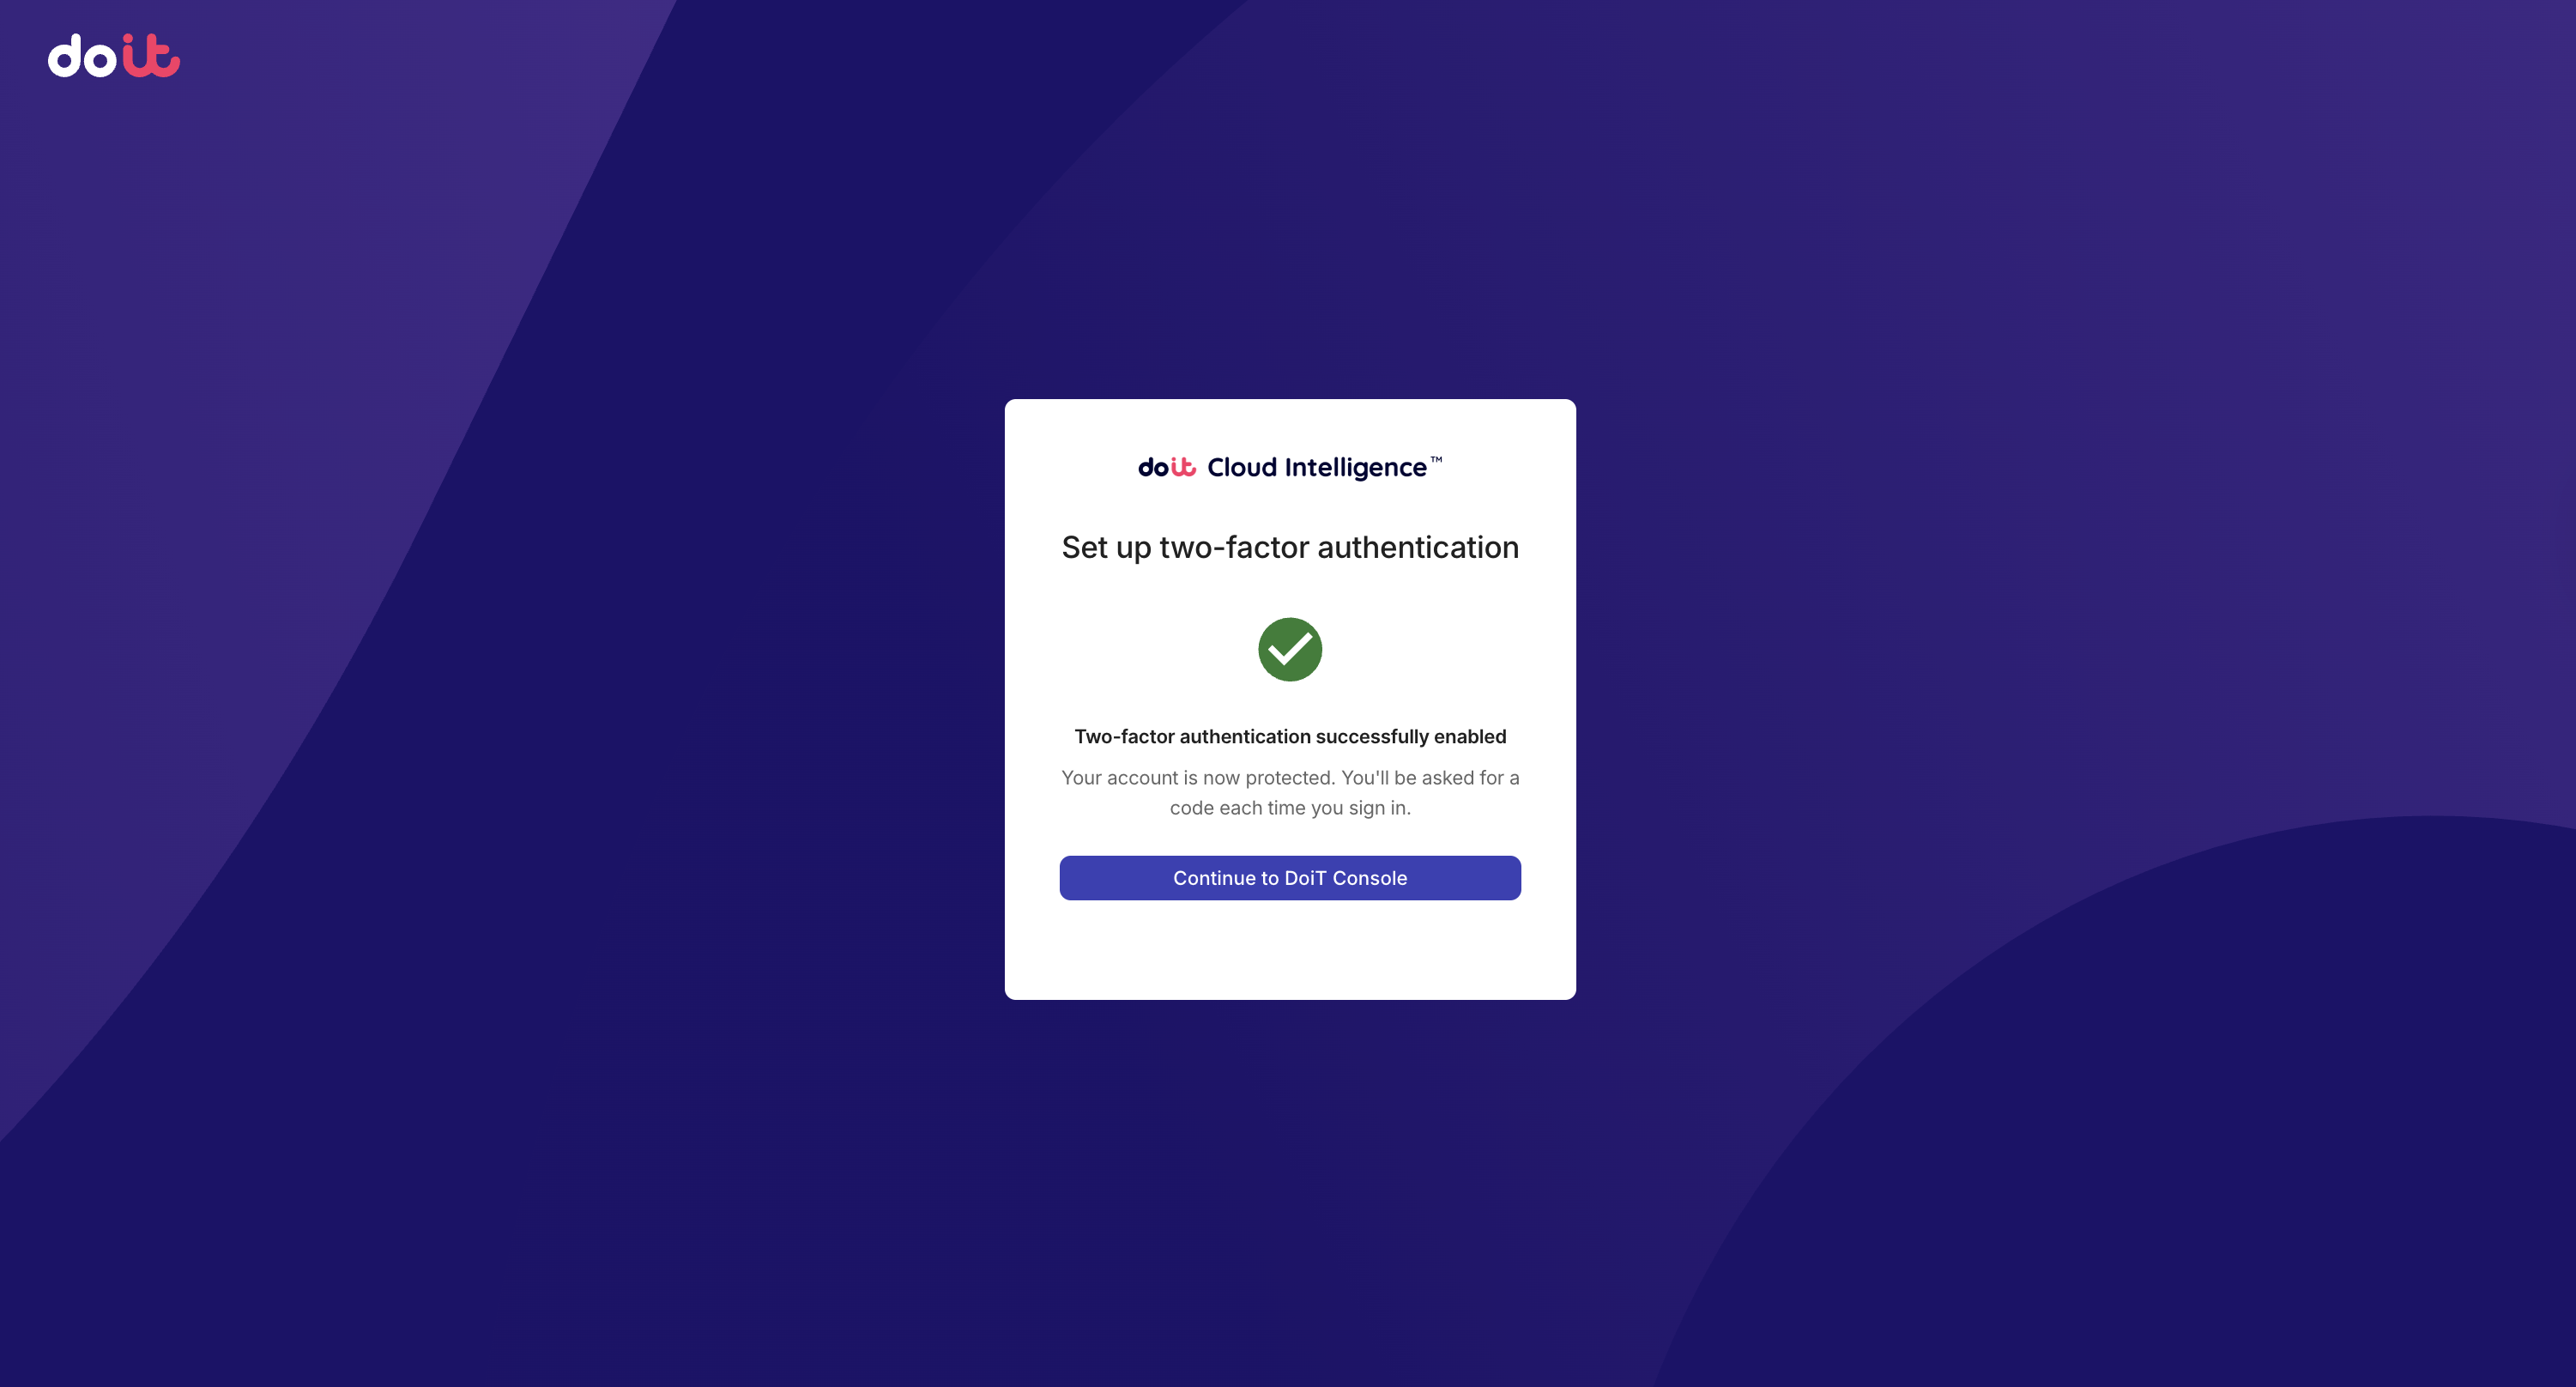
Select Continue to DoiT Console.
Verify your identity with MFA
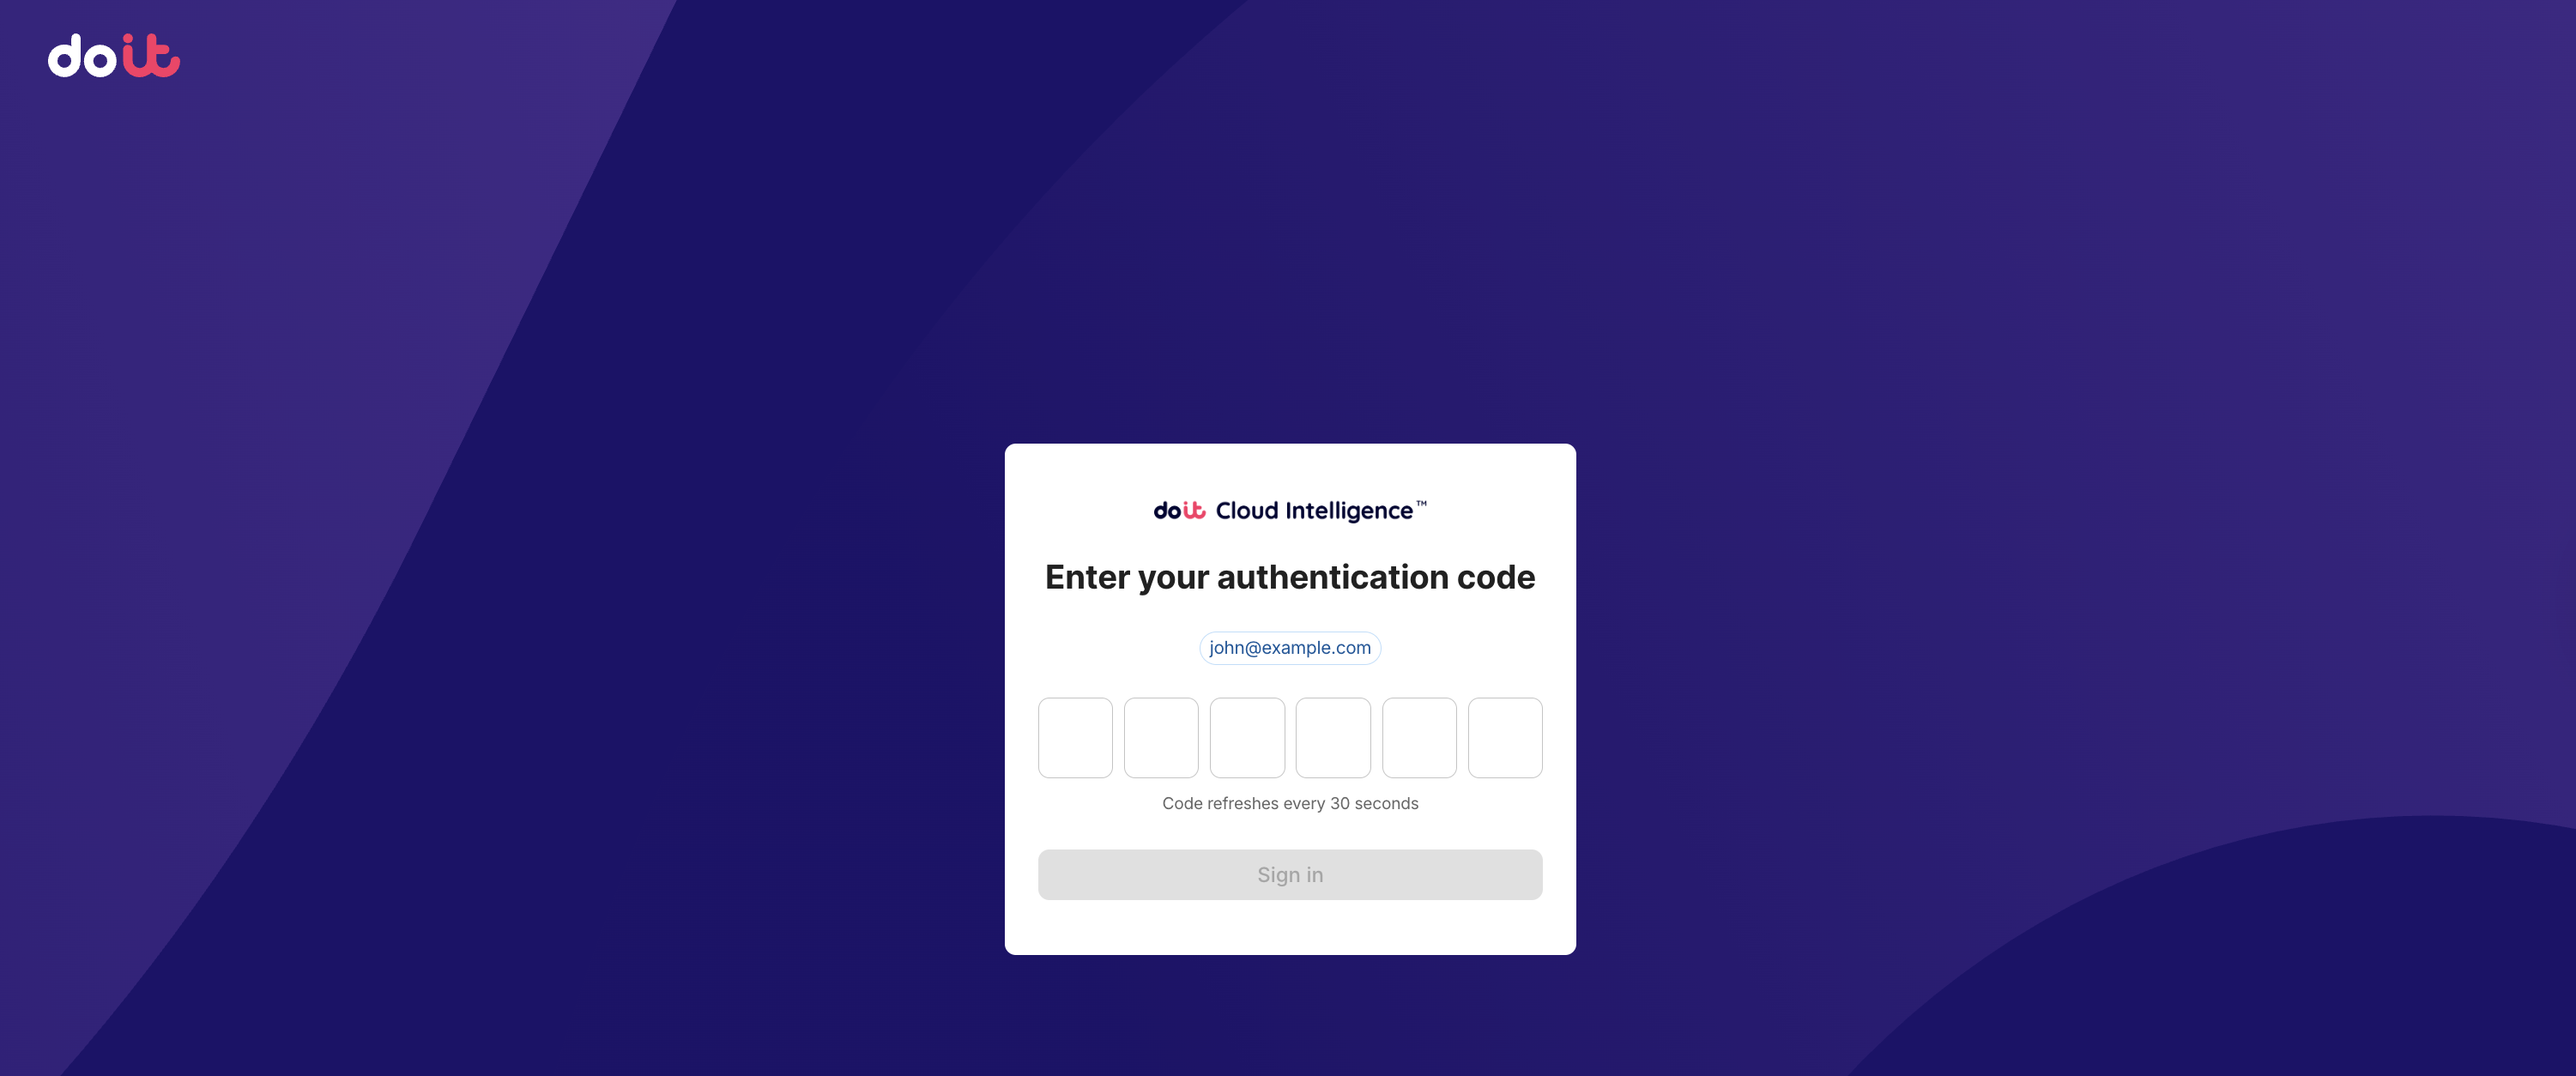
After you have enrolled in MFA, each time you sign in with email and password you are prompted to enter a six-digit authentication code from your authenticator app.
-
Open your authenticator app (for example, Google Authenticator or Authy) and locate the entry for Cloud Intelligence.
-
Enter the six-digit code displayed in the app. The code refreshes every 30 seconds.
-
Select Sign in.
If you enter an incorrect code, an error message appears and the input field is cleared so you can try again. If the code has expired, wait for your authenticator app to generate a new code before resubmitting.
To sign in with a different account, select Use a different account to return to the email entry screen.
If you submit too many incorrect codes in a short period, your account may be temporarily locked for security reasons.
Manage MFA for your organization
If you are an Admin, you can enable or disable MFA for all users in your organization. This applies to every user who signs in with email and password. Per-user exemptions set through individual user management continue to apply. While the organization requirement is off, turning on Require MFA for an individual user has no effect.
When you enable MFA, users who have not yet enrolled are prompted to set up an authenticator on their next sign-in.
Required permissions
You must have the Admin role.
To enable or disable MFA for your organization:
-
Sign in to the DoiT console, select the gear icon () from the top navigation bar, and then select Users and access.
-
Select Settings from the left-hand menu.
-
In the Multi-factor authentication section, turn the Require multi-factor authentication toggle on or off.
-
If you are disabling MFA, a confirmation dialog is displayed. Select Disable MFA to confirm.
CautionTurning this toggle off disables MFA for the whole organization which unenrolls every user and removes their additional sign-in protection. If you later turn the requirement back on, all users except those exempted individually must enroll again.
Changes to the organization MFA setting are recorded in the audit log.
Manage MFA for individual users
If you have the Users Manager permission, you can exempt individual users from MFA. Use the Require MFA toggle in the Multi-factor authentication section of a user's profile to turn this requirement on or off.
When you turn it on, the user is prompted to enroll in MFA on their next sign-in.
- Disabling MFA removes the user's enrolled authenticator. If you later re-enable MFA for this user, they must enroll again on their next sign-in.
Required permissions
You must have the Users Manager permission.
To manage MFA for a user:
-
Sign in to the DoiT console, select the gear icon () from the top navigation bar, and then select Users and access.
-
Select the user's email on the Users page.
-
In the Multi-factor authentication section of the user's profile, turn the Require MFA toggle on or off, as necessary.