Create, edit, and manage allocations
Allocations are defined with allocation rules. Depending on the number of rules included, allocations are categorized as single-rule and group allocations.
Required permissions
-
To create an allocation, you must have the Cloud Analytics User and Allocations Admin permissions.
-
To edit an allocation, you must be the owner or have the Editor permission.
-
To delete an allocation, you must be the owner or have the Cloud Analytics Admin permission.
Create an allocation rule
When creating an allocation rule, you need to choose its dimensions and define the rule logic. You can create an allocation rule either from scratch or based on a preset allocation or a custom allocation created by others.
Create a rule from scratch
To create a new allocation rule from scratch:
-
Sign in to the DoiT console, select Allocation from the top navigation mega menu, and then select Allocations.
-
Select Create allocation.
-
Enter a name for the new rule.
Allowed characters: numbers (0-9), lowercase letters (a-z), uppercase letters (A-Z), underscore (_), dash (-), period (.), comma (,), colon (:), parentheses (()), square brackets ([]), percent (%), ampersand (&), and white space (blank).

-
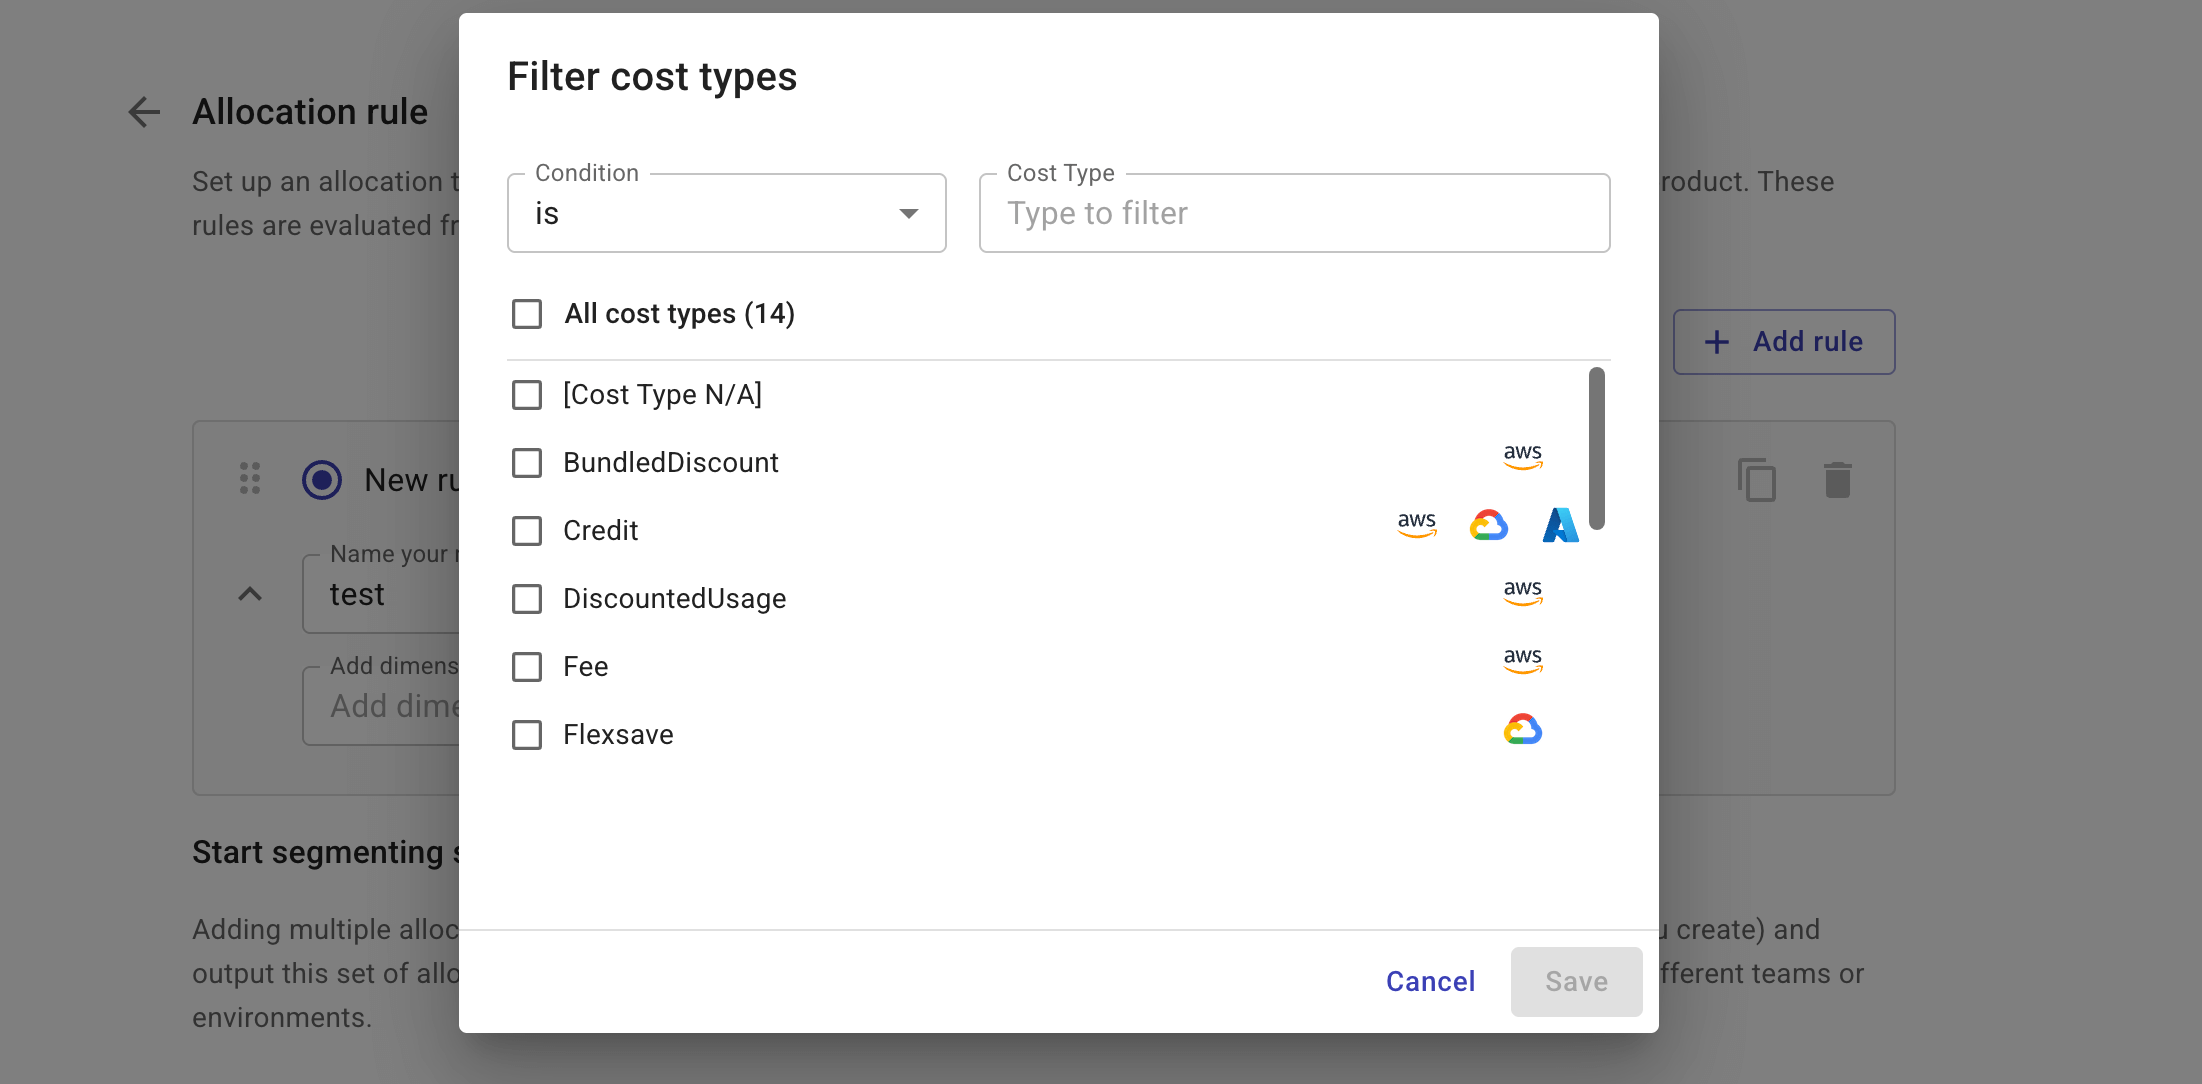
Add a dimension.
-
Select a dimension, label, or tag from the drop-down list. You can also choose another allocation rule.
-
Filter the results to define the condition of the dimension. You can choose a regex operator (matches regex, does not match regex) in the Condition drop-down to filter by regular expressions.
-
Repeat the step above to add more dimensions if needed.
If you're adding other allocation rules to create a nested rule, note that the maximum reference depth is three.
For example, if Rule A refers to Rule B, and Rule B refers to Rule C, then Rule C cannot refer to further rules. Additionally, other rules cannot reference Rule A.
-
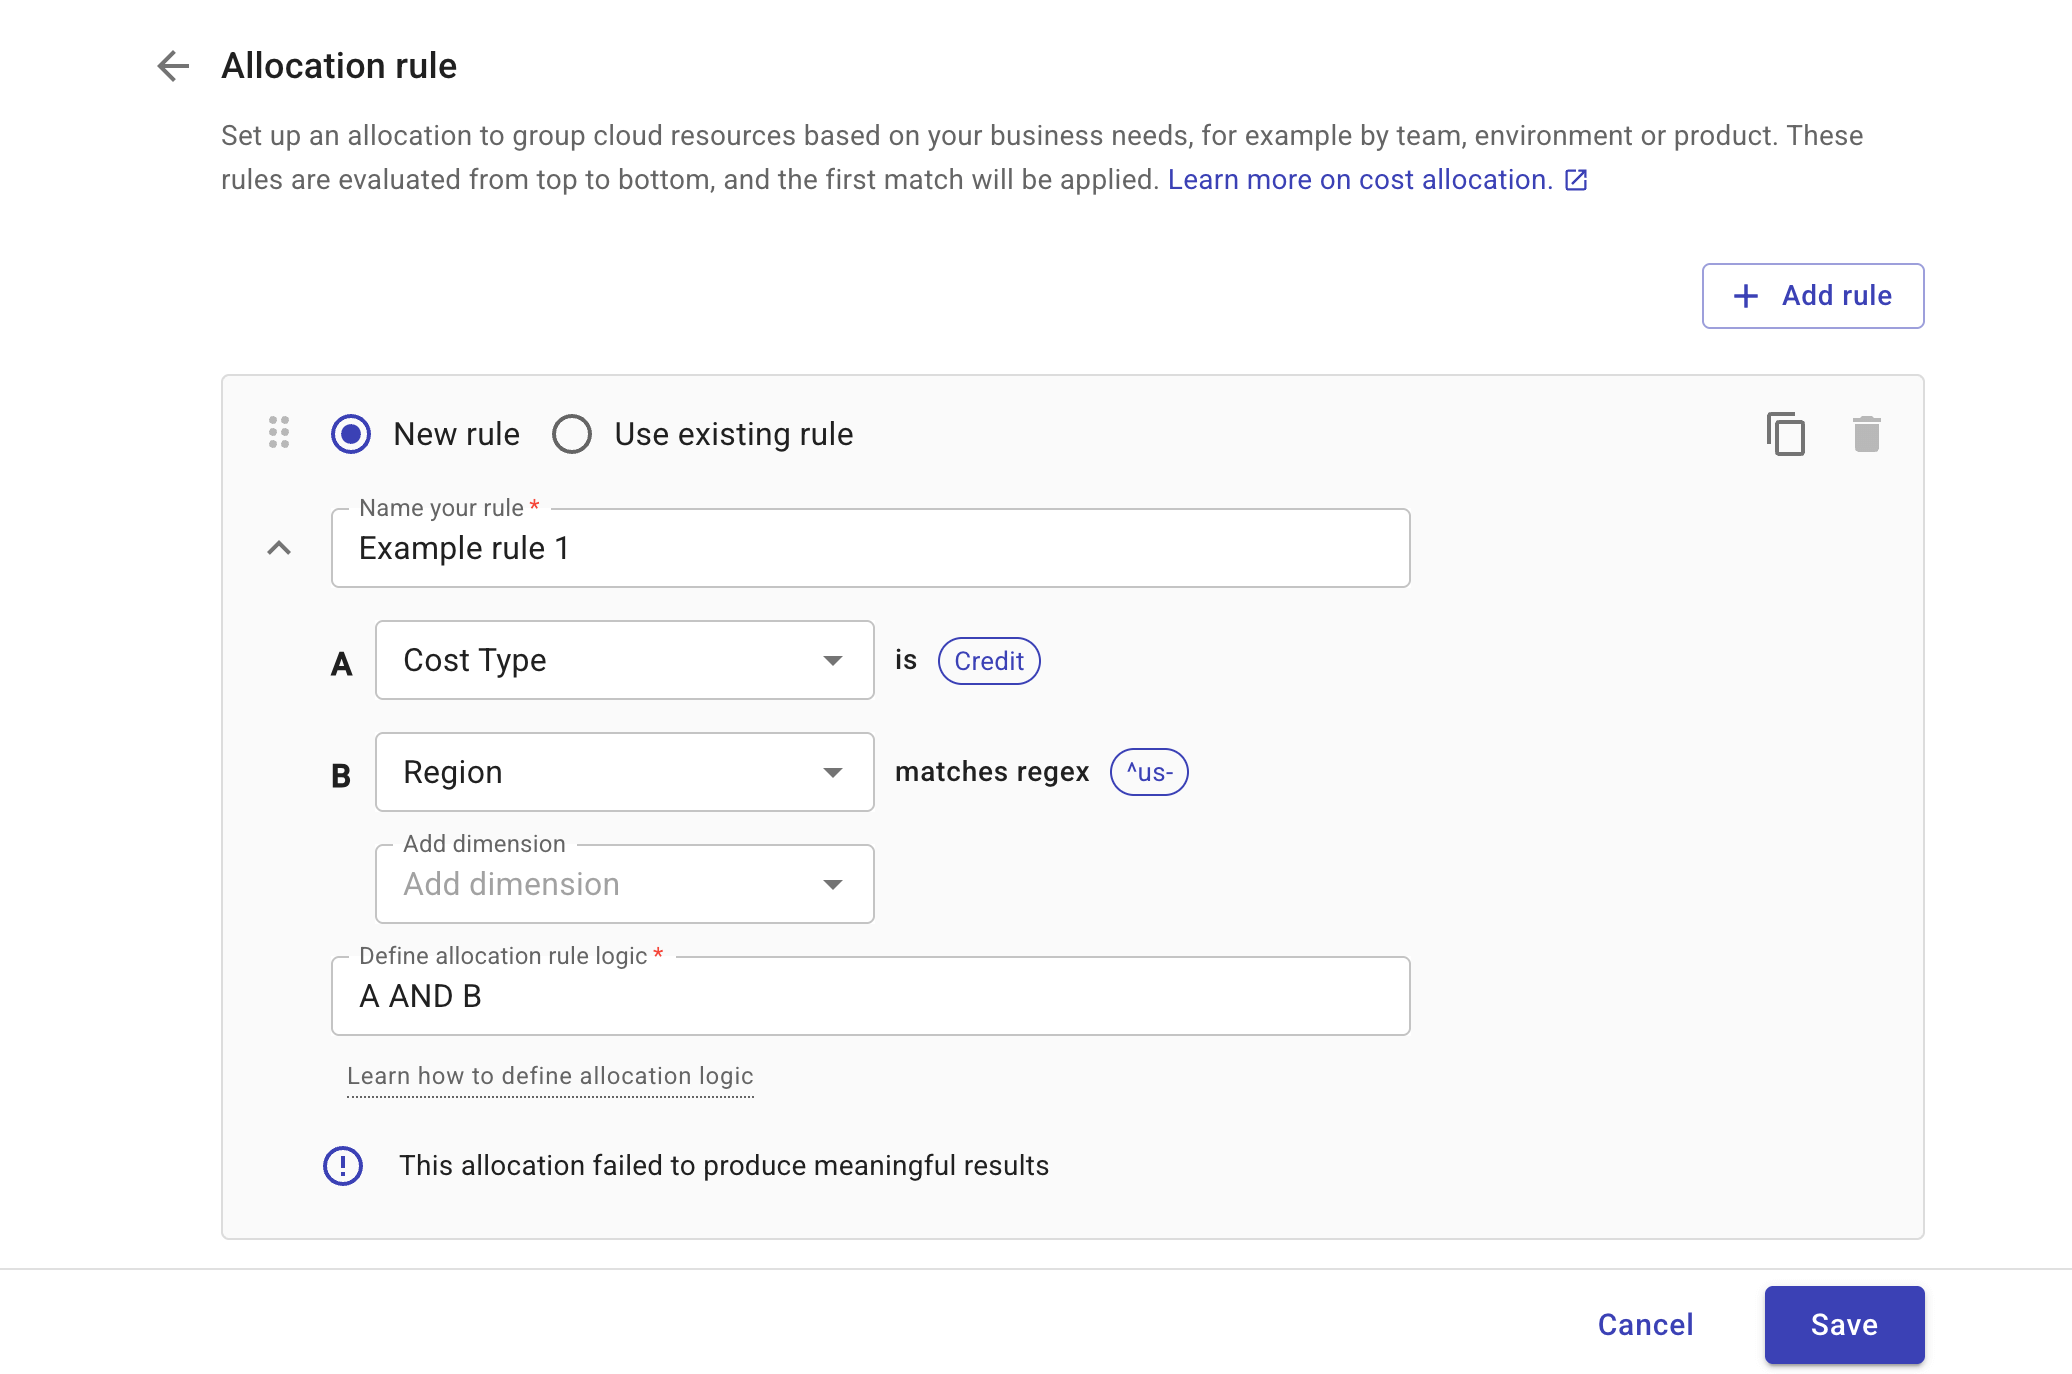
Define the allocation rule logic if there is more than one dimension.
-
Each dimension and its condition form an operant.
-
Each operant is identified by a capital letter, which also indicates the operant's position in the sequence. If you remove an operant, the identifiers of the following operants are automatically adjusted.
-
By default, operants are joined by the AND operator. Allowed operators: AND, OR, NOT.
Below is an example allocation rule with two operants.
-
-
Save the configuration to create the single rule.
-
Create a rule based on an existing one
To create an allocation rule based on an existing one:
-
Select Use existing rule.
-
Select a rule from the drop-down list.

-
Choose one of the following options to proceed:
-
Select the content copy icon or the Duplicate button to duplicate the chosen rule. This option adds a new rule while keeping the original one unchanged. If you intend to create a single rule, make sure to remove the original one from the allocation.
-
Select Make a copy to turn the chosen rule into a copy of itself so you can edit it without affecting the original one.
-
If you have write permission on the rule, you can update it directly. Be aware that this will affect all other allocations that use this rule.
-
-
Name the updated rule and save your configurations.
Create a group allocation
Group allocations are used to segment shared data among multiple groupings. Be aware of the following when creating a group allocation:
-
Any new rules defined while creating the group allocation are also created as individual single allocations.
-
Existing rules that are updated during the process will retain the changes, which also affect any other group allocations that use them.
To create a group allocation:
-
In the DoiT console, select Allocation from the top navigation mega menu, select Allocations, and then select Create allocation.
-
Define the first rule. You can either create a new rule or use an existing one.
-
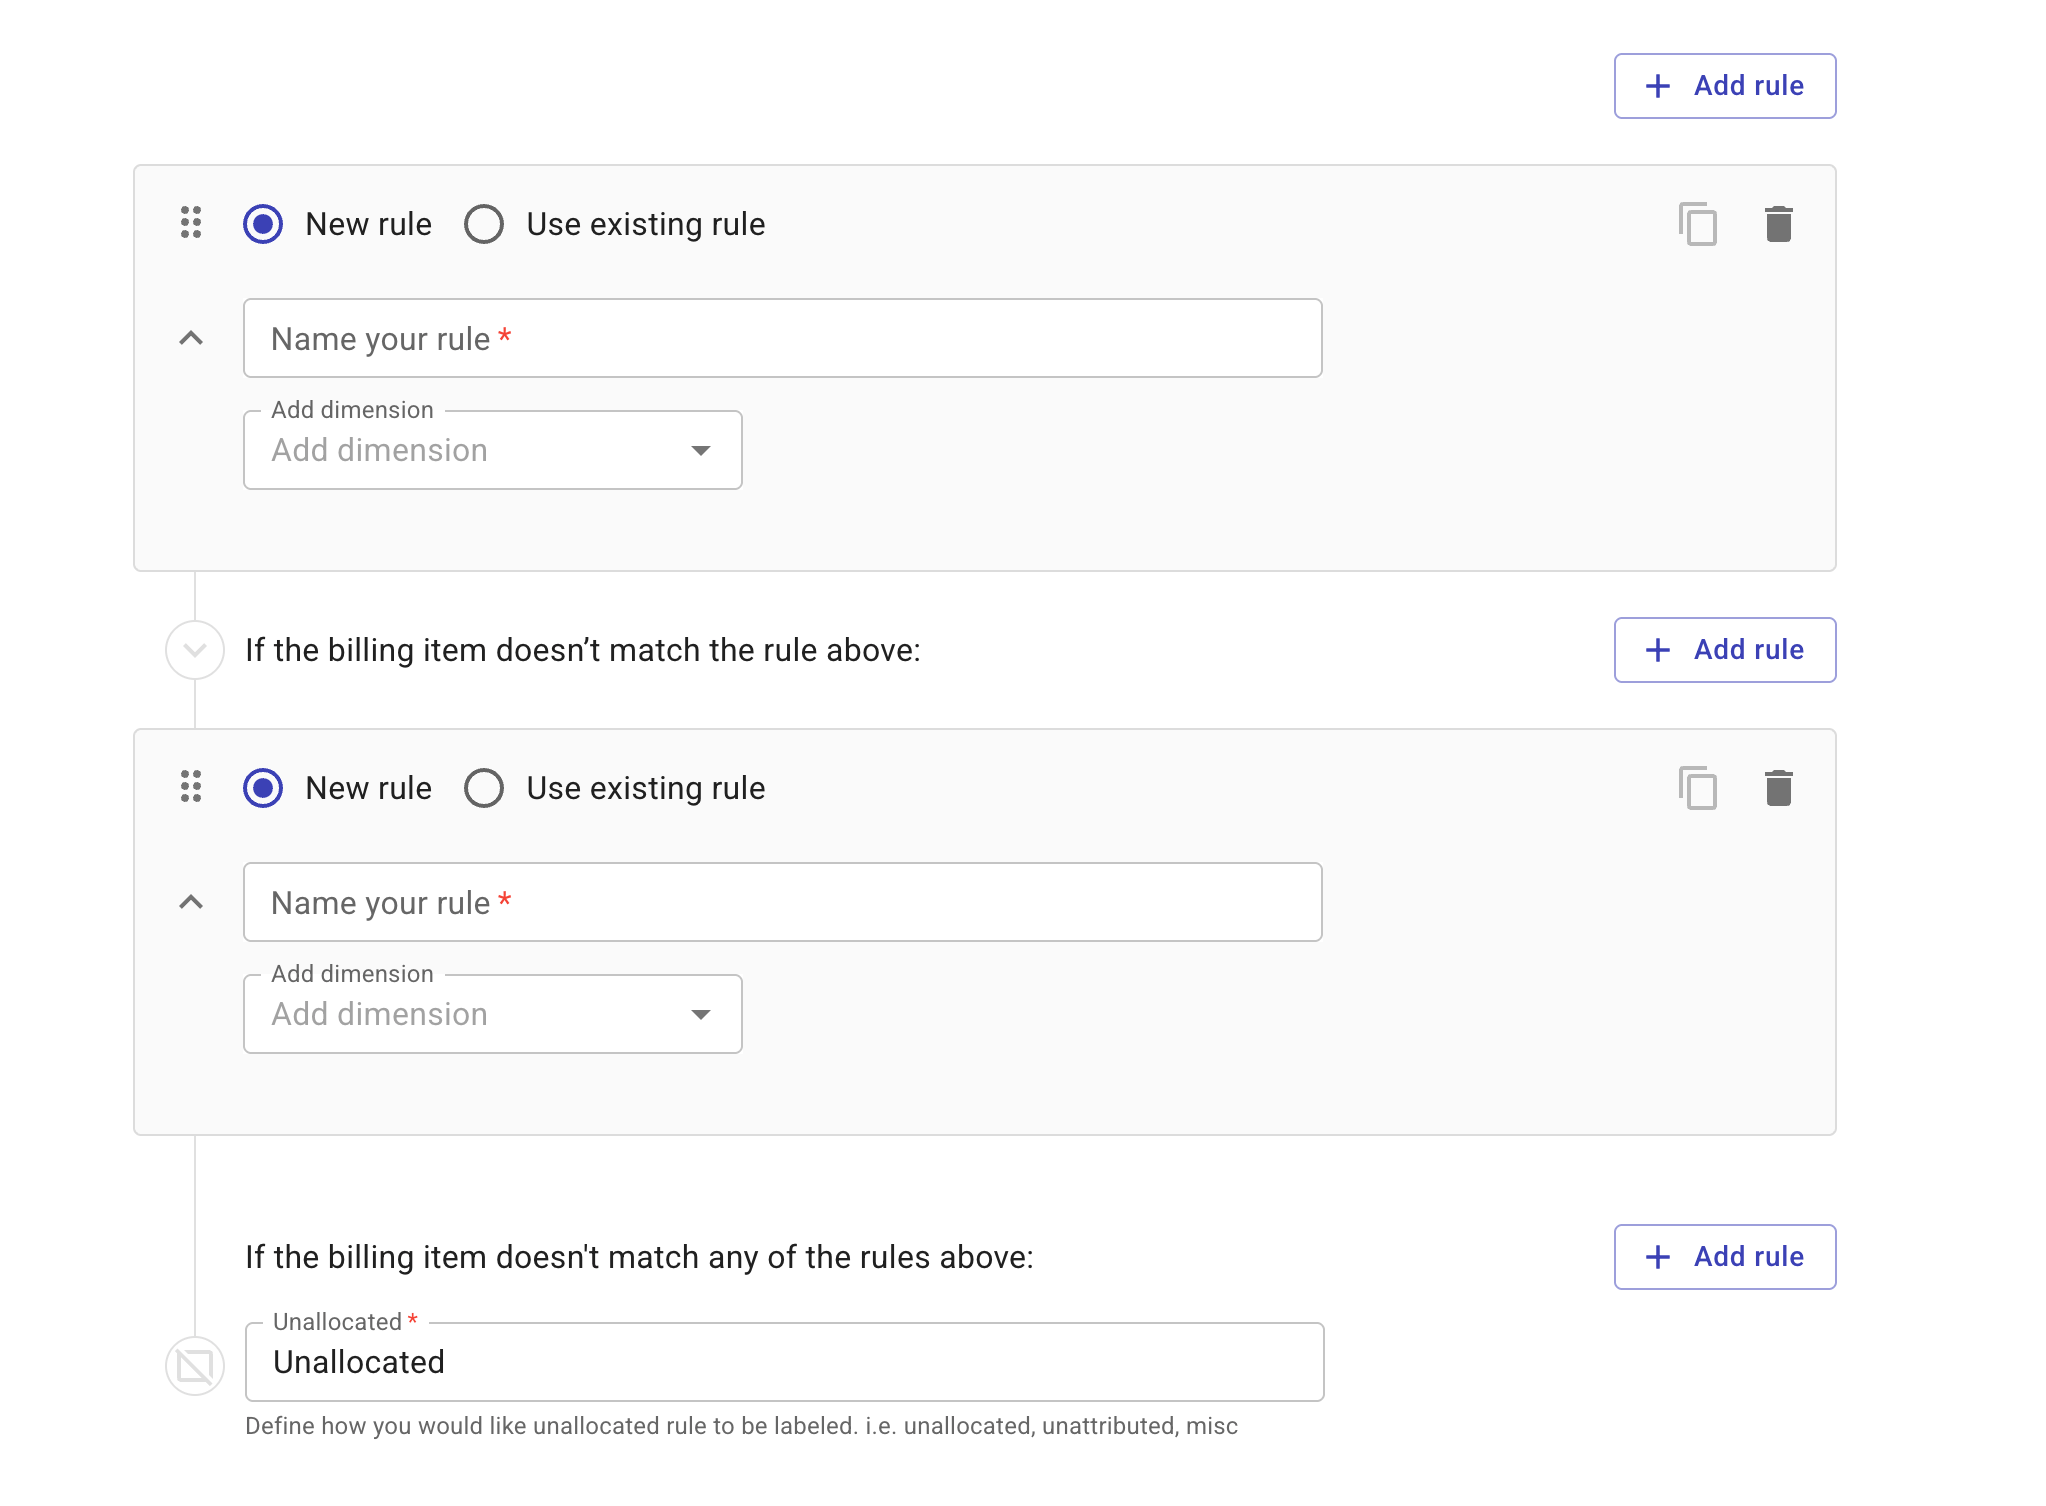
Select + Add rule to add the second rule (or select Add unallocated rule to create a group with one allocation rule).
Once you add the second rule, an Unallocated rule will be automatically added to the end.
-
Repeat the step above to add more rules and adjust the order using the Drag handle icon
if needed.-
Shared data is assigned to the allocation rule that appears earlier in the list.
-
The Unallocated rule stays at the bottom. You can rename it but not change its position or remove it.
-
-
Save the configuration. You'll be asked to name the allocation group first if you haven't done so.
Duplicate an allocation
You can duplicate an allocation directly on the main Allocations screen:
-
Locate the allocation of interest.
-
Select the kebab menu (⋮) at the rightmost end of the entry, and then select Duplicate allocation.
This approach applies to both single and group type of allocations.
Edit an allocation
You can edit an allocation if you're the owner, have the Editor permission on it, or have the Cloud Analytics Admin permission.
Updating an existing allocation may impact other components in the DoiT console that use it.
To edit an allocation:
-
Locate it on the main Allocations screen.
-
Select its name to open its configuration page and edit it.
You can also rename an allocation directly on the main Allocations screen:
-
Select the kebab menu (⋮) at the rightmost end of the entry.
-
Select Rename allocation.
Delete an allocation
-
You can delete an allocation if you are its owner or if you have the Cloud Analytics Admin permission.
-
You cannot delete an allocation that is in use by another component in the DoiT console, including reports, alerts, budgets, metrics, organizations, daily digests, or if other allocations refer to it.
To delete an individual allocation:
-
Navigate to the main Allocations screen.
-
Locate the allocation of interest, select the kebab menu (⋮) at the rightmost end of the entry, and then select Delete.
To delete multiple allocations at once:
-
Select the checkbox of each allocation that you want to delete. You can filter allocation by their properties.
-
Select the Delete button next to the Filter to perform a batch delete.
You'll be asked to confirm the deletion before it's executed.