Manage labels
This page explains how to access, create, edit, and delete labels in the DoiT console.
Required permission
- Cloud Analytics Admin
Access labels
You can access labels from all areas of the console that allow labels, including Alerts, Allocations, Budgets, Metrics, Reports, and Annotations. The example below demonstrates how to access labels from the Reports screen.
-
Sign in to the DoiT console, select Reporting and analytics from the top navigation mega menu, and then select Reports.
-
In the Edit labels drop-down menu, select Manage labels.

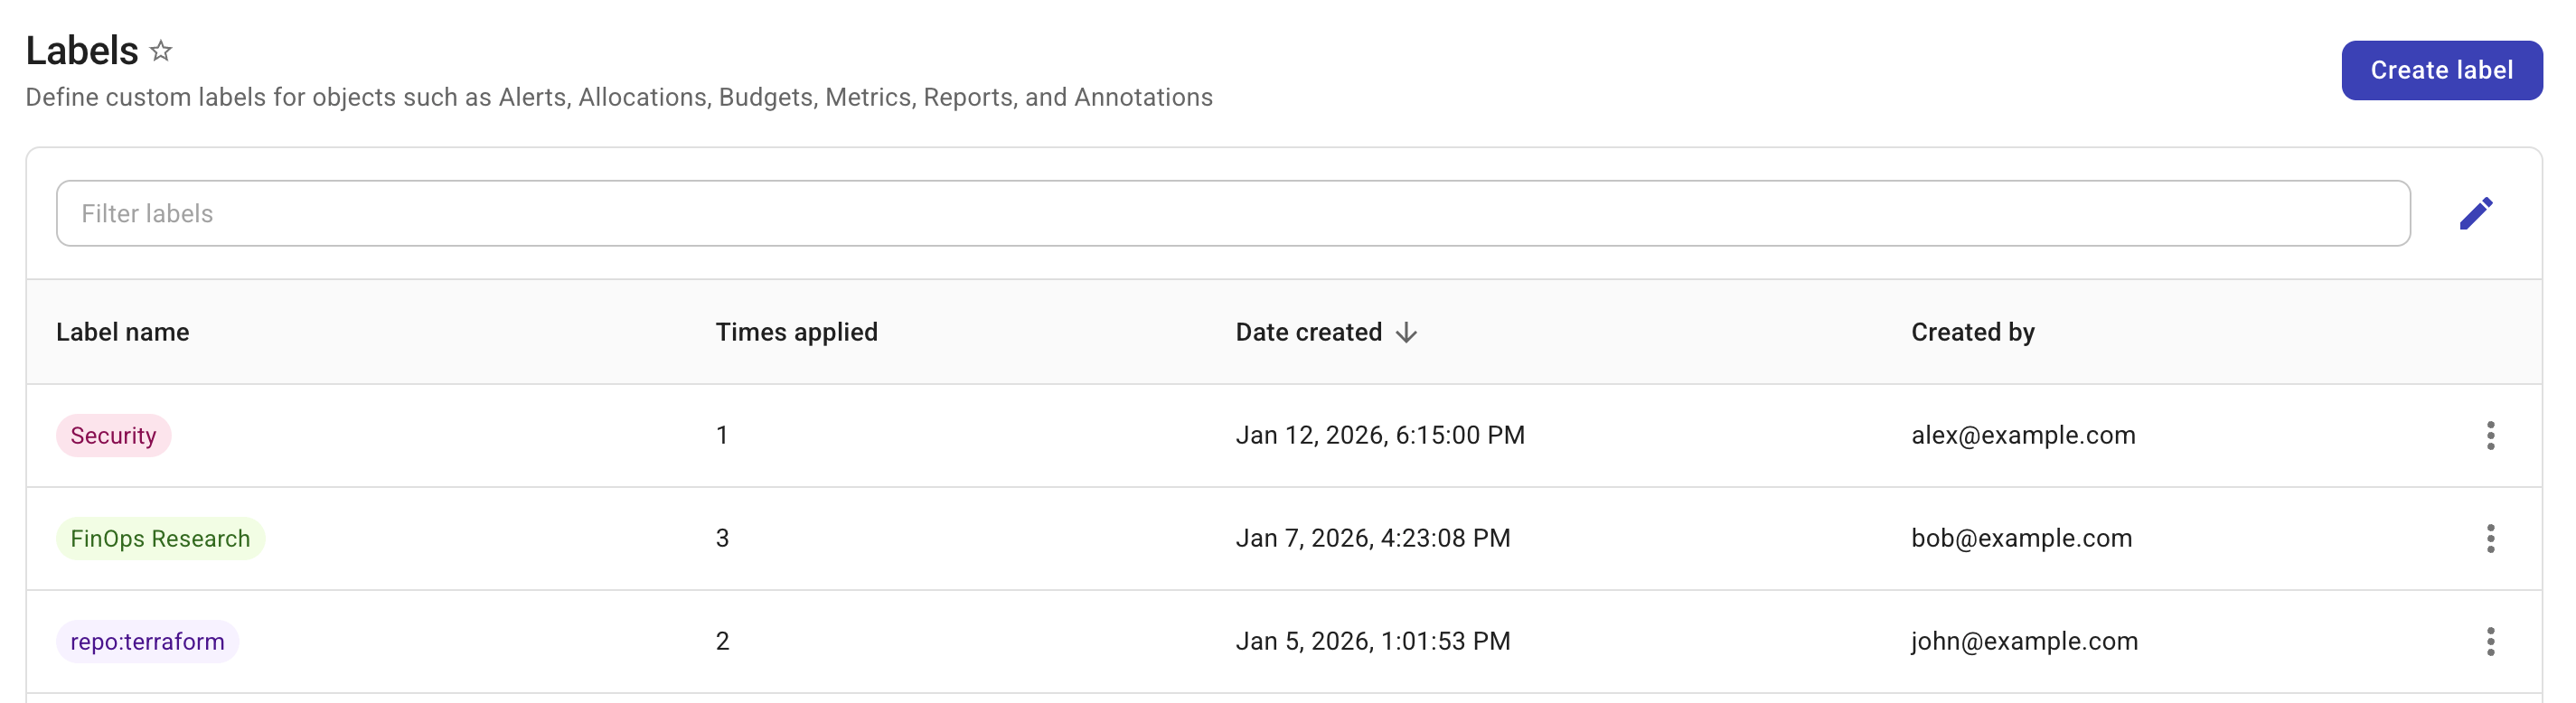
All available labels are listed on the Labels page.
Create a label
To create a new label:
-
Do one of the following:
-
Navigate to the Labels page and select Create Label in the upper-right corner.
-
Navigate to an area of the console that allows labels, like Alerts, Allocations, Budgets, Metrics, Reports, and Annotations, and select Create label in the quick-filter row.
-
-
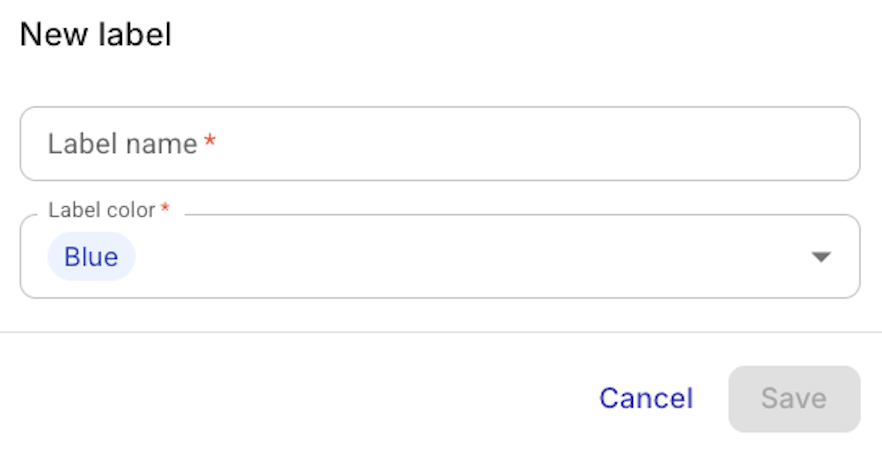
Enter a name for the new label and choose a label color.
-
Select Save to create the label.
Edit a label
To edit a label:
-
Navigate to the Labels page.
-
Locate the label entry of interest.
-
Select the kebab menu (⋮) at the rightmost end of the entry, and then select Edit.
-
You can change both the label name and the label color.
-
Select Save.
Changes are automatically applied to associated objects.
Delete a label
To delete a label:
-
Navigate to the Labels page.
-
Locate the label entry of interest.
-
Select the kebab menu (⋮) at the rightmost end of the entry, and then select Delete.
You'll be asked to confirm the deletion before it's executed.