Onboard end customers
Distributors and resellers can initiate end customer onboarding in the DoiT console.
Required permission
-
Distributor/reseller/end customer: Your DoiT account must have the Admin role.
-
End customer: You must have the following permissions on the AWS management accounts that you want to connect:
iam:CreatePolicy
iam:CreateRole
iam:AttachRolePolicy
iam:GetRole
cloudformation:CreateStack
cloudformation:GetTemplateSummary
sns:Publish
You can also attach to your user or role the AWS managed policy AdministratorAccess, which fully covers the permissions above but grants broader access.
Onboard a customer
The onboarding process of an end customer consists of three parts, conducted by users with the Admin role along the hierarchy.
Part 1: Add customer
This part is performed by the distributor or reseller:
-
Sign in to the DoiT console.
-
Add a customer. Make sure to select the correct reseller as parent when configuring the customer profile.
Part 2: Create contract
The distributor or reseller admin user needs to create a contract for the end customer before the end customer can start connecting cloud accounts.
Part 3: AWS onboarding
This part is performed by the end customer:
-
Activate the DoiT account upon receiving the welcome email and complete the sign-up process.
-
Sign in to the DoiT console, select Home from the top navigation mega menu.
-
Select Connect your AWS Management Account if you're connecting your first management account.
-
If you've connected a management account, select Manage AWS integrations, and then select Connect new account.

-
-
Review the information displayed on the DoiT console.
-
Enter the AWS management account that you want to connect.
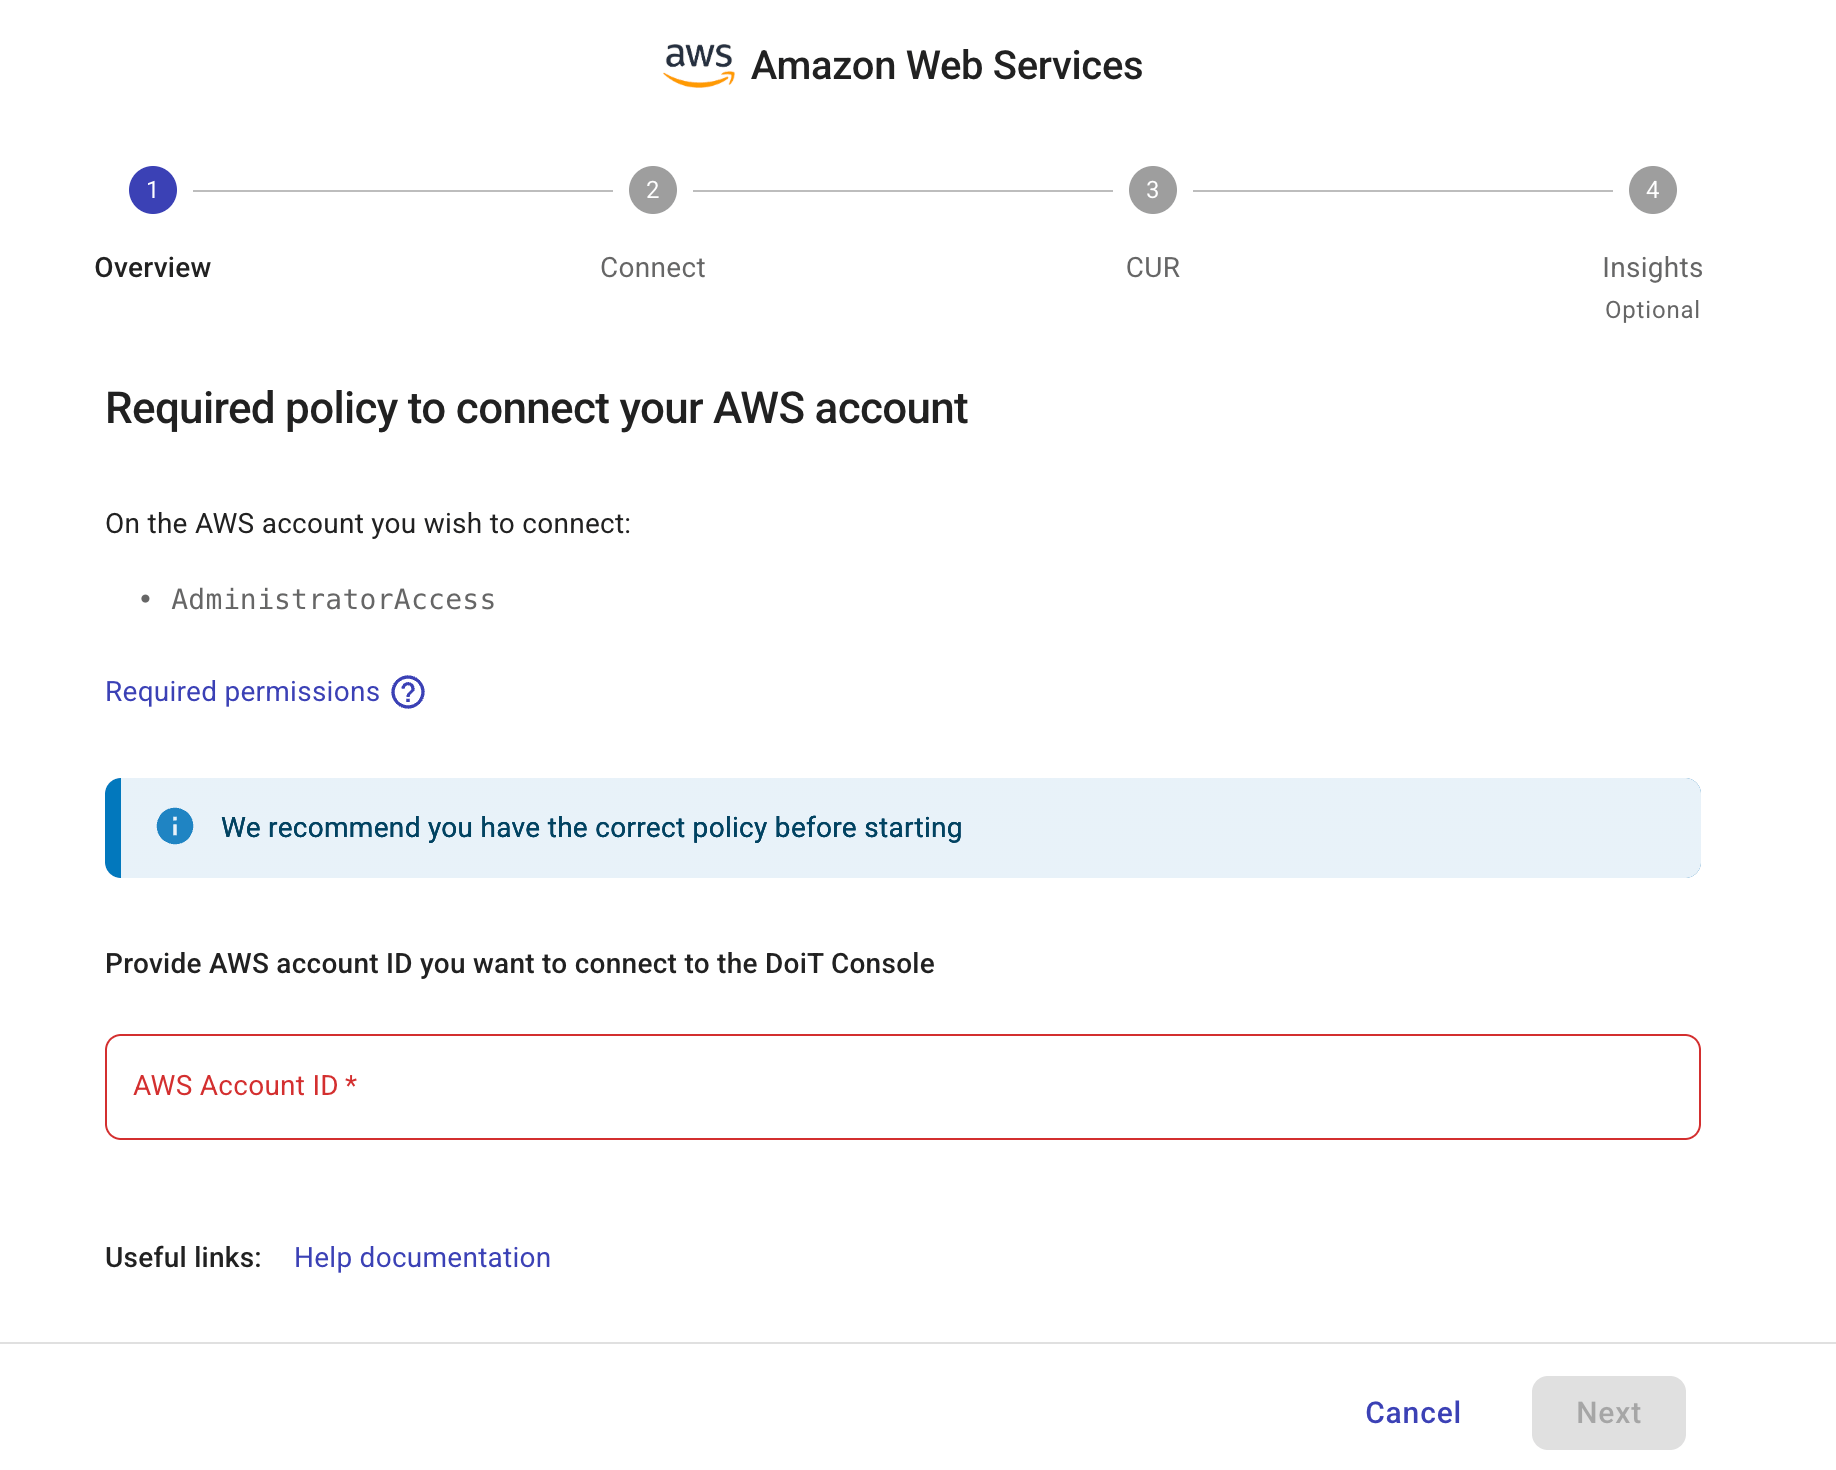
-
Select Next.
-
Follow the instructions on the DoiT console.
NoteCurrently, DoiT PartnerOps supports only legacy CUR.
-
Sign in to the AWS Billing and Cost Management console.
-
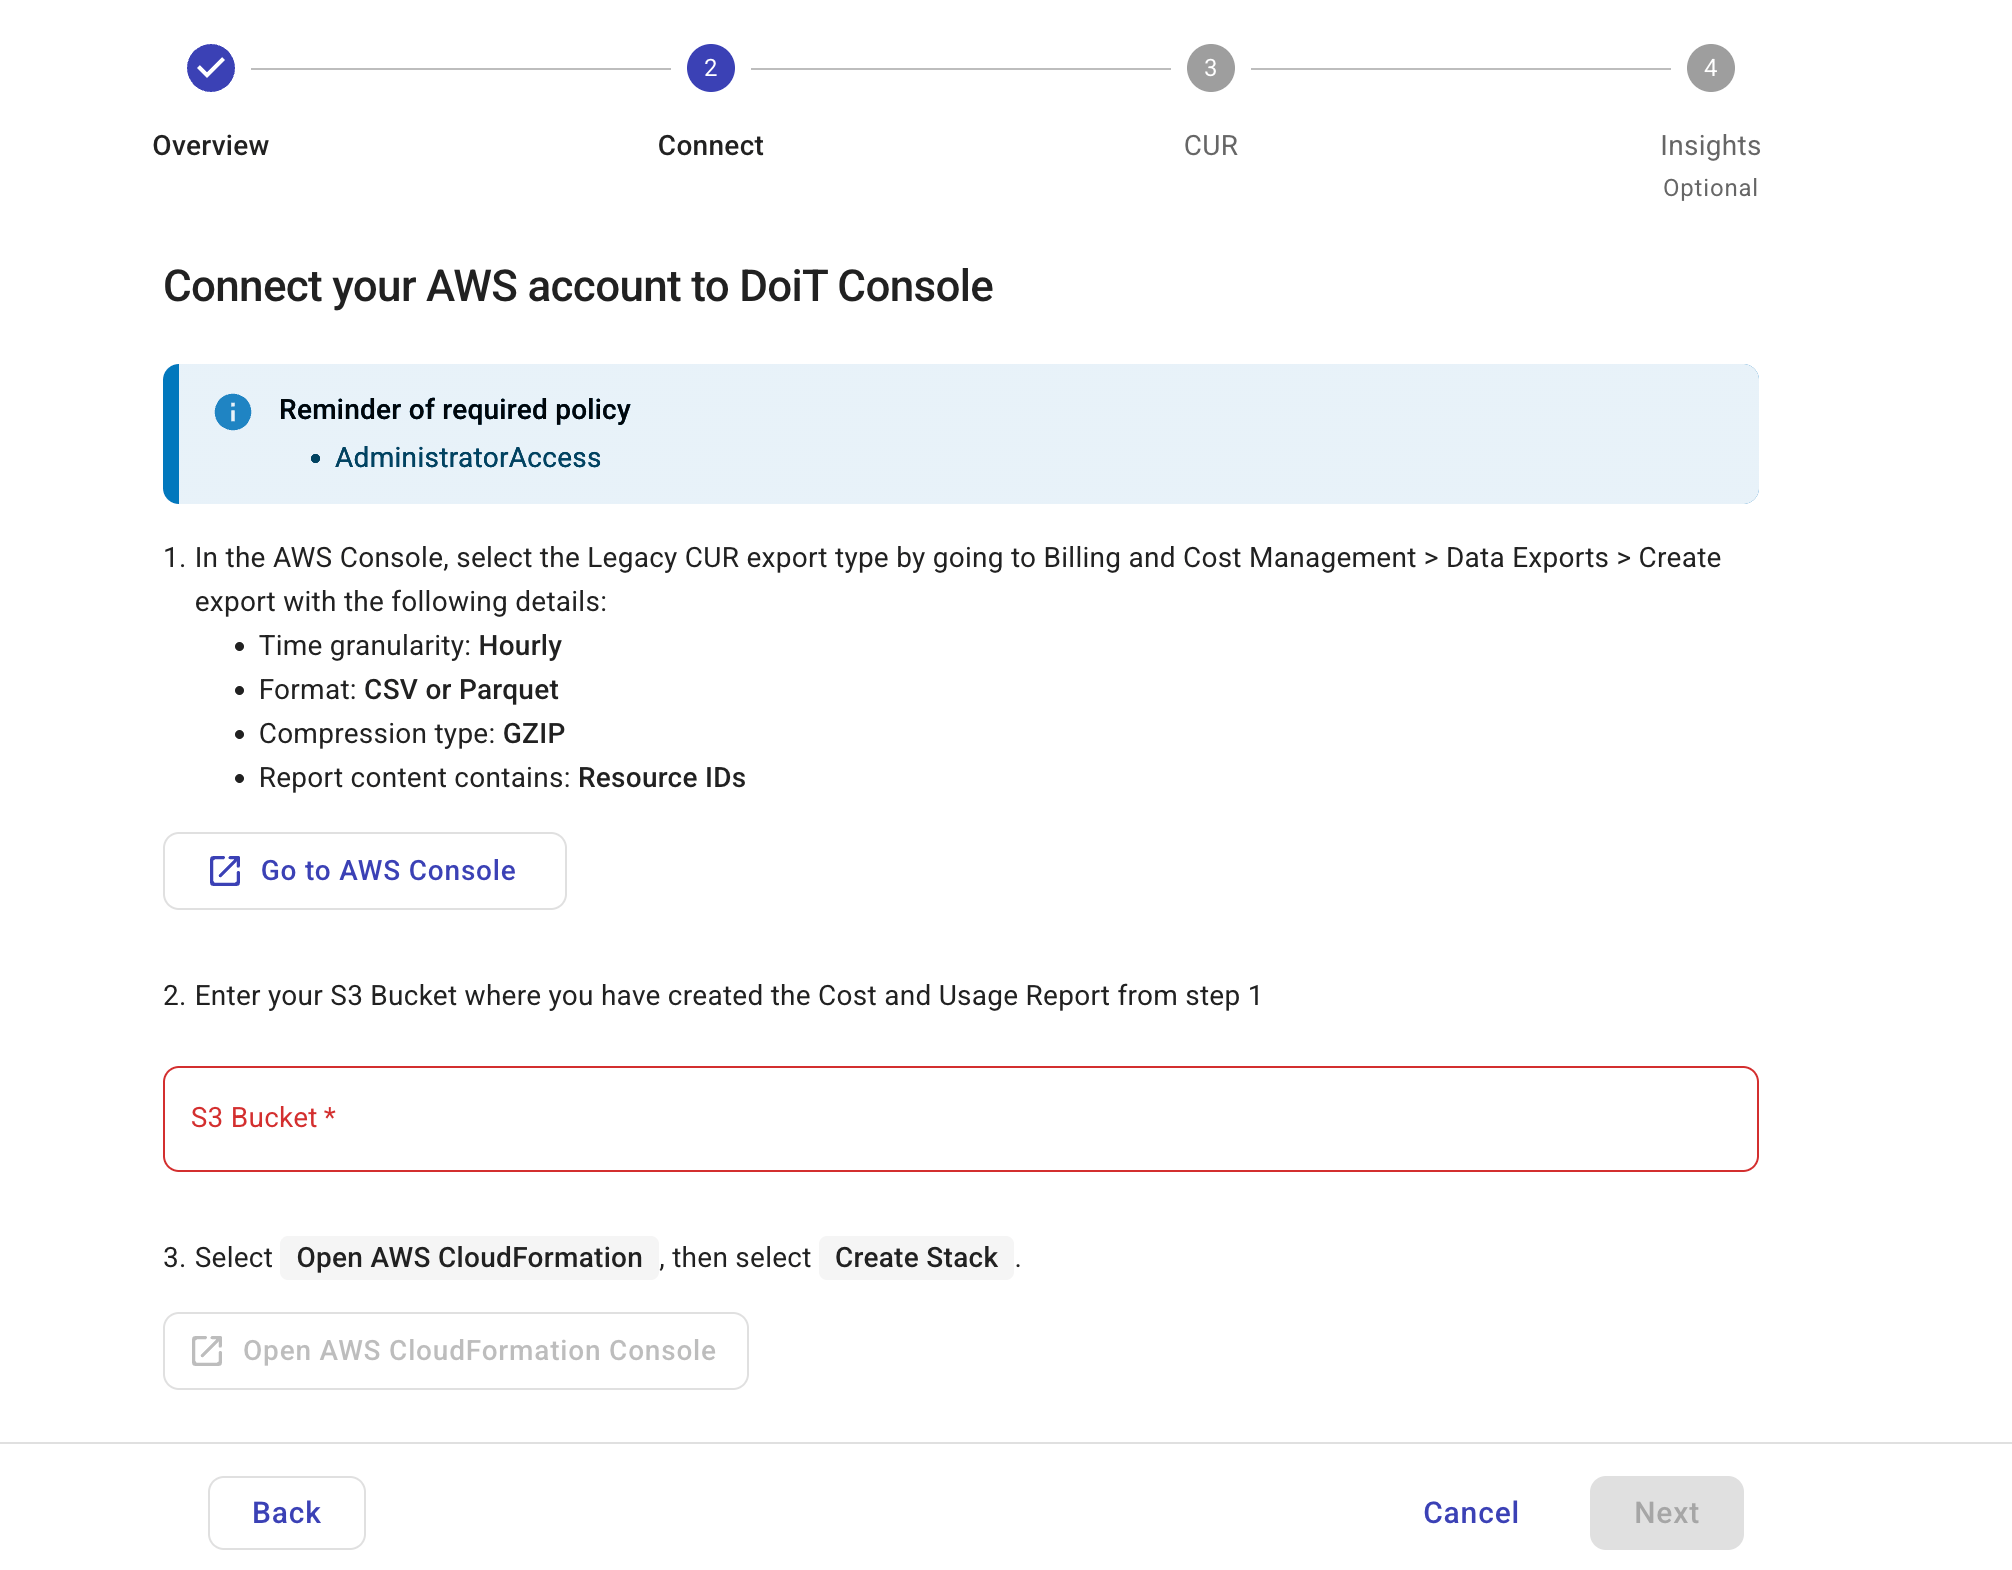
Create a legacy CUR export with the following settings:
-
Export type: Legacy CUR export
-
Export content: For Additional export content, select Include resource IDs. Select Split cost allocation data.
-
Data table delivery options: For Time granularity, select Hourly.
-
Compression type and file format: Select
Parquet(recommended) orgzip. -
Configure S3 bucket: Create a new S3 bucket or select an existing one.
-
-
Switch back to the DoiT console, enter the name of the S3 bucket where you have created the CUR. DoiT reads CUR files exclusively from the specified bucket and automatically discovers new CUR files in it.
-
In the DoiT console, select Open AWS CloudFormation Console.
-
In the AWS CloudFormation console, create a stack using the DoiT template.
-
Select Next to continue.
-
-
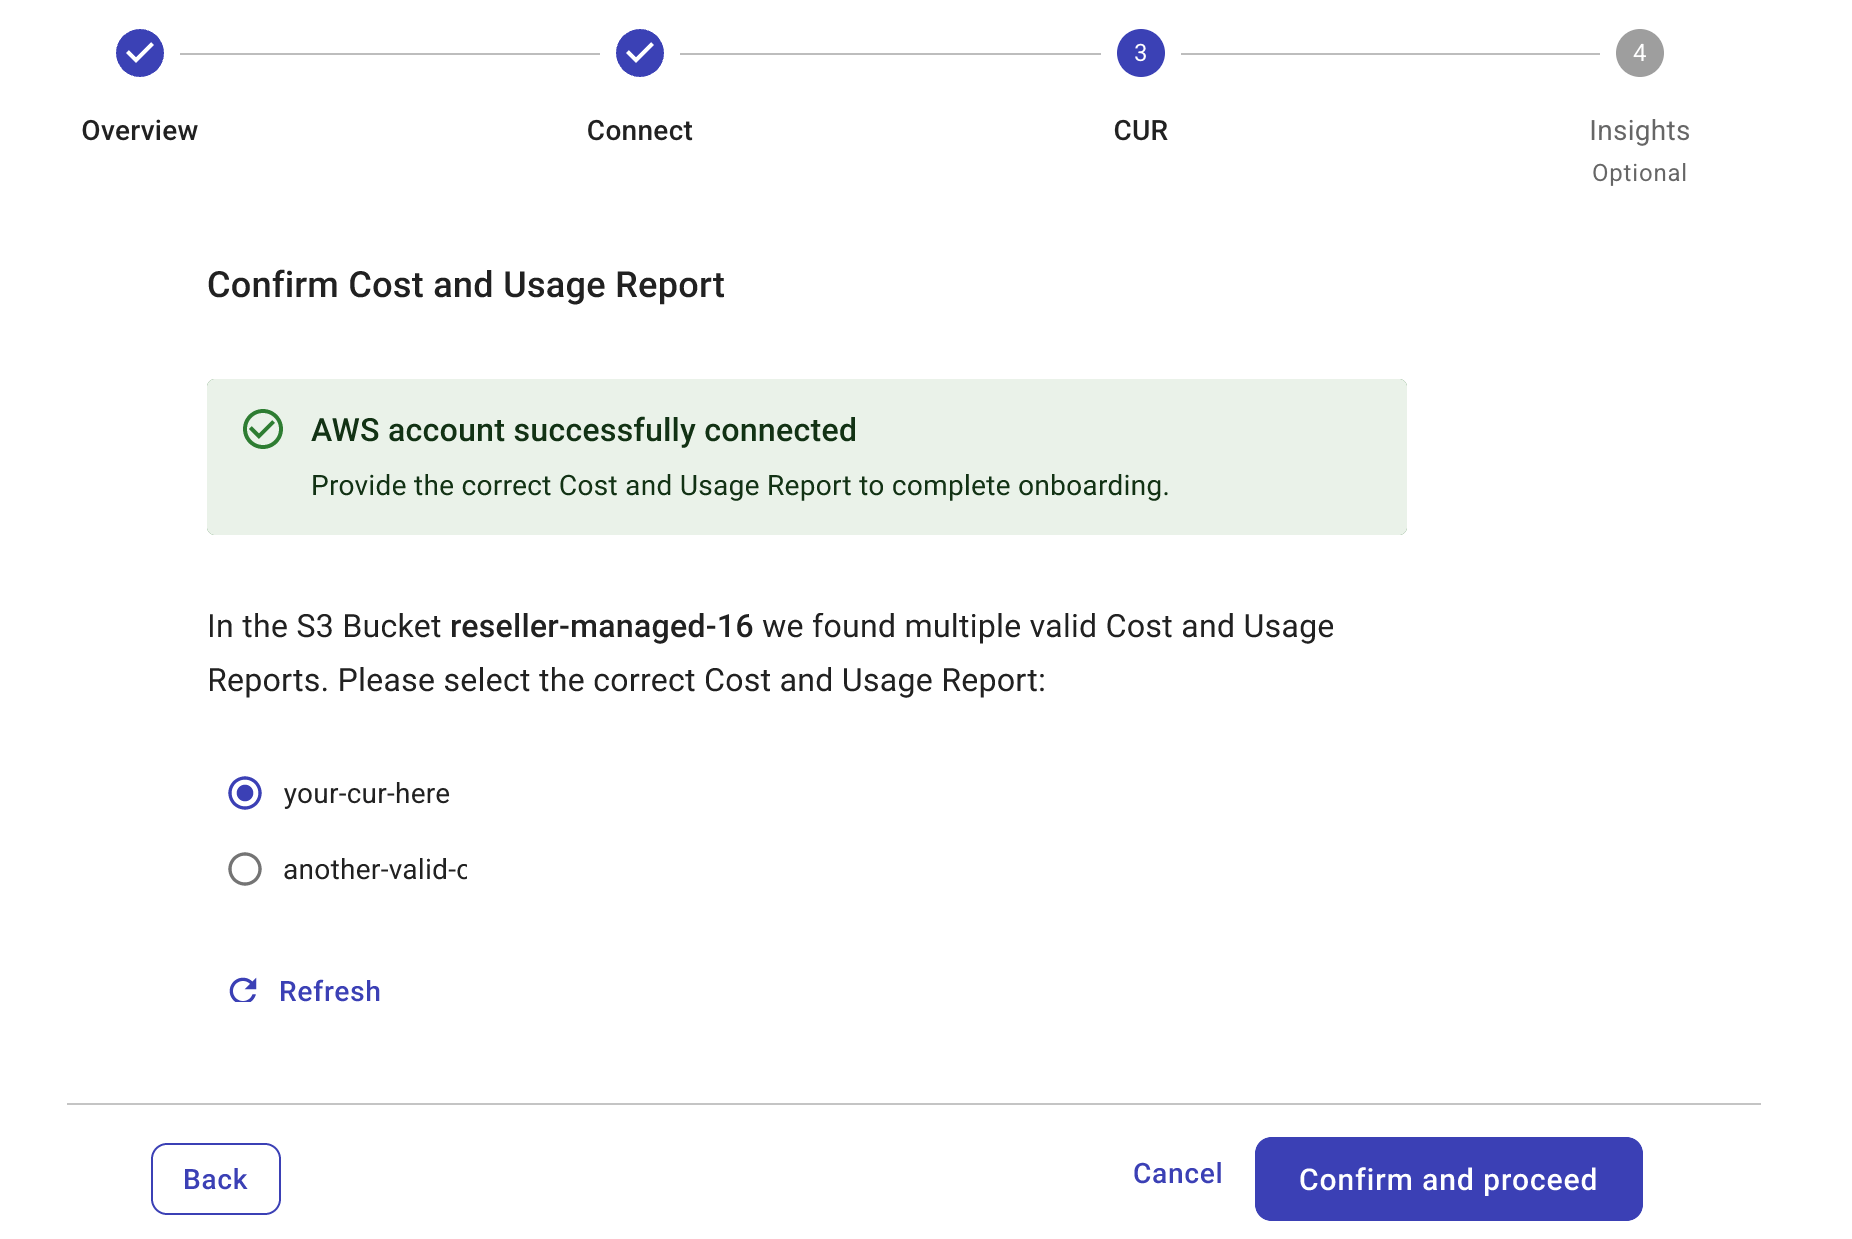
Once the AWS account has been successfully connected, CUR files in the S3 bucket are validated:
-
Valid CURs are listed on the page. Currently, only one CUR is supported.
-
If none of the CURs is valid, the DoiT console displays why they are invalid so you can make corrections.
You can always select Refresh to validate CURs in the S3 bucket.
-
-
Select Confirm and proceed.
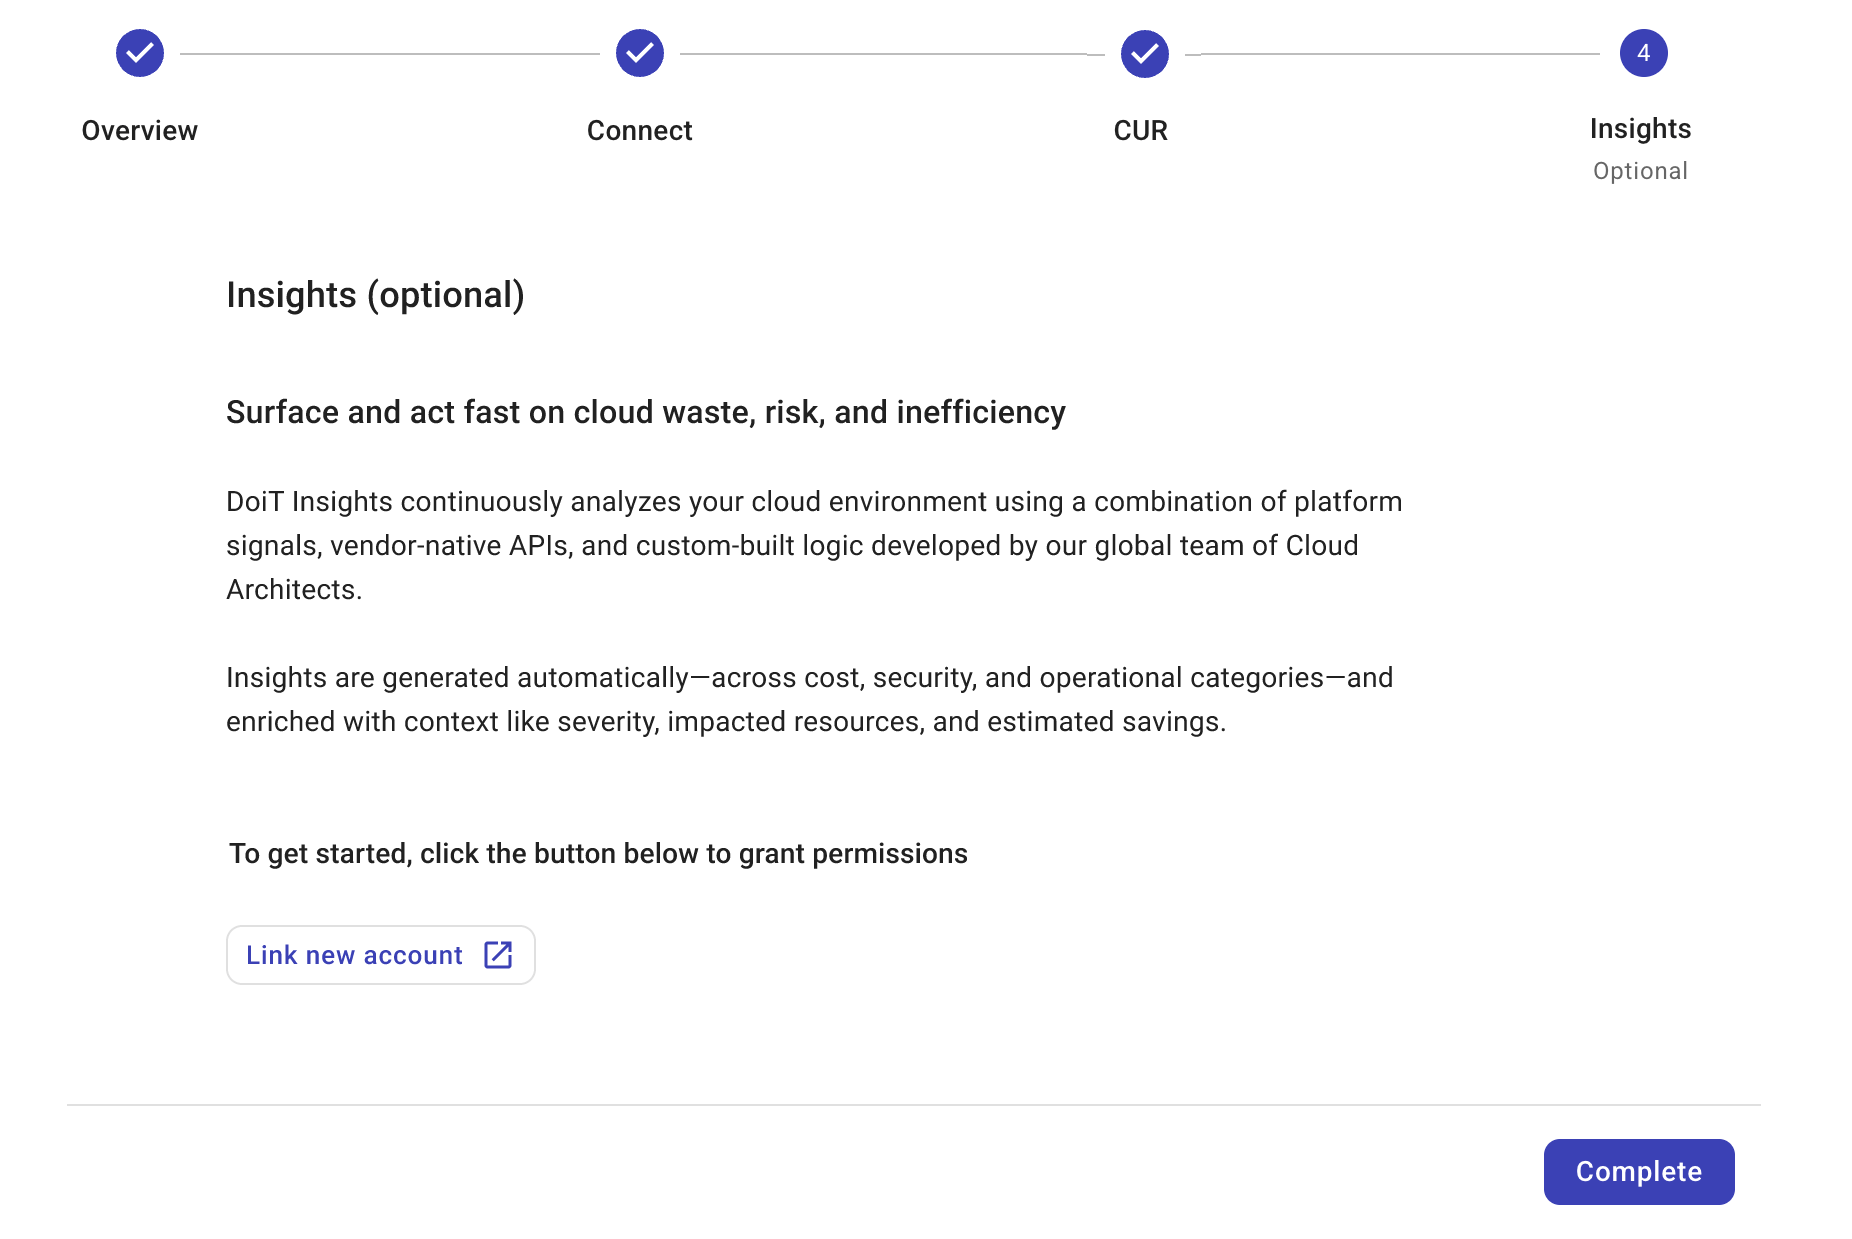
(Optional) Enable insights
The last step in the connection wizard is optional.
You can select Link new account to start enabling AWS Trusted Advisor Insights, AWS Cost Optimization Hub insights, and AWS Security Hub insights. Or, you can select Complete to finish the onboarding process and enable those insights later.
Validation
Review the onboarding progress and take necessary actions.