Create a service account
For secure authentication and access, you must:
-
Create a Service Account to provide a dedicated, secure identity for the DoiT integration.
-
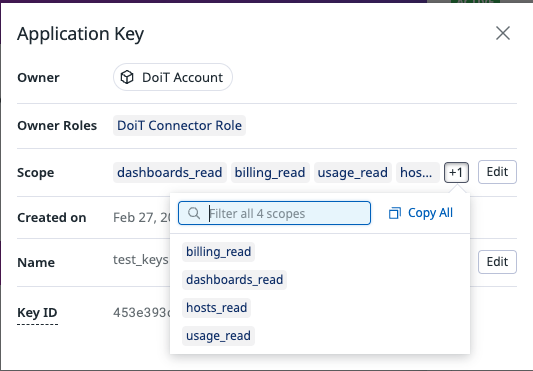
Create an application key to authenticate the service account, allowing DoiT to integrate securely with Datadog. DoiT needs certain permissions to analyze your Datadog data. Some are required while others are optional, depending on your requirements. You can add these permissions when you create an application key. You can grant the following authorization scopes:
-
(Required) billing_read and usage_read: Grants permissions to the Cost Summary and Cost Chargebacks data. See also Cost Details.
-
(Optional) hosts_read: Allows DoiT to access the data used to populate DoiT Cloud Analytics and the Daily agent cost per provider widget. See also Datadog host costs.
-
(Optional) dashboards_read: Allows DoiT to access the data used to populate DoiT Cloud Analytics and the Daily dashboard popularity trend widget. See also Daily dashboard popularity trend.
-
-
In the Datadog platform, go to Organization Settings.
-
Navigate to IDENTITY & ACCOUNTS and select Service Accounts.
-
-
In the Name field, enter a name that fits the usage, for example, DoiT Account.
-
In Email, enter your email address.
-
From the Assign Roles list, select the role you created earlier, for example, DoiT Connector Role.
-
Select Create Service Account.
-
-
Navigate to ACCESS and select Application Keys.
-
Select +New Key.
-
In Name, enter a name that fits the usage, for example, DoiT Usage Monitor.
-
Select Create Key. A new application key is created.
-
You can grant the following authorization scopes.
-
From Scope, select Edit. The Edit Key Scope dialog is displayed.
-
In Filter Scopes, search for the following scopes:
- (Required) billing_read
- (Required) usage_read
- (Optional) hosts_read
- (Optional) dashboards_read
Select the checkboxes next to the scopes to apply them.
-
Select Save.

CautionThe key is only visible once. Please ensure you copy the key before closing the browser window.
-
-
Select Finish.
-
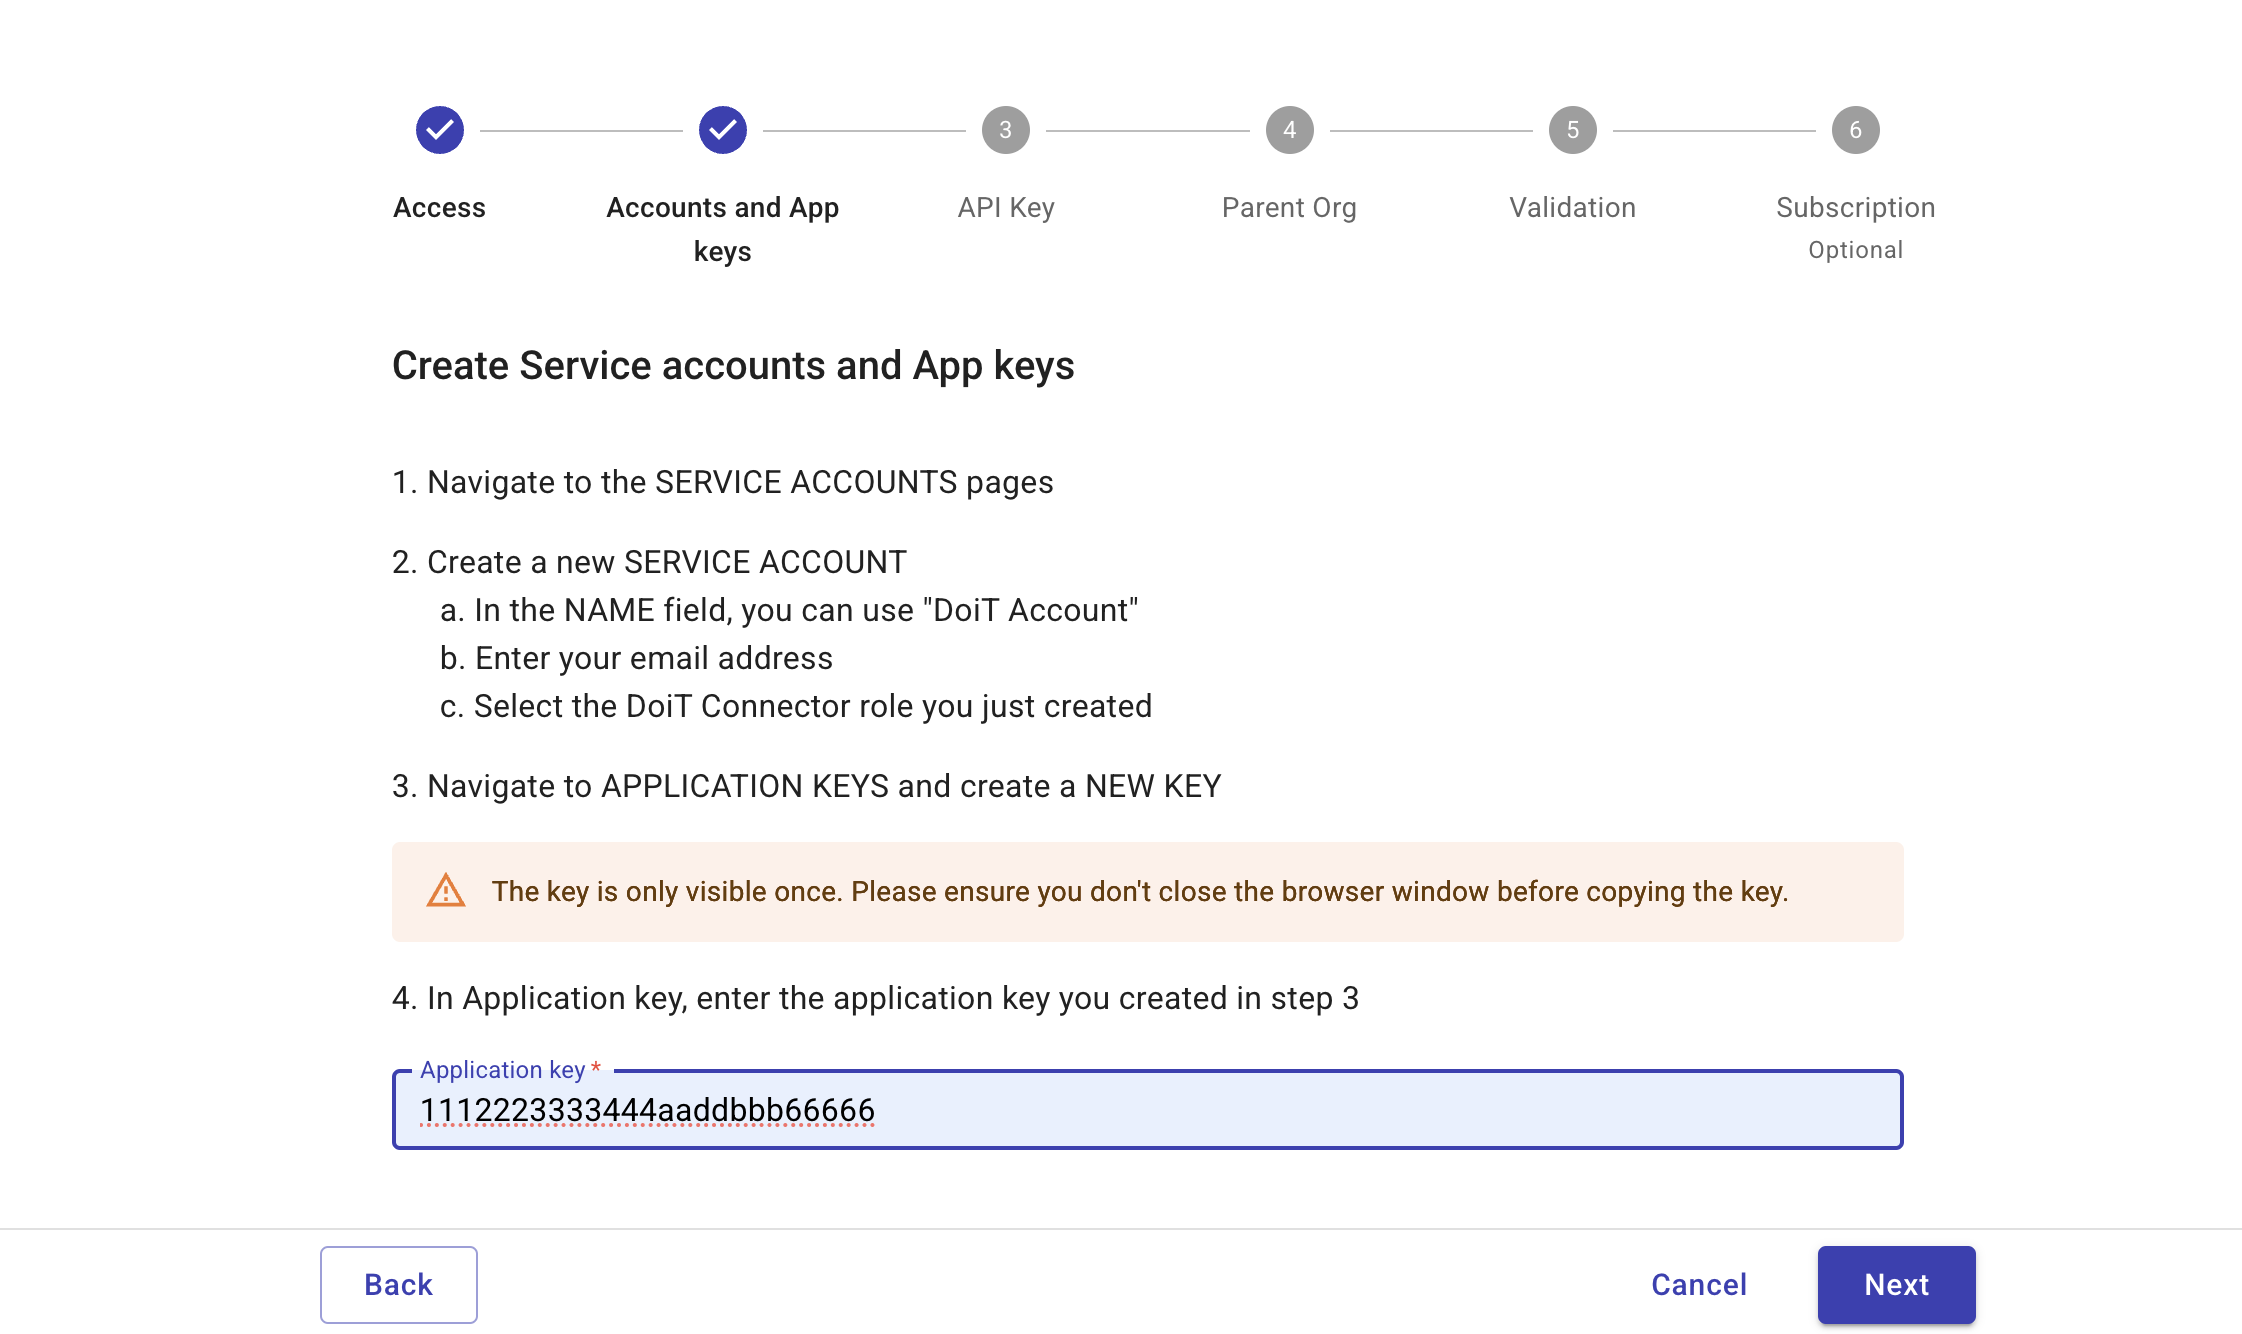
Go to the DoiT console and in Application key, paste the application key you created above.
-
Select Next to move to the next step.
