Create and manage Flows
This page explains how to create and manage Flows, including editing, deleting, and viewing the run history of a CloudFlow.
Required permission
- CloudFlow Editor
Access CloudFlow
To access CloudFlow, sign in to the DoiT console, select Operate from the top navigation bar, and then select CloudFlow.
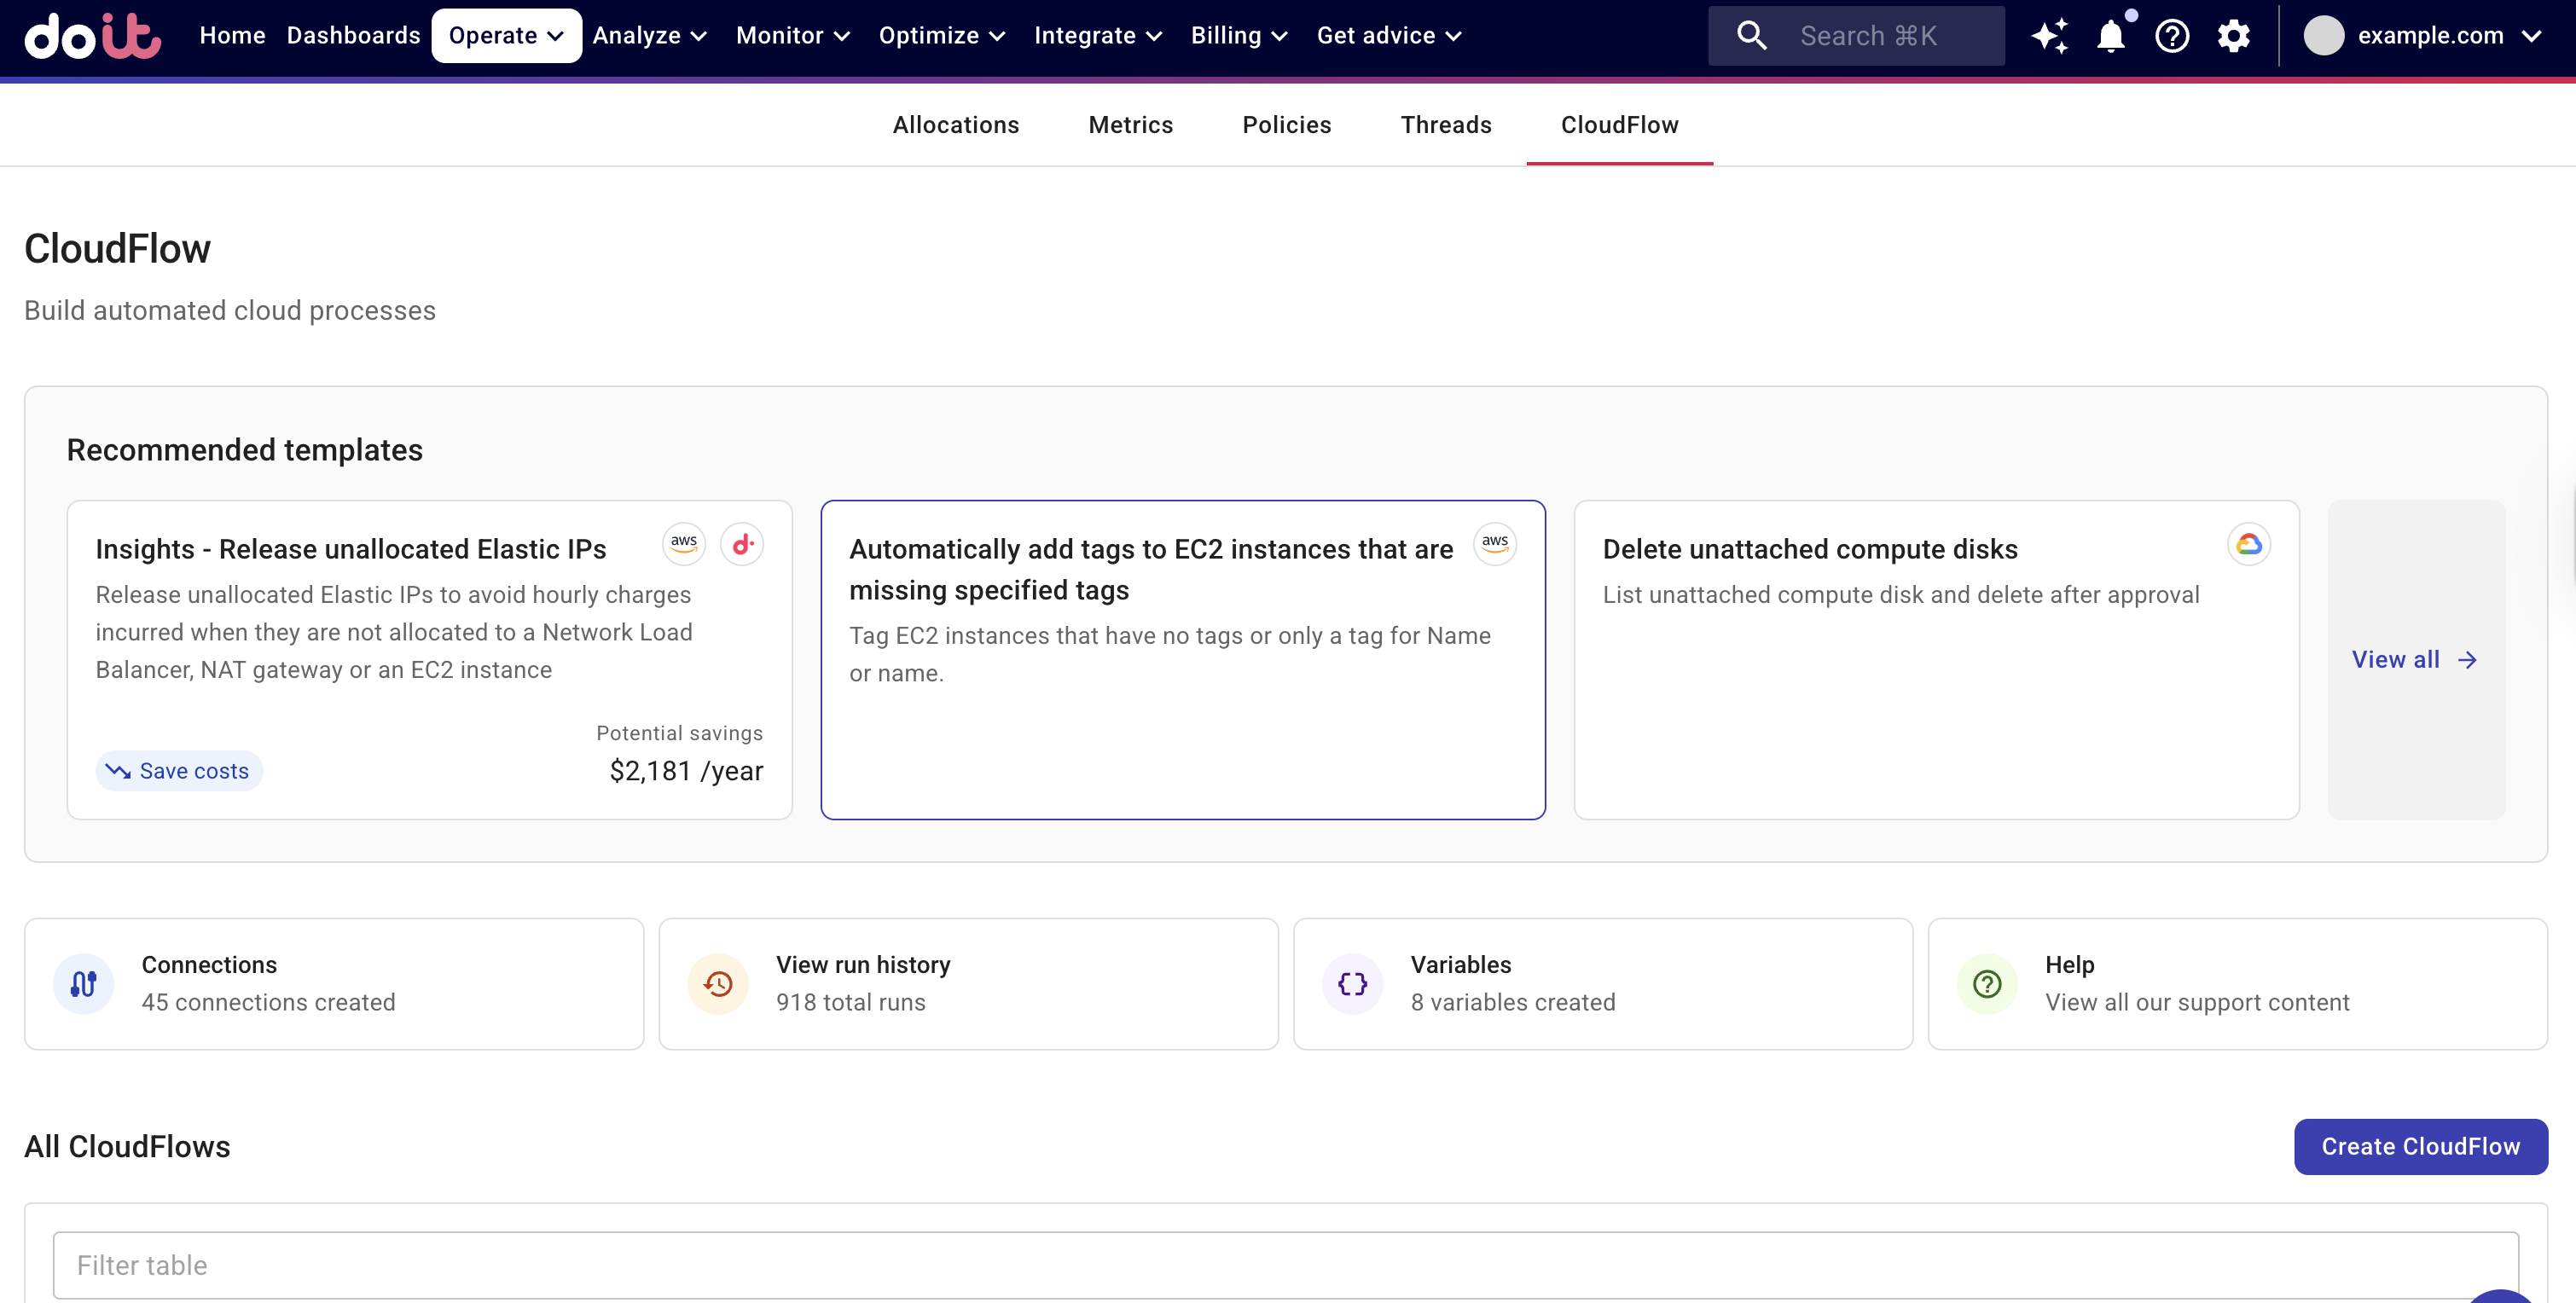
Create a CloudFlow
You can create a flow from scratch or based on a template.
CloudFlows are available to customers on all tiers, and you can create as many as you like. However, customers subscribed to the DoiT Cloud Intelligence Essentials tier and DoiT Heritage customers can only publish up to two flows. To publish more flows, contact your account manager to upgrade to the DoiT Cloud Intelligence Enhanced or Enterprise tiers.
If you need help, have a question, or are unsure how to achieve your desired outcome in the flow, select Contact a human expert. Our experts are ready to guide you and help you create your flow!
See Quick start for a step-by-step tutorial that walks you through the process of creating a CloudFlow from scratch.
Manage a Flow
You can manage your CloudFlows; run a published CloudFlow, or edit, duplicate, and delete them. To do this, locate the CloudFlow of interest from the list, select the three dots menu (⋮) at the rightmost end of the entry, and then choose the action to perform.
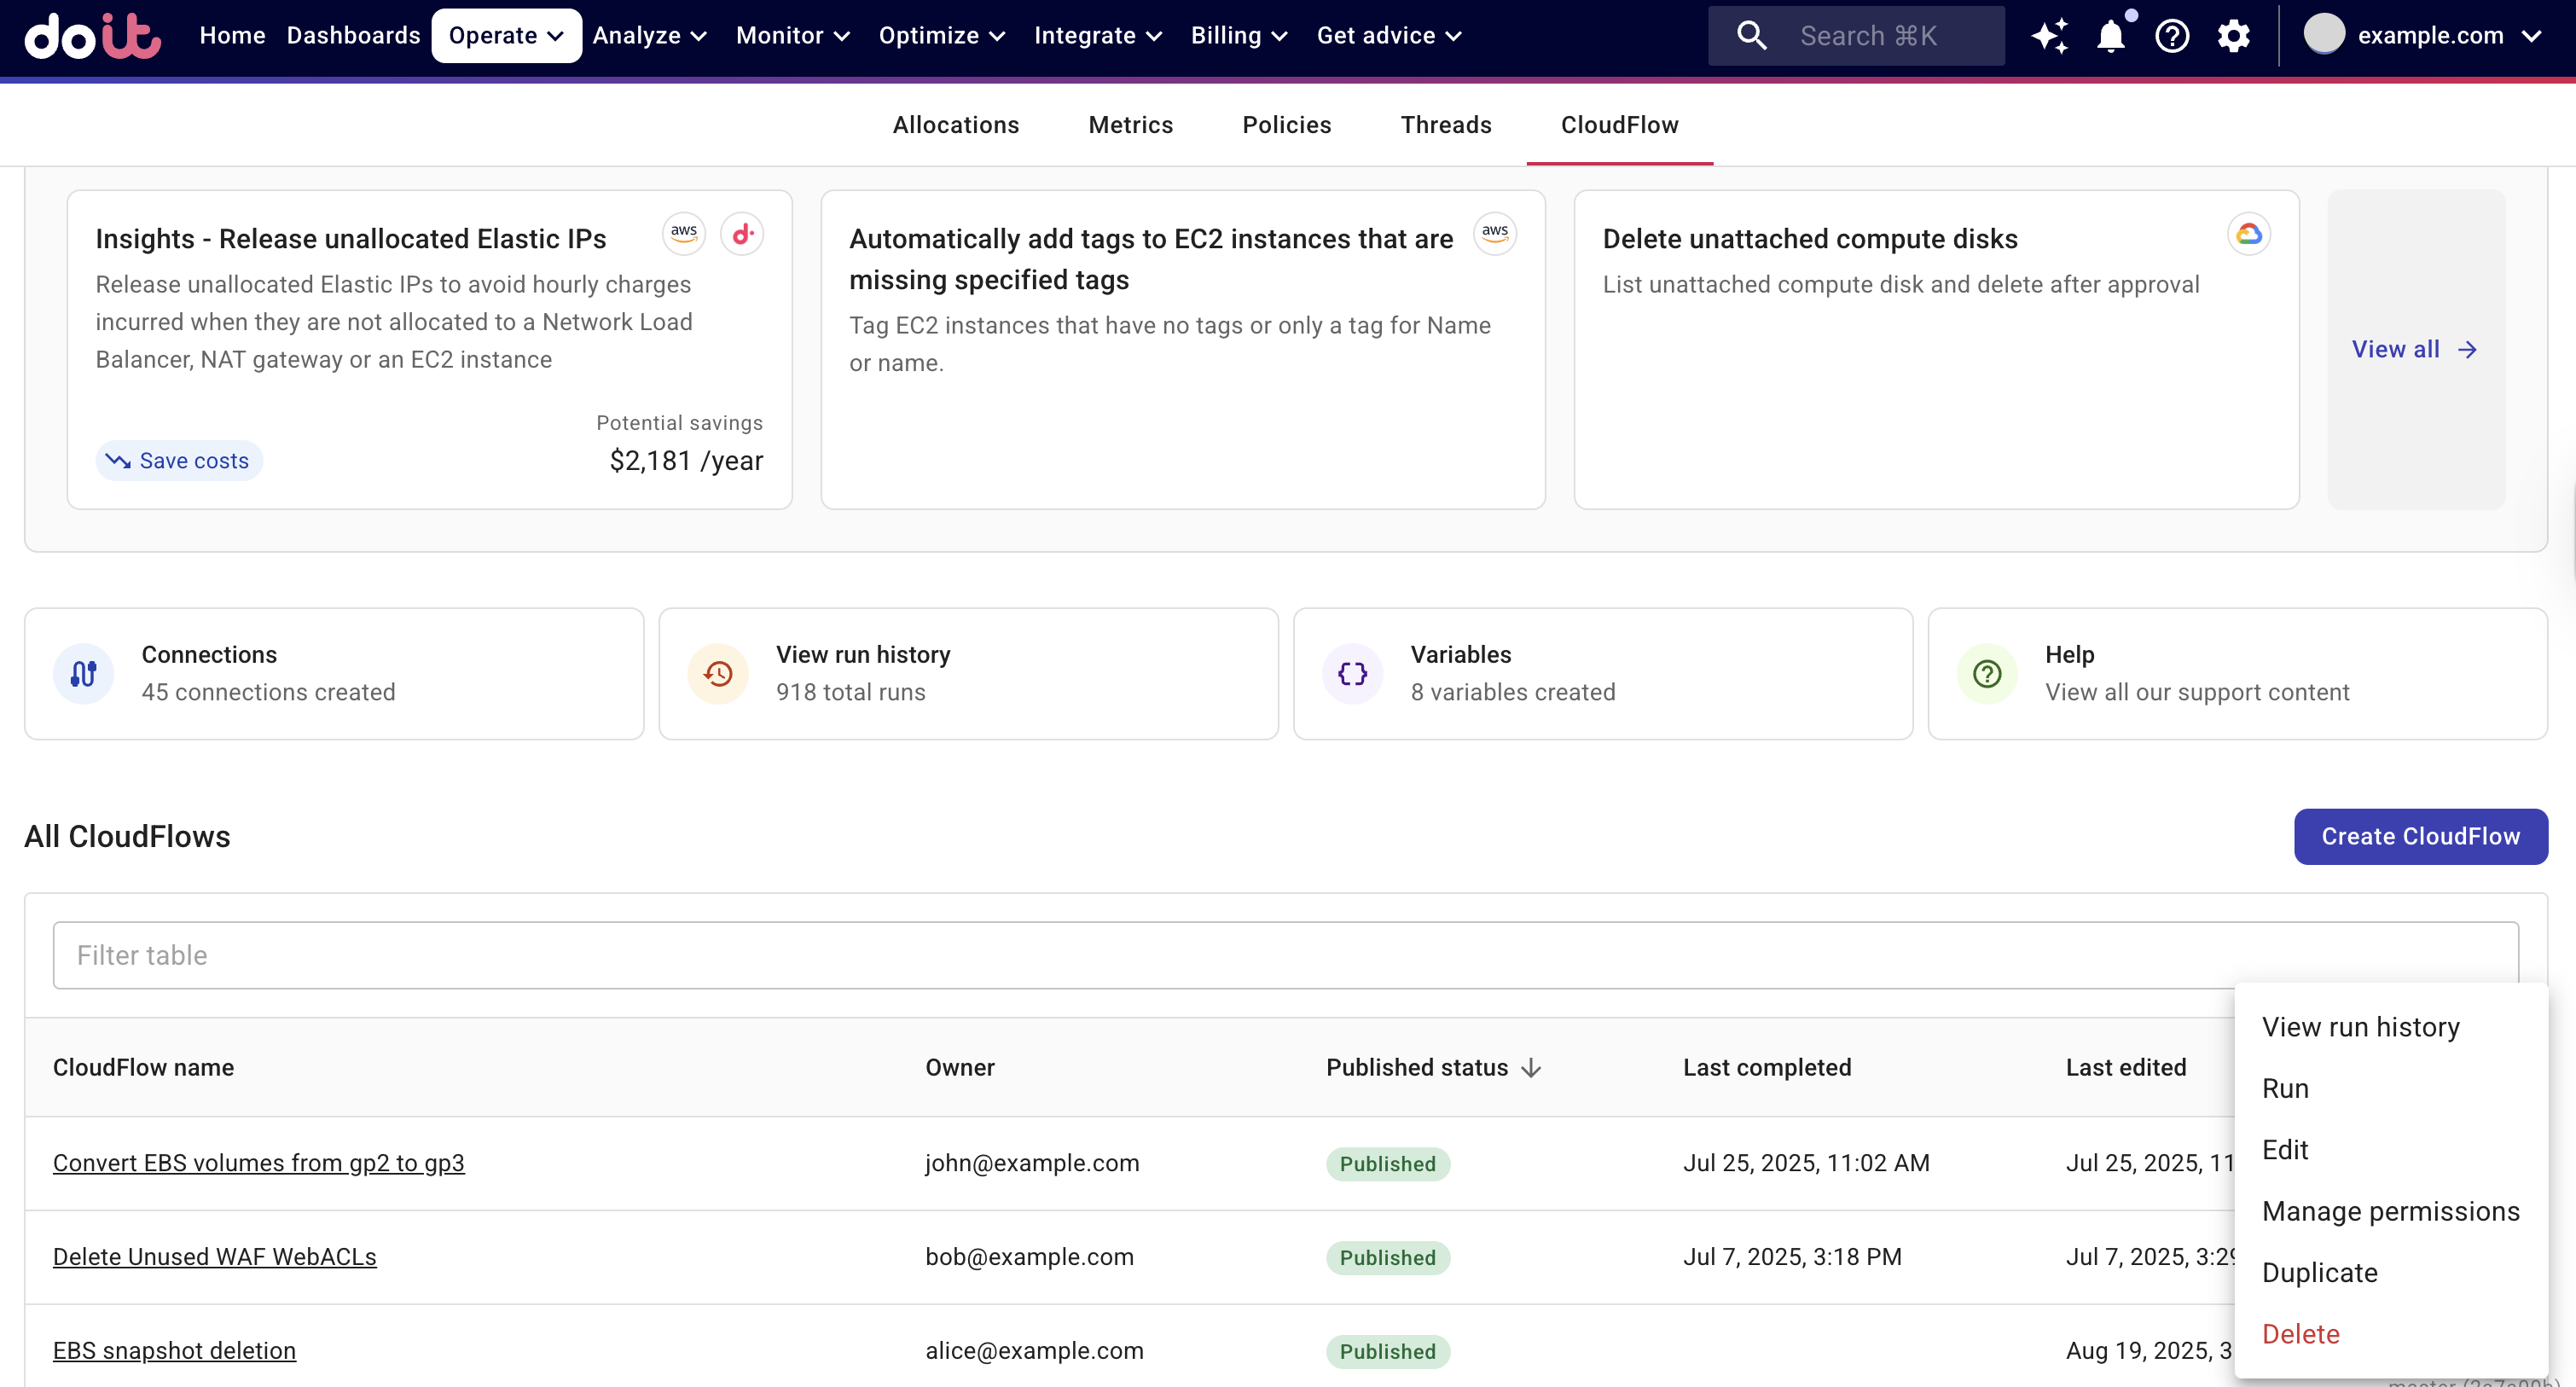
Note that to edit a flow, you must first unpublish it.
CloudFlow templates
CloudFlow templates are prebuilt groups of activities that can be embedded in another flow or serve as a template when creating a new flow.
To check out the available templates, select View all from the main CloudFlow screen. Basic information of each template is shown on its card.
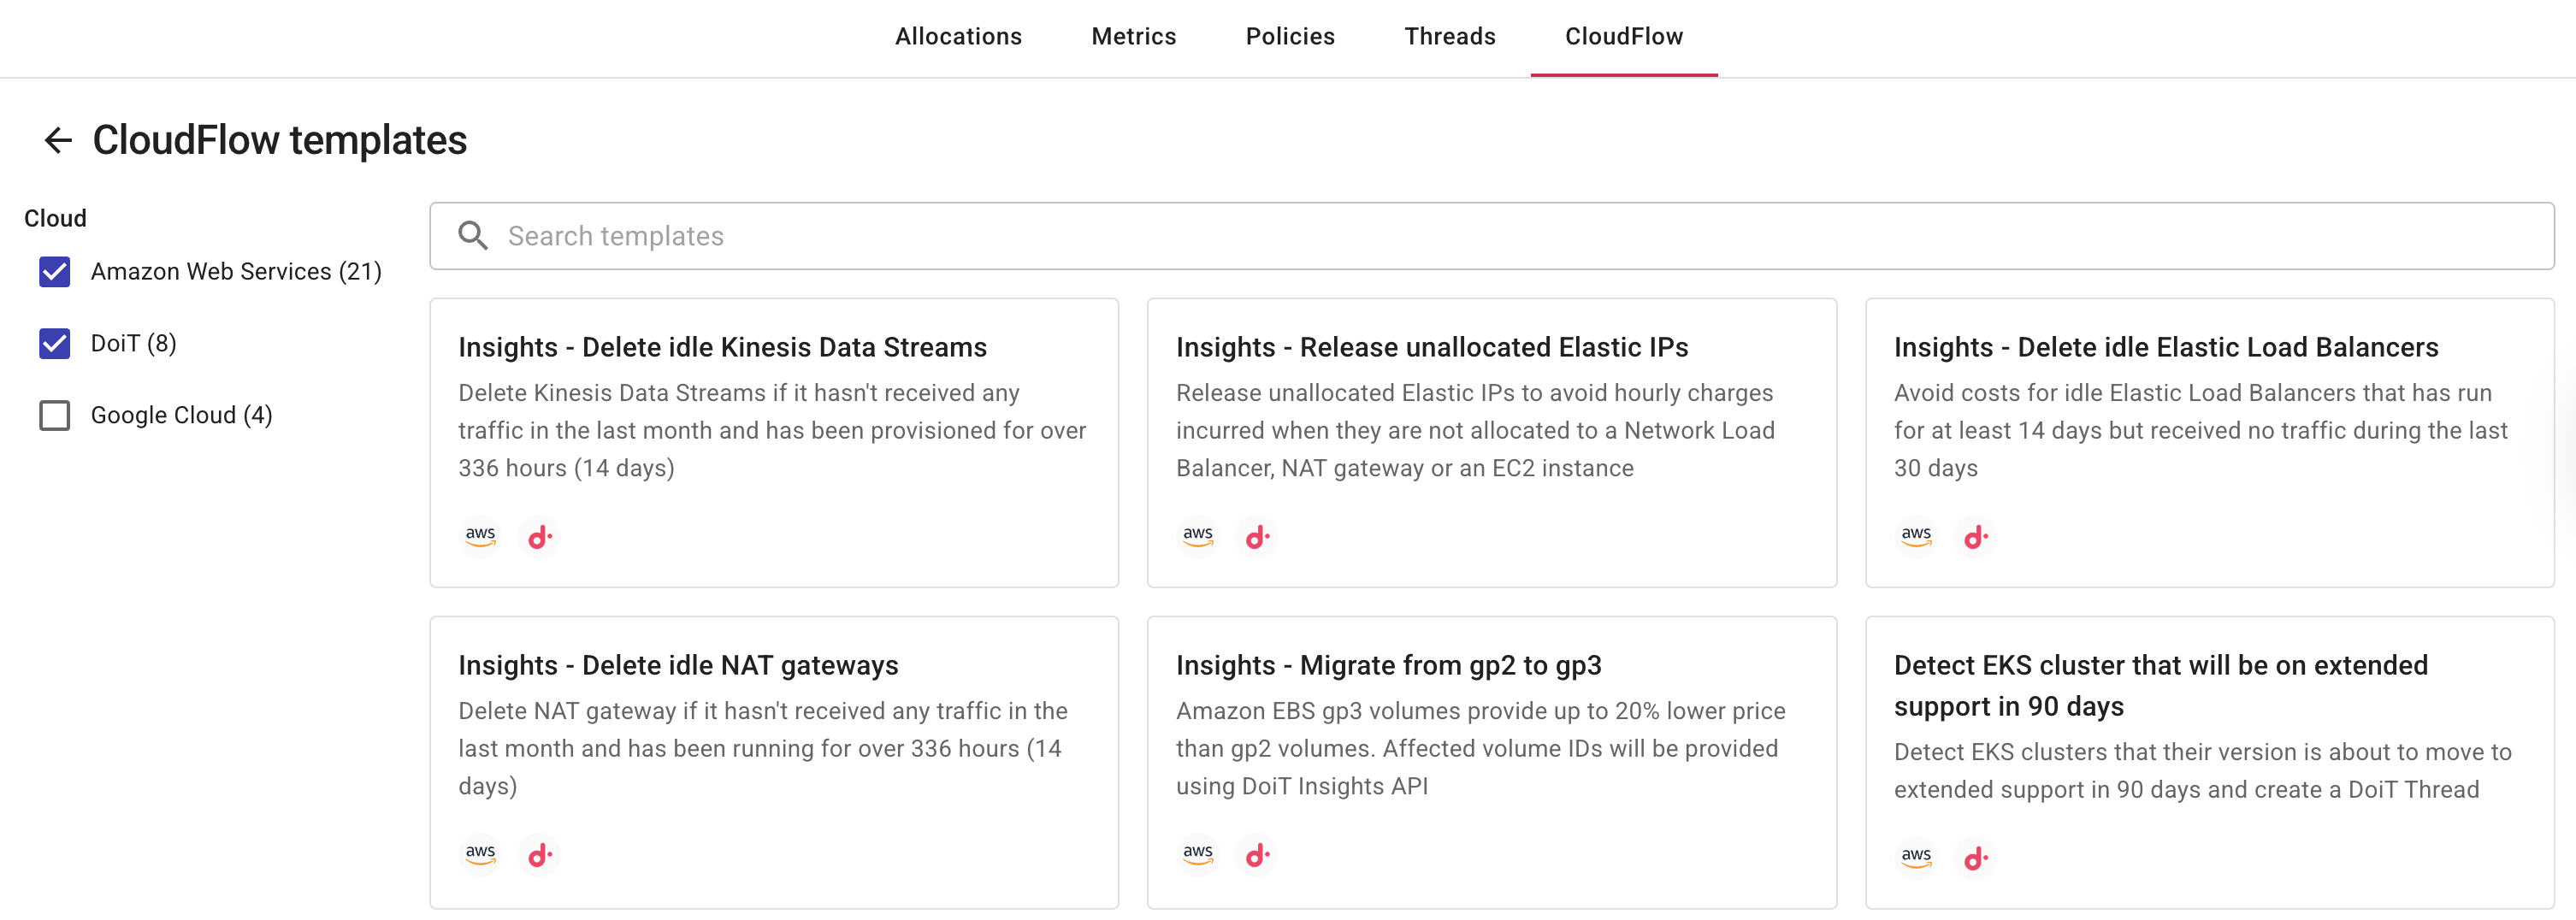
Selecting a template will create a new CloudFlow based on the template.