Share allocations
Required permissions
To share allocations with others, you must meet one of the following criteria:
-
You are the Owner of the allocations.
-
You have the Editor permission on the allocations.
-
You have the Cloud Analytics Admin permission.
See Summary for quick reference.
Edit permissions
To share allocations, you need to give access to the intended recipients:
-
Navigate to the main Allocations screen.
-
Locate the allocations of interest.
-
To share an individual allocation, select the kebab menuvellip;**) at the rightmost end of the allocation entry, and then select Edit permissions.
-
To share multiple allocations, select the checkbox of each allocation entry, and then select Edit permissions in the upper-right corner of the screen.
-
-
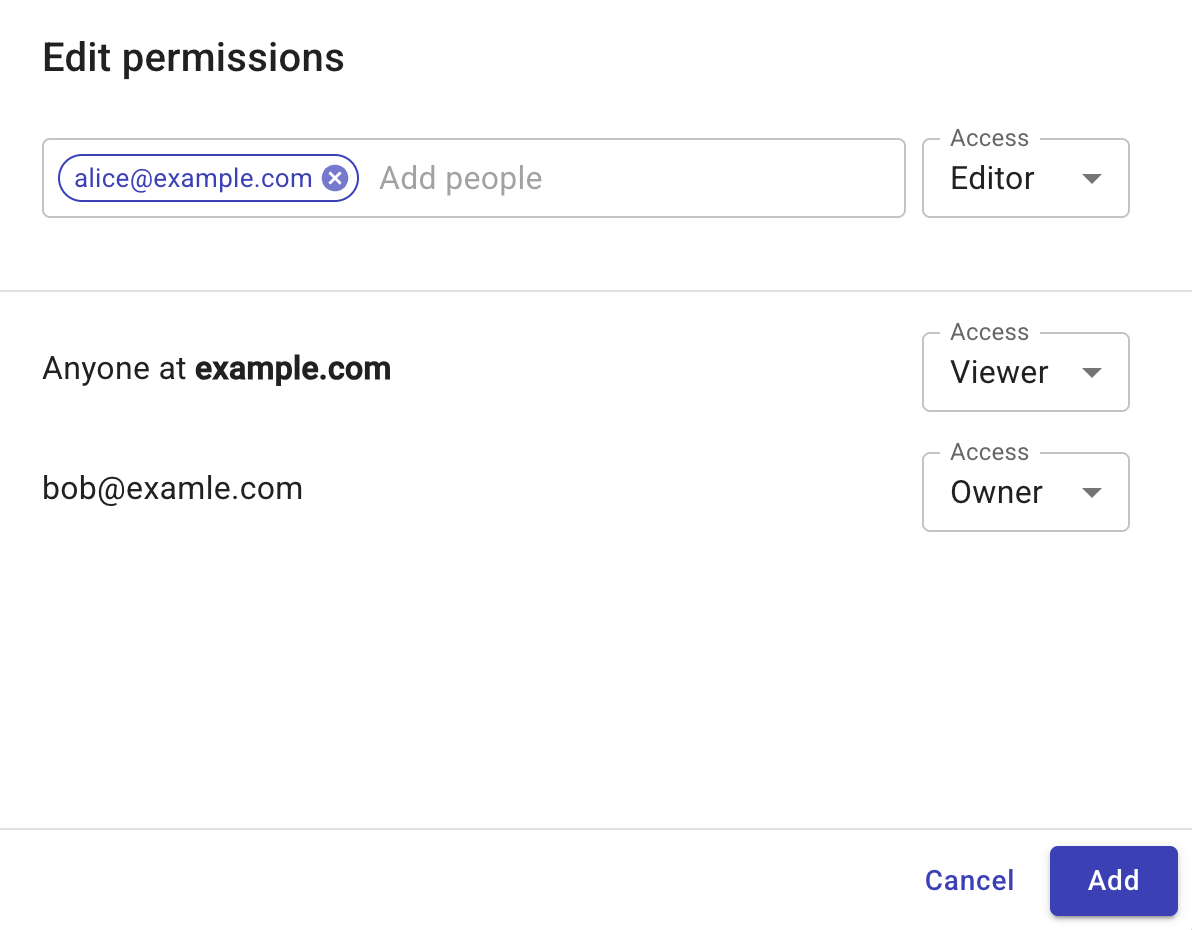
In the Edit permissions window, enter the email of the intended recipients and give them Viewer or Editor access.
-
Select Add to apply the changes.
Change permissions
You can change permissions on an allocation from the same configuration window, including:
-
Change the permission of an individual user to Viewer or Editor, or remove the access.
-
Change the permission of the whole organization to Viewer or Editor.
Transfer ownership
To transfer the ownership of an allocation to another user:
-
Make sure the intended user already has the Editor permission.
-
In the Access drop-down list, select Make owner.
Note that:
-
An allocation can have only one owner and the owner must be an individual user.
-
Once the ownership is transferred, the previous owner becomes an Editor.
Summary
| Your permission/role | View | Share | Change permissions | Transfer ownership |
|---|---|---|---|---|
| Owner | ✓ | ✓ | ✓ (individual users, whole organization) | ✓ |
| Editor | ✓ | ✓ | ✓ (individual users) | ✗ |
| Viewer | ✓ | ✗ | ✗ | ✗ |
| Cloud Analytics Admin | ✓ | ✓ | ✓ (individual users, whole organization) | ✓ |