Import multiple customers
A distributor or reseller admin can import multiple customers at once using the bulk import wizard.
-
The wizard validates the customer list, detects duplicates, and provides a downloadable report when the import completes.
-
You can invite an admin user for each customer during import.
-
You can create and activate a contract for each imported customer.
-
Imported customers are created as direct child tenants in your current customer view. If you're a distributor admin and want to import end customers for a reseller, switch to that reseller's customer view first.
Prepare your file
The customer list is a CSV (.csv) or Excel (.xlsx) file with a header row and one customer per row. You can download the DoiT CSV template from inside the import wizard.
Below are the columns available in the DoiT CSV template. Additional columns in your file are preserved in the import report.
Tenant info
| Column | Description |
|---|---|
company_name (required) | The customer's company name. This is the only mandatory column. |
company_domain | The customer's primary domain. For example, acme.com. Recommended when inviting an admin. Without a company domain, the admin email must be at a domain already allowed for the new customer. |
primary_contact_email | A contact email address for the customer (e.g. [email protected]). Must be a valid email address. |
external_id | Your own unique identifier for the customer. Must contain only letters and numbers (alphanumeric) and be at most 255 characters. Duplicate values are rejected. |
country_code | The customer's country as an ISO 3166 alpha-2 code. Examples: US, DE, JP. |
Admin user
An admin invite is sent if the admin email address is at a domain allowed for the new customer, such as the company domain or a parent account's domain.
| Column | Description |
|---|---|
admin_email | The email address of the admin to invite. Must be at a domain allowed for the new customer (such as the company domain or a parent account's domain). |
admin_first_name | The admin's first name. |
admin_last_name | The admin's last name. |
admin_job_function | The admin's job function (for example, Finance / Accounting or Sales). If the value is not recognized, the admin is invited without a job function. |
Contract
When a row includes a valid contract template and start date, the wizard creates a contract from that template and activates it after the customer is created.
| Column | Description |
|---|---|
contract_template | The name or ID of a contract template. Must match an active template that is eligible for import. |
contract_start_date | The contract start date. Accepted formats: yyyy-mm-dd, dd/mm/yyyy, or ISO 8601. Required when a contract template is specified. |
contract_renewal_policy | The renewal policy for the contract: auto, manual, or fixed. Defaults to auto. |
doit_invoicing | Whether to enable DoiT invoicing on the contract. Use yes or no (also accepts true/false, y/n, 1/0). Defaults to no. |
If doit_invoicing is set to yes (or an equivalent value from the table above), fill in the following billing detail columns. See also Add contracts.
| Column | Description |
|---|---|
billing_name | The billing profile name. |
billing_country | The billing country. |
billing_state | The billing state. |
billing_city | The billing city. |
billing_address | The billing address. |
billing_zip | The billing zip or postal code. |
invoices_email | The email address for invoices. |
contract_updates_email | The email address for contract updates. |
Import customers
To import customers:
-
Sign in to the DoiT console, select Customers from the top navigation mega menu.
If you're a distributor admin and want to import end customers for a reseller, switch to that reseller's customer view first.
-
On the Customers page, select Add customer > Import multiple customers to launch the import wizard.
The wizard consists of five steps, explained in the following sections.
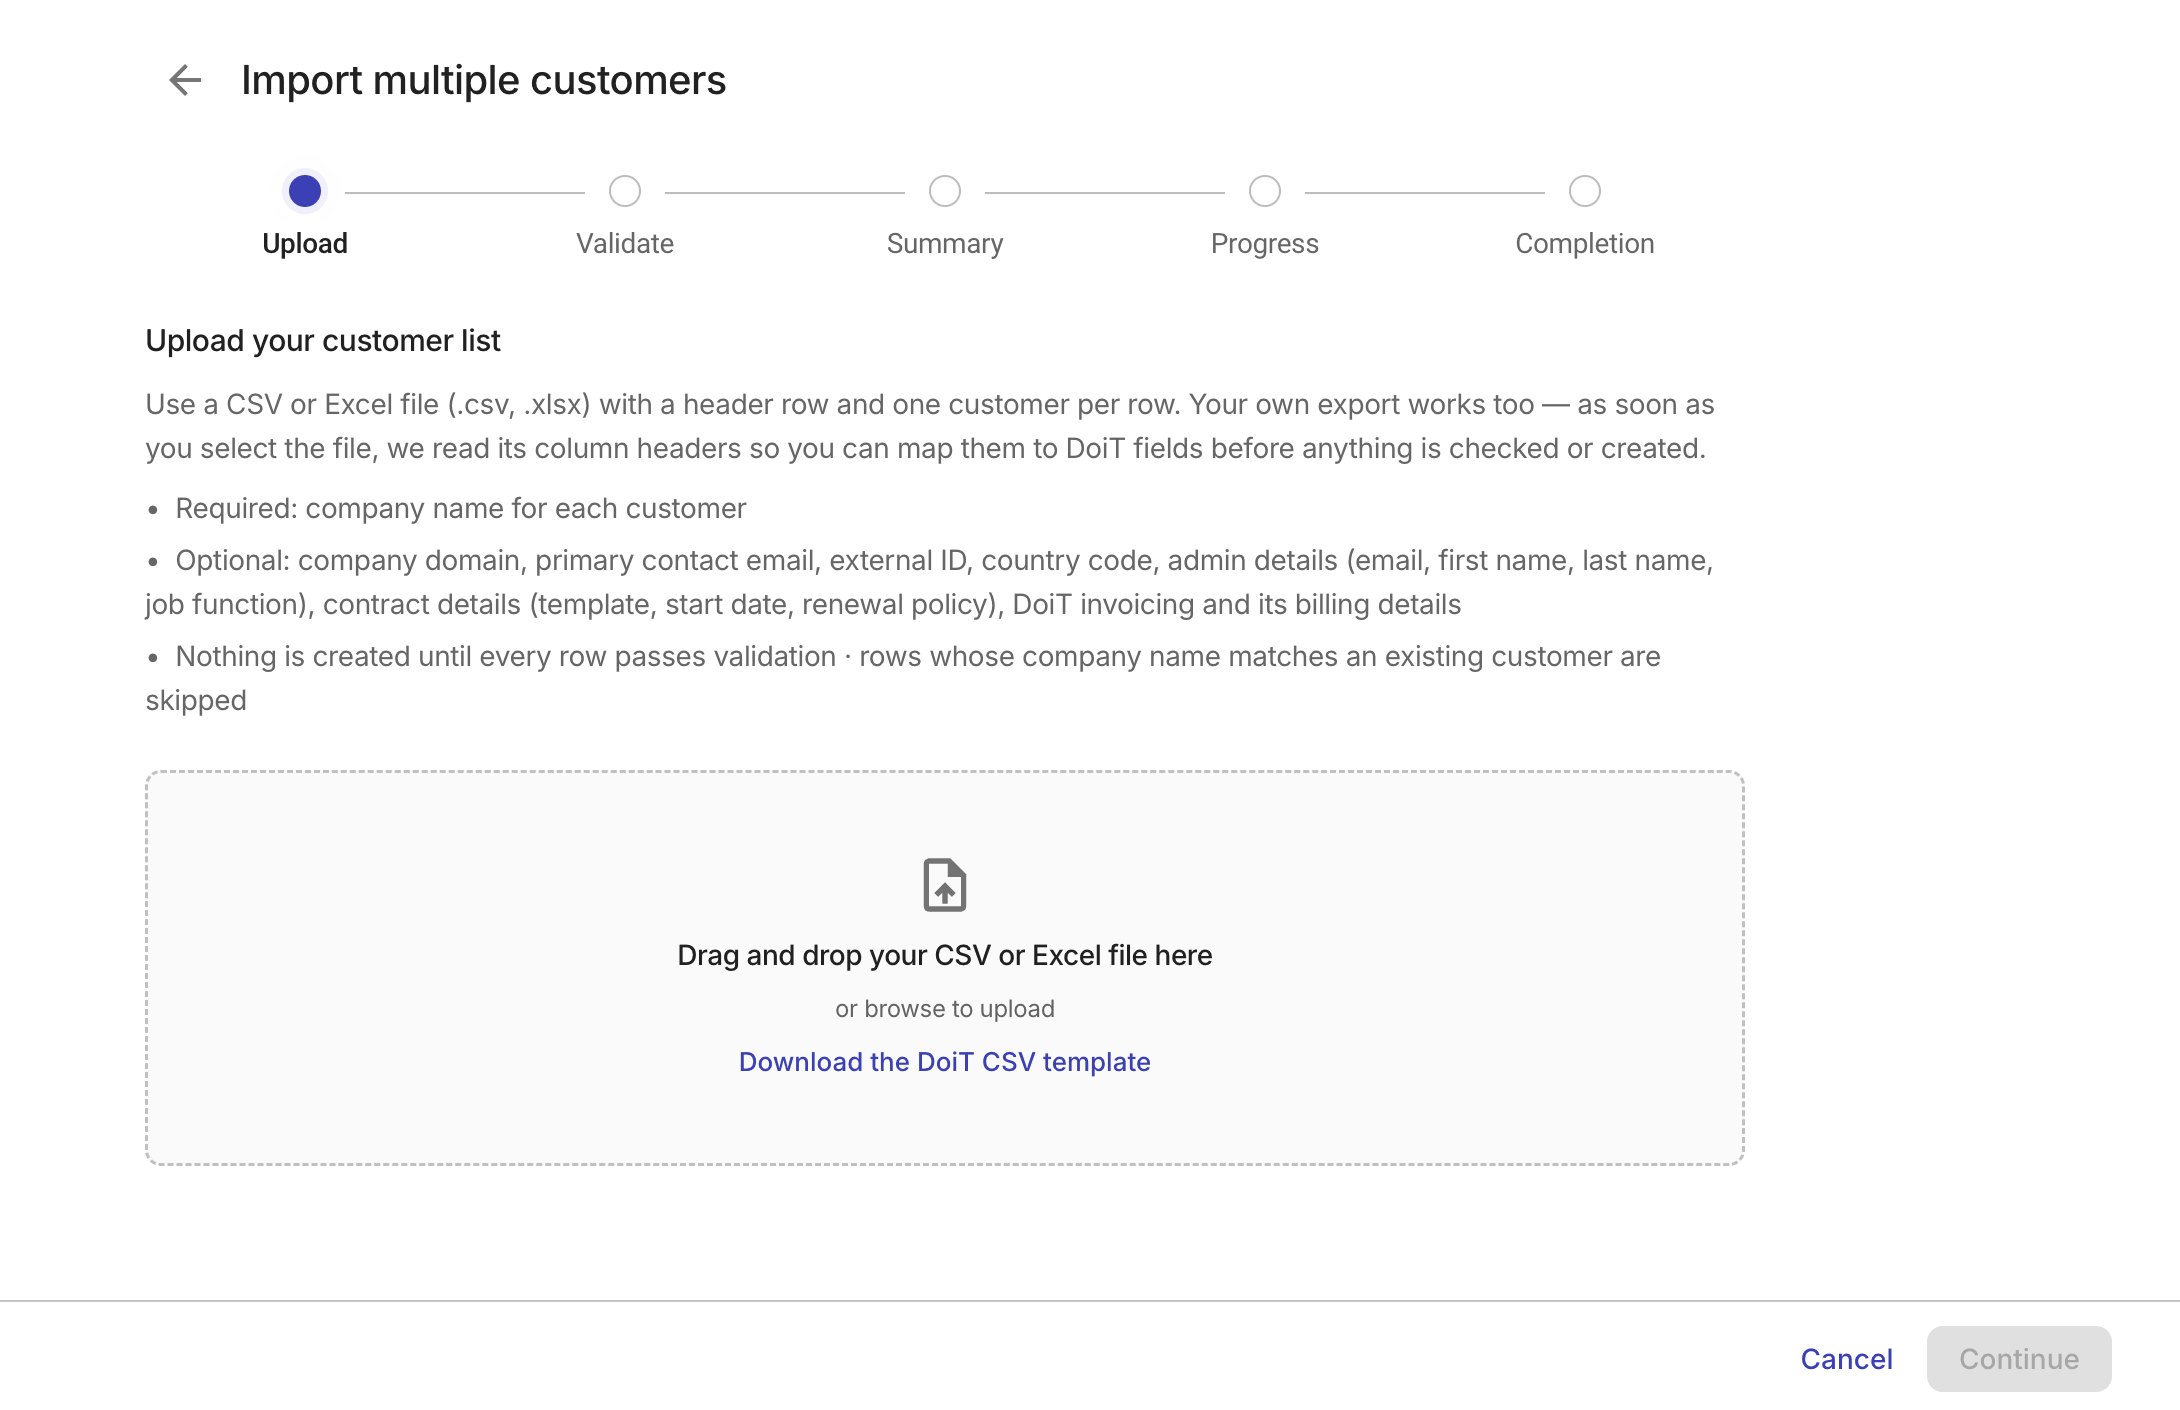
Step 1: Upload
Drag and drop your CSV or Excel file onto the upload area, or browse to upload.
Once the file is uploaded, the wizard displays the number of rows it identified and a column mapping table.
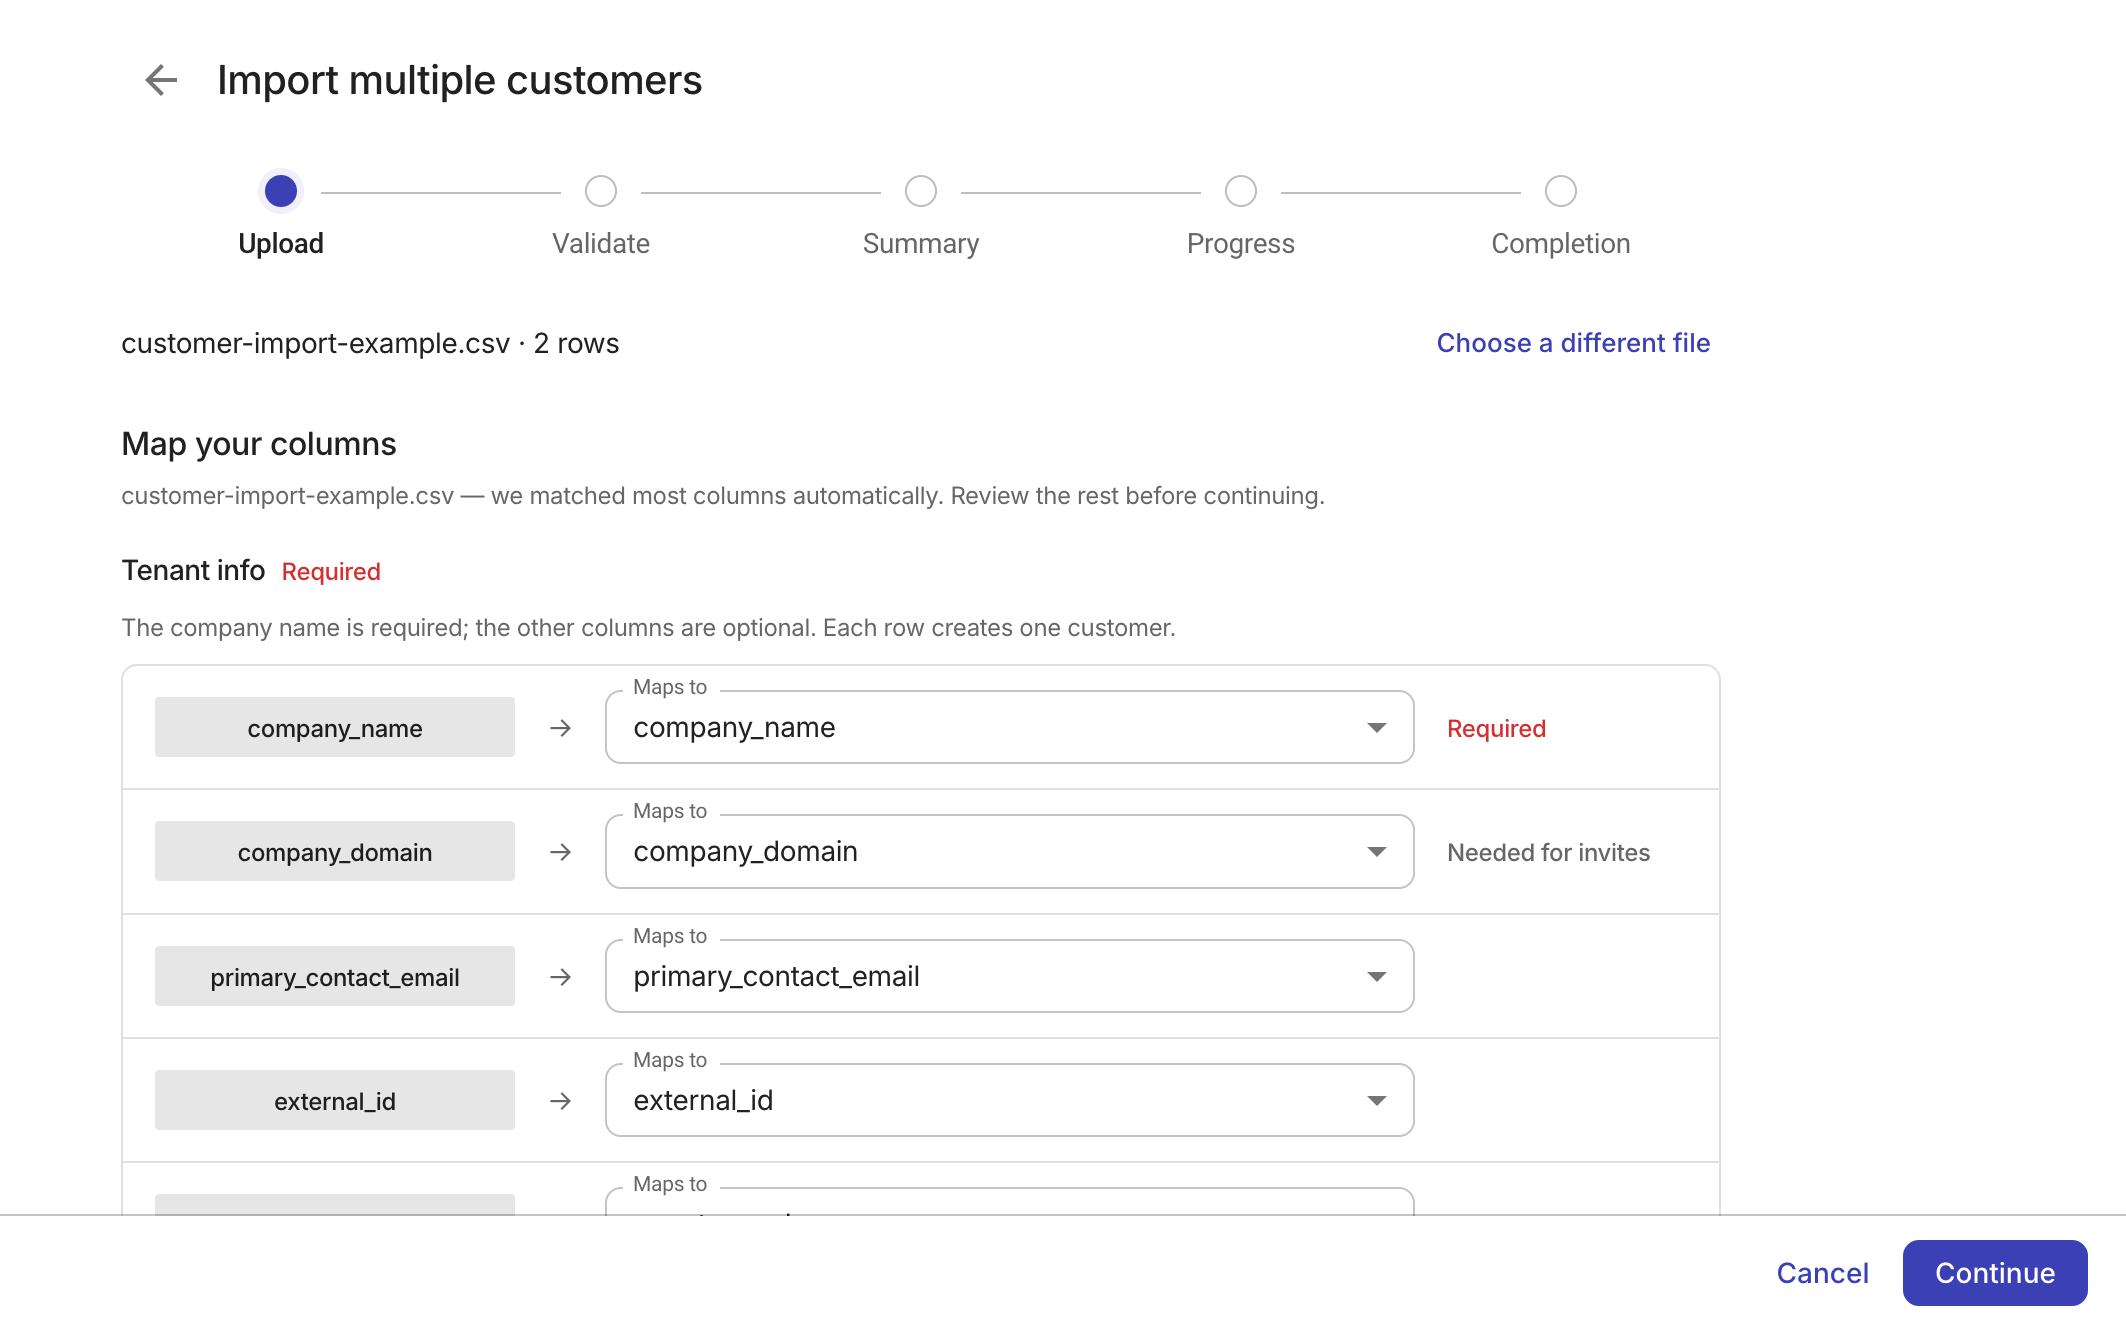
The mapping table groups columns into three sections: Tenant info, Admin user, and Contract.
-
The wizard attempts to match your file's column headers to the available fields automatically. Review the mappings and use the dropdown to make corrections if needed.
-
When the file includes admin email addresses, the wizard verifies each address against the domains allowed for the new customer before continuing.
Select Continue to proceed.
Step 2: Validate
The wizard validates the rows in the uploaded file.
-
If there are blocking issues, for example
The required column "Company name" is not mapped, you need to correct the file and then select Re-upload file to try again. -
If validation succeeds, the wizard advances to the next step.
Step 3: Summary
The wizard displays how many customers will be created. Rows whose company name matches an existing customer (case-insensitive) under your account are skipped (they appear in the import report).
It also shows how many customers will get admin invitations, and how many will get contracts created by contract template specified in the contract_template column.
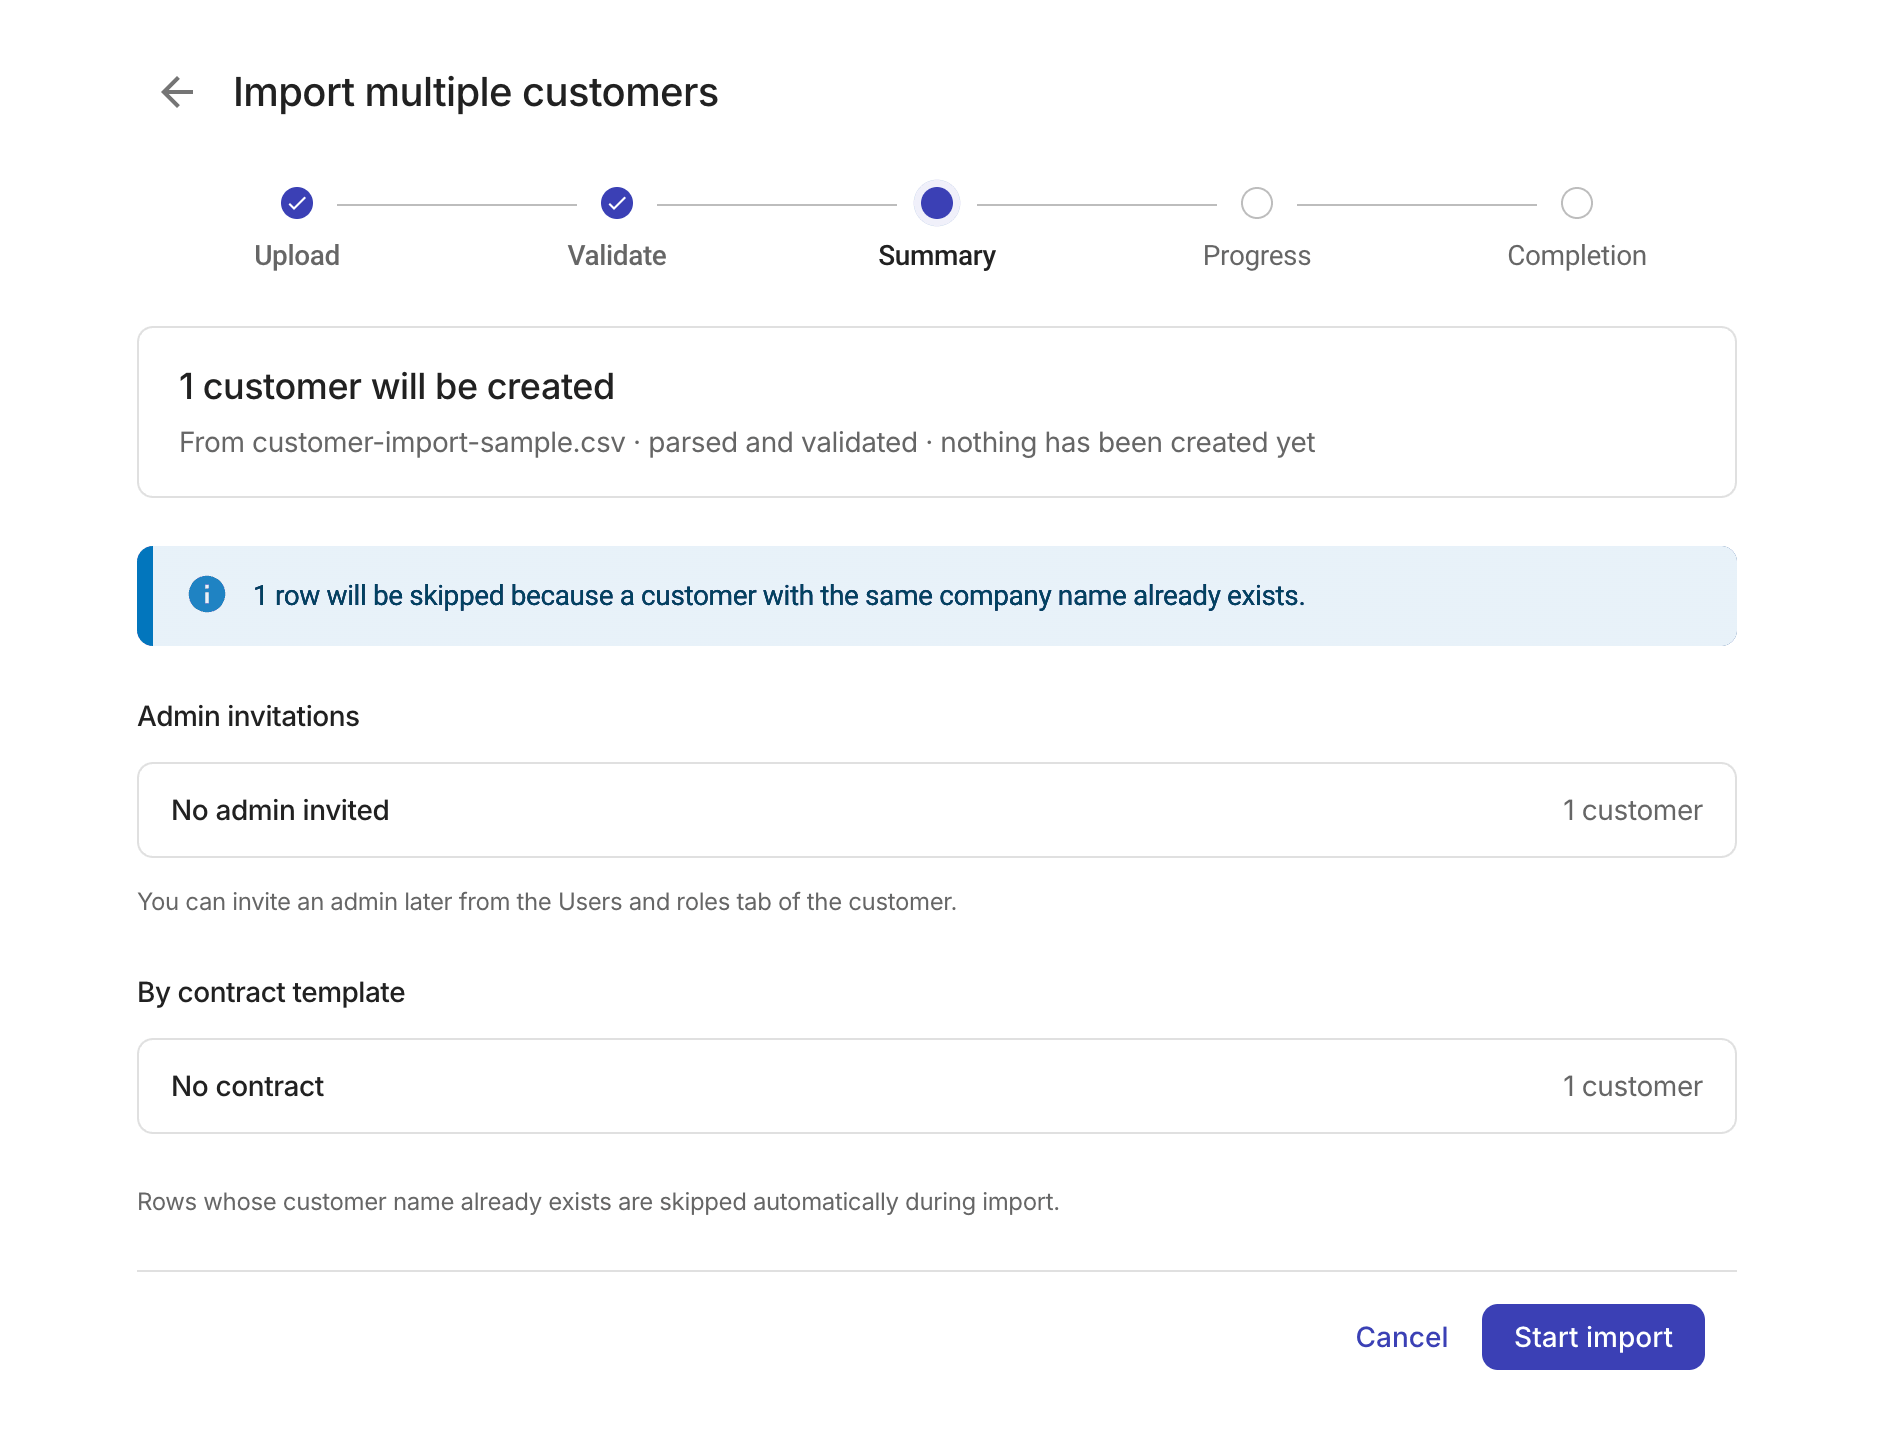
Review the summary and select Start import to proceed.
Step 4: Progress
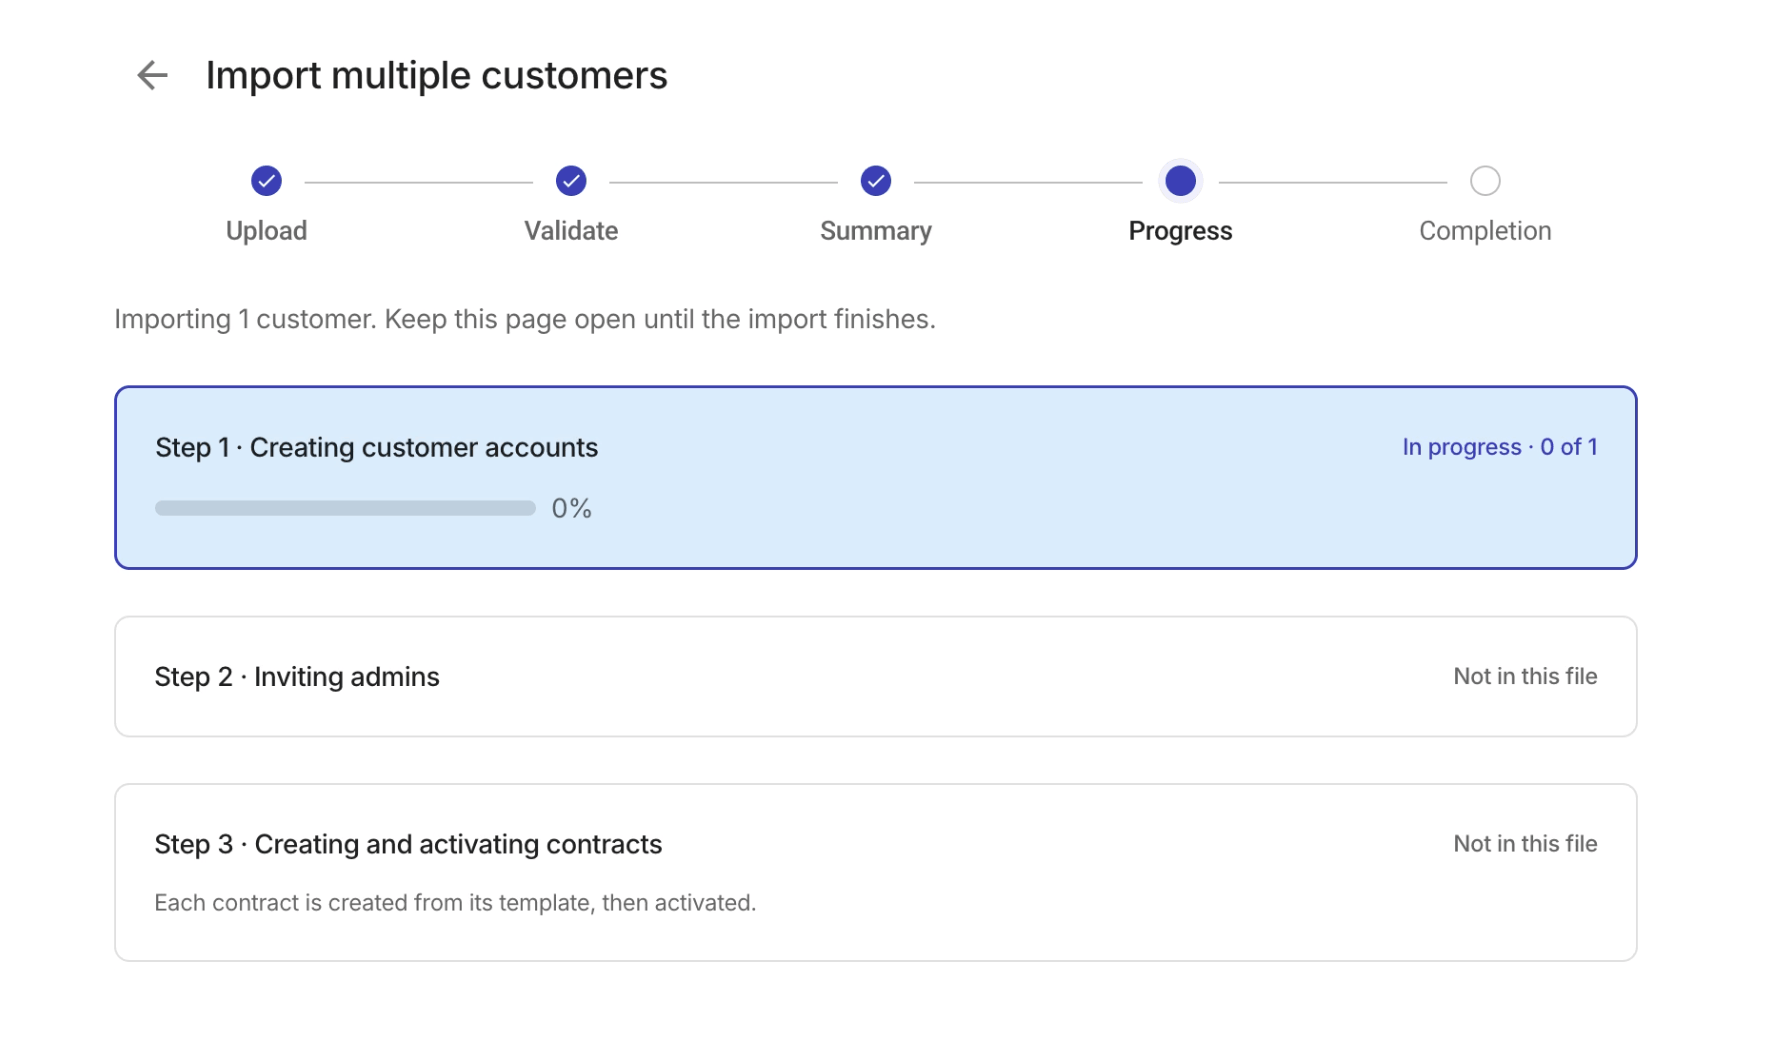
This step uses progress bars to track each stage of the import in sequence.
-
Step 1. Creating customer accounts: Creates a tenant for each eligible row.
-
Step 2. Inviting admins: Sends admin invites for rows that include a valid admin email.
-
Step 3. Creating and activating contracts: Creates a contract from the specified template and activates it for each applicable row.
Don't navigate away while the import is in progress. The wizard automatically advances to the next step once it finishes.
Step 5: Completion
The last step displays the outcome of the import, including how many customers were imported and alert messages when applicable.
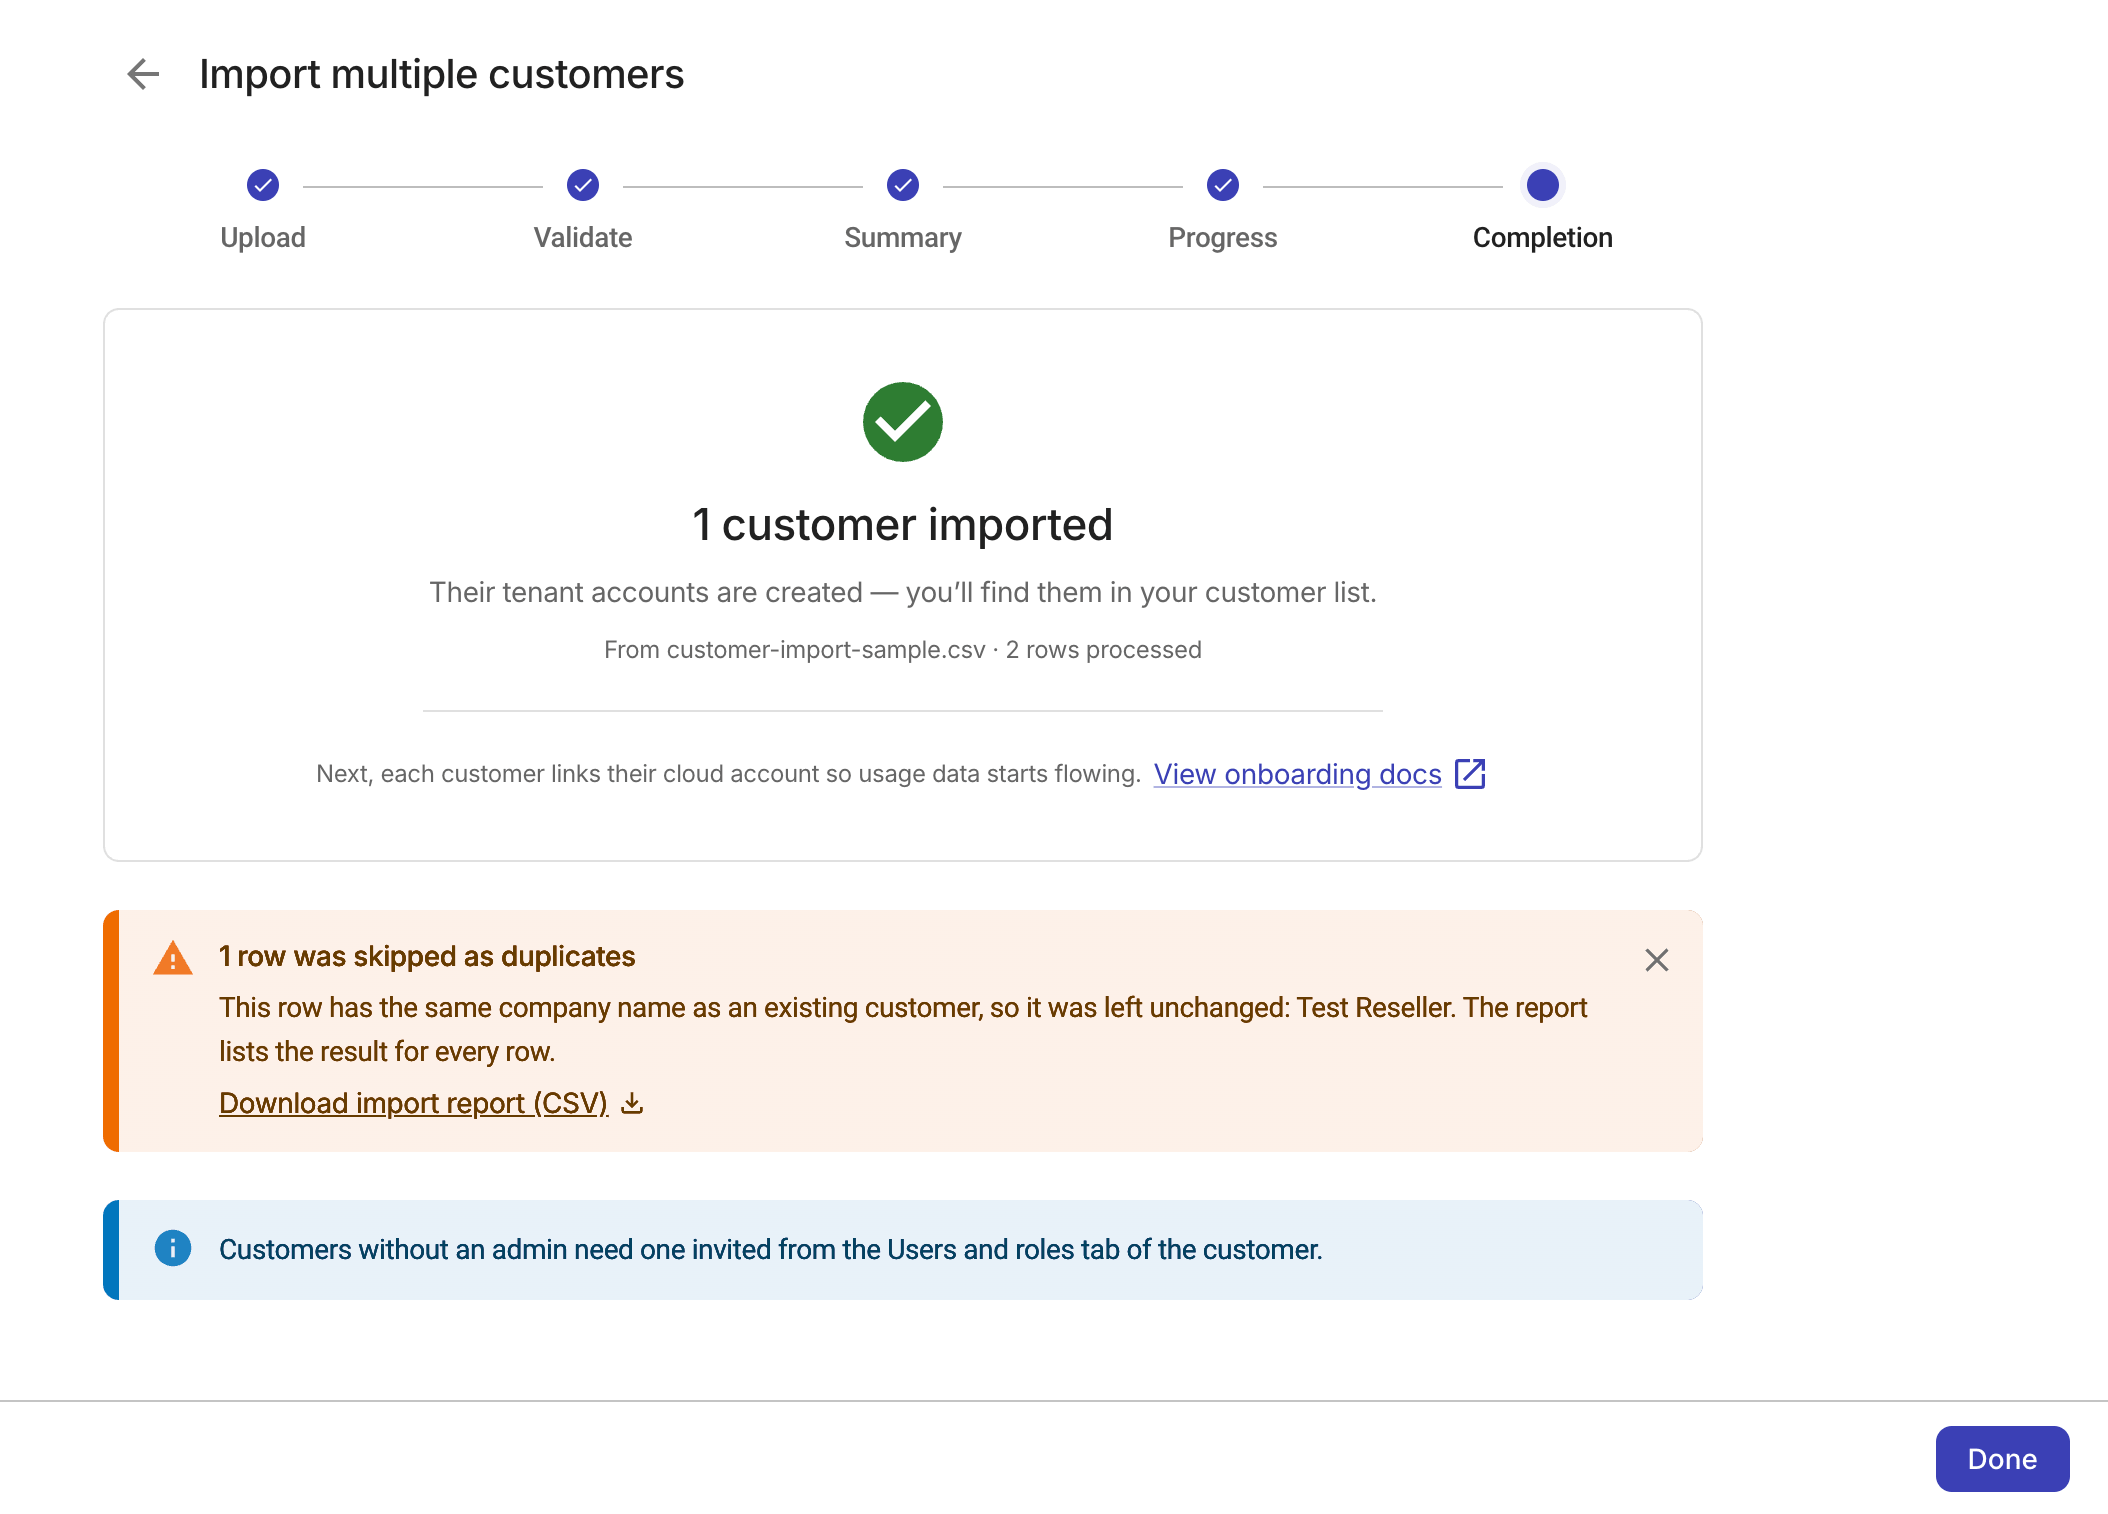
Select Download import report (CSV) to review the result. The report includes all original columns from your uploaded file plus the following:
| Column | Description |
|---|---|
customerId | The ID of the newly created customer. |
result | The outcome for the row: created, skipped, or failed. |
reason | Why the row was skipped or failed. Blank for successfully created rows. |
adminResult | The admin invite outcome: invited, not_invited, or failed. |
adminReason | Why the admin was not invited or the invite failed. For example, blank_admin_email. For a successful invite, it is blank or job_function_not_recognized if the job function value was ignored. |
When the import includes contract creation, you'll find three additional columns:
| Column | Description |
|---|---|
contractId | The ID of the created contract. |
contractResult | The contract outcome: activated, left_as_draft, not_created, or failed. |
contractReason | Why the contract could not be activated or was not created. Blank when the contract was successfully activated. |