Connect Claude
The steps below demonstrate how to connect using Claude.
Required permissions
-
To connect and access DoiT Cloud Intelligence via the MCP server, your user must be assigned the Billing Profiles Admin permission.
-
The DoiT MCP server tools map to the DoiT Cloud Intelligence API. MCP requests are authenticated with your signed-in DoiT account. In addition, each DoiT API operation enforces its own permissions.
Prerequisites
-
A Claude account with permissions to add custom connectors.
-
A supported web browser to use Claude on the web and sign in to your DoiT account when the connector prompts for authorization.
Connection type
Claude connects to DoiT MCP over a hosted remote connection (HTTPS). Enter https://mcp.doit.com/mcp as the remote MCP server URL. This endpoint uses Streamable HTTP. The legacy SSE endpoint https://mcp.doit.com/sse remains available for existing connectors.
Configure the DoiT MCP server
When using the DoiT MCP server in Claude Cowork (Anthropic's desktop app), data queries and tool calls work correctly. Inline widget rendering (such as Cloud Analytics charts) is only available when connected via the hosted remote MCP server. If widgets are not rendering inline, ensure you are using a remote connection. Tool results are always returned as text regardless of widget support.
-
Sign in to claude.ai.
-
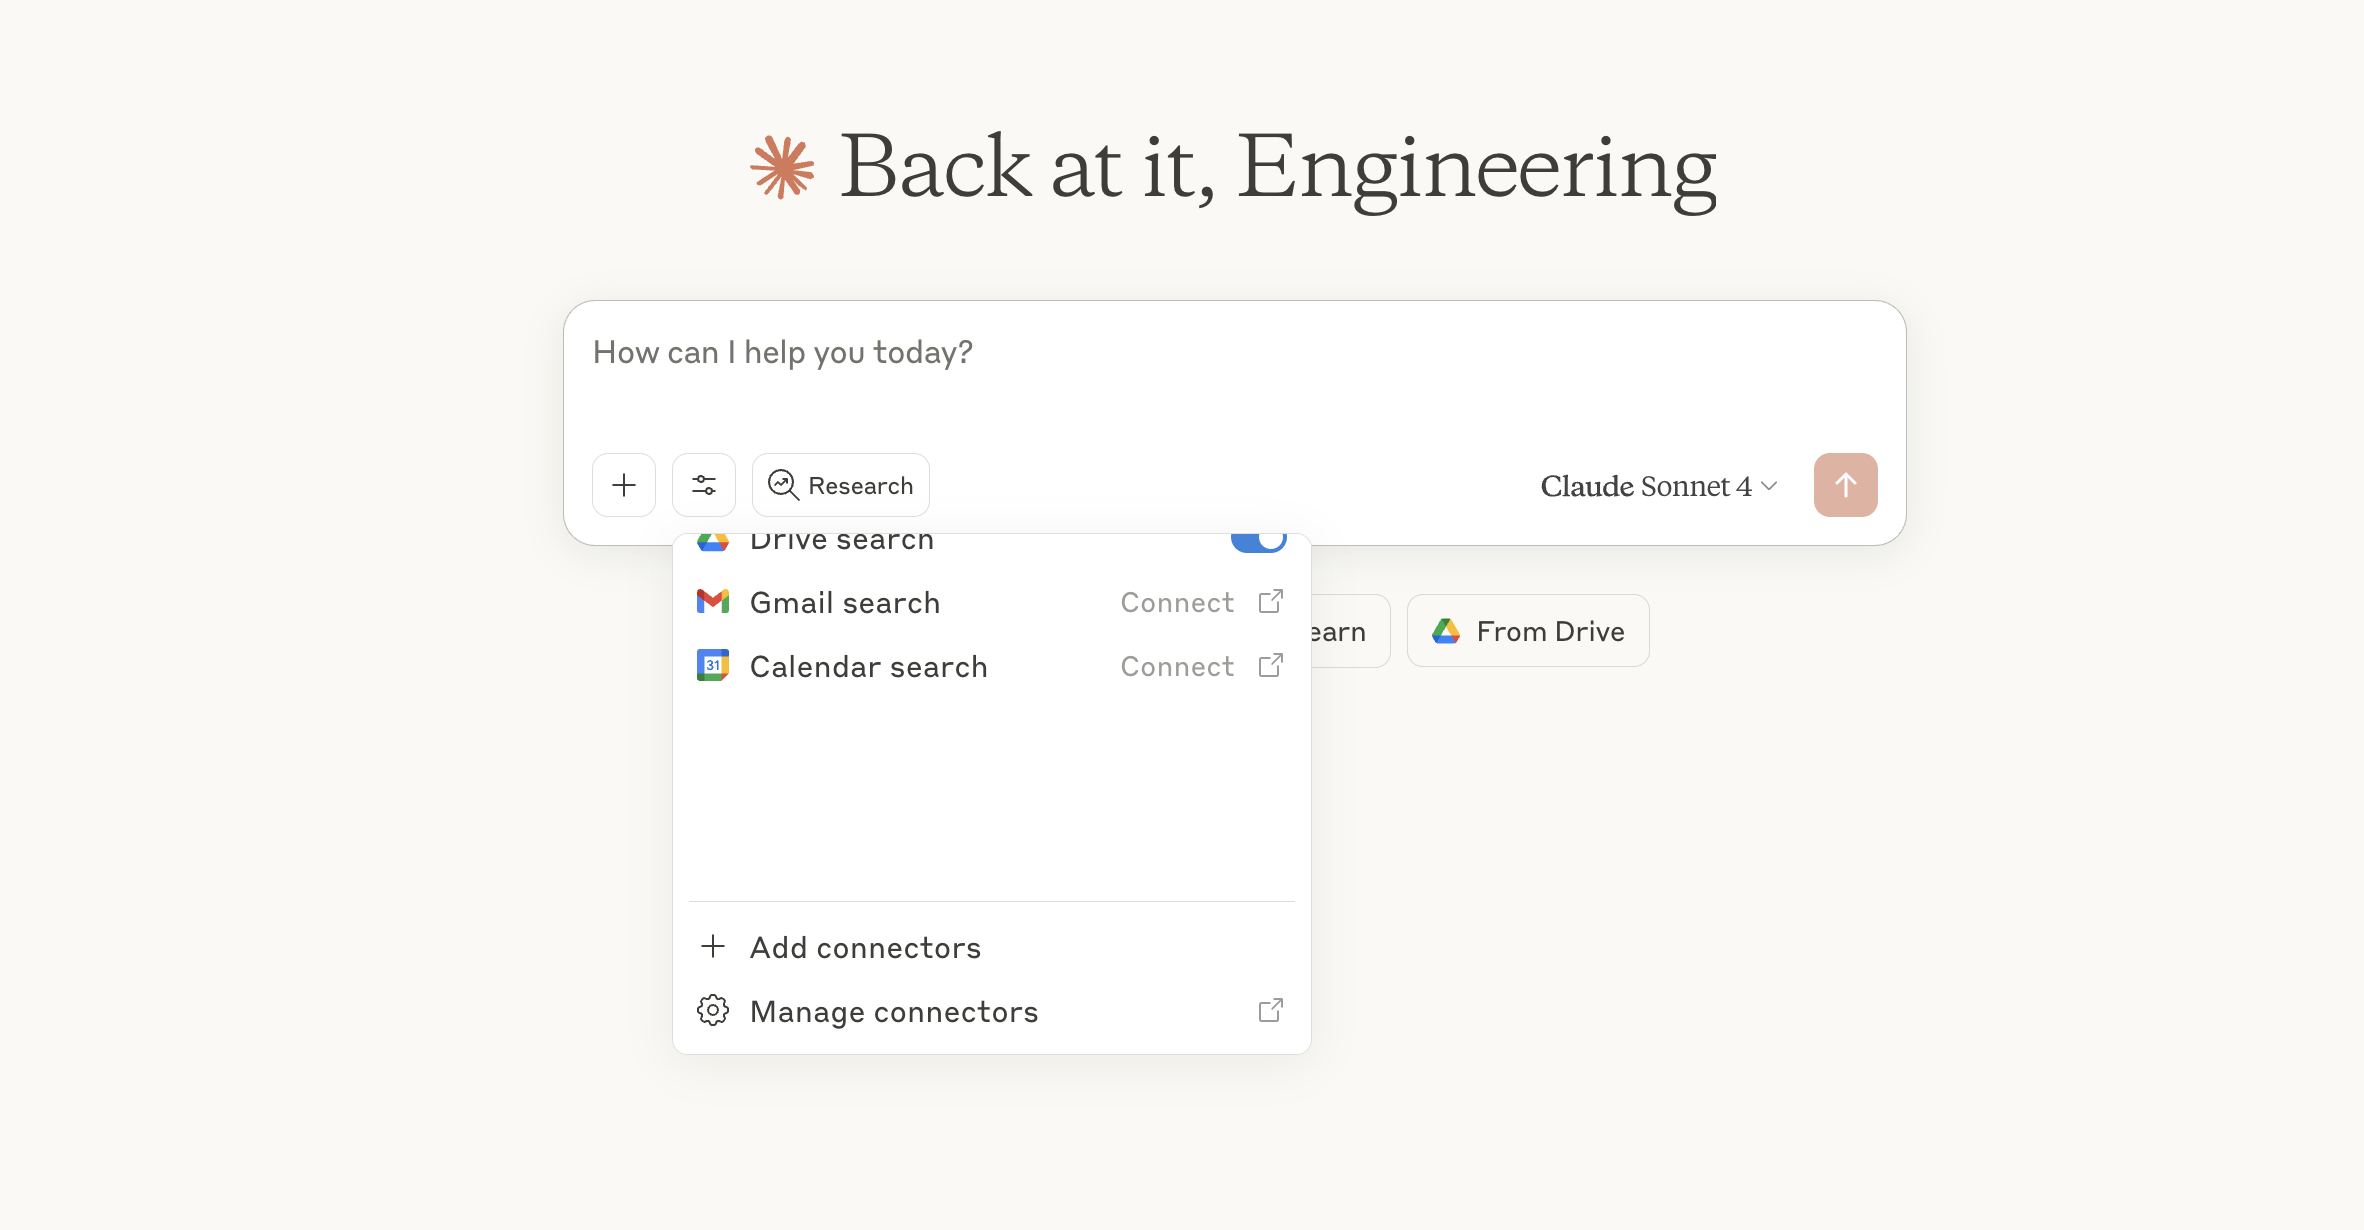
In the prompt box, select the Search and tools icon, and select Add connectors.
NoteTo add connectors, you must have an appropriate paid Anthropic plan or API access tier. See the Anthropic pricing page.
-
In Connectors, select Manage connectors.
-
In Connectors, select Add custom connector.
-
In Add custom connector, enter a name that fits the usage, for example
DoiT MCP. -
In Remote MCP server URL, enter
https://mcp.doit.com/mcp.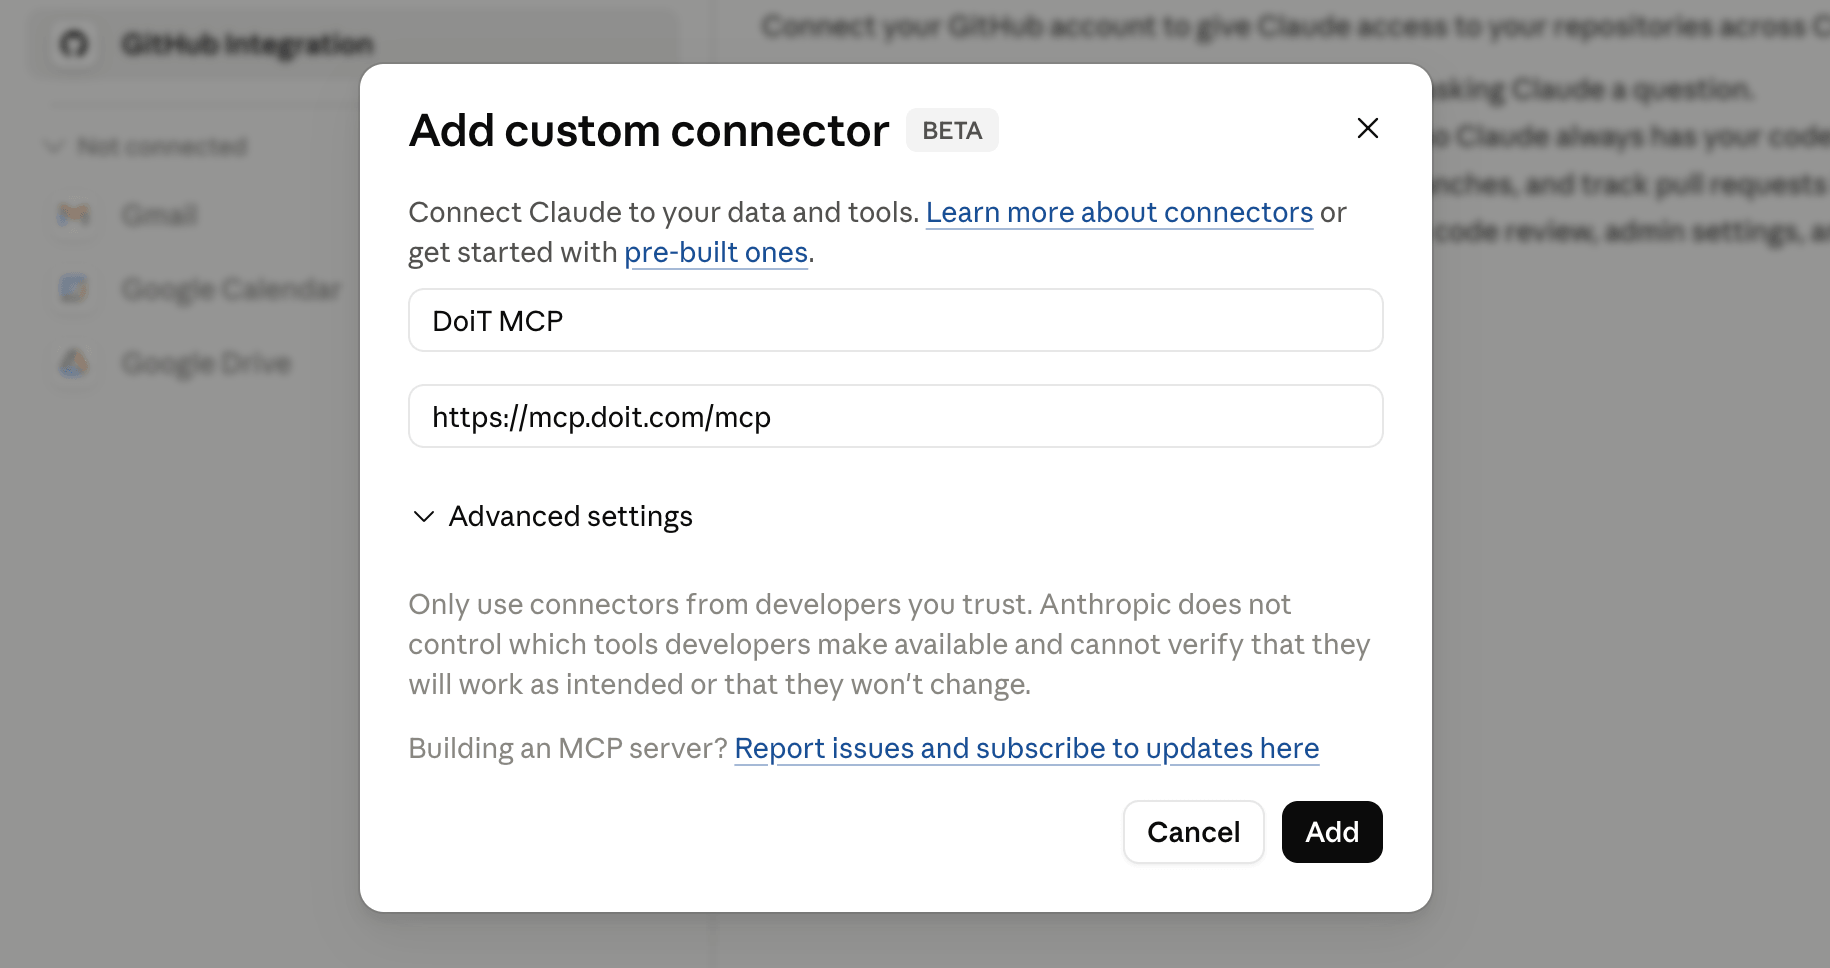
-
Select Add.
-
Once the connector is added, select Connect to connect to the DoiT MCP server.
-
If you are not already signed in to your DoiT account, your browser opens the DoiT sign-in page. Sign in with your DoiT account.
-
On the DoiT consent screen, select Allow access.
 Note
NoteIf authorization fails with an
ofid_reference code, confirm your organization's plan includes DoiT API access and your DoiT account has the Billing Profiles Admin permission. See Troubleshooting for more details. -
Once setup completes, you should see that you are now connected to the DoiT MCP server.
You can now open a new chat to start asking questions or make requests related to DoiT Cloud Intelligence data.