CSV ingestion
Comma-separated values (CSV) is a text file format commonly used for data exchange. You can upload CSV files to:
-
Create new datasets.
-
Add new records or overwrite records in an existing dataset.
Ingestion methods
DataHub supports two ingestion methods for CSV.
| Ingestion method | Supported file formats | Maximum file size |
|---|---|---|
| DataHub API | uncompressed, or ZIP or GZ of a single CSV file | 30MB |
| DoiT console | uncompressed | 100MB |
Be aware of the following:
-
The DataHub API only accepts files no larger than 30MB. If your CSV is beyond 30MB, compress it into a ZIP or GZ archive.
-
The Data Hub API doesn't accept ZIP or GZ archives that contain more than one CSV.
-
When uploading CSV via the DoiT console, large files take longer to process.
Syntax and conventions
To prepare CSV for the DataHub, follow the syntax and conventions listed below:
-
Separate values with commas.
-
Add each data record as a new line, using Carriage Return and Line Feed (CRLF) as the line break.
-
The first line is a header row.
Header row syntax: usage_date[,id],DIMENSION_KEY...,METRICS_TYPE...
-
Field names in the header row must use the correct format; DoiT DataHub doesn't modify the field names.
-
usage_date: The timestamp (RFC3339) of the data record, corresponding to the time property in the DataHub Events schema.- The CSV file must not contain records with timestamps (
usage_date) older than two years. - The timestamps must strictly follow a subset of RFC 3339/ISO 8601 UTC format:
YYYY-MM-DDTHH:MM:SSZwith the uppercaseZ. For example,2025-07-23T18:24:34Z. This restriction eliminates timezone ambiguity and simplifies validation.
- The CSV file must not contain records with timestamps (
-
id: The unique identifier of the record, corresponding to the id property in the DataHub Events schema.- If you prefer the UUIDv4 identifier automatically generated at ingestion time, do not include this property in your CSV.
- To overwrite an existing record in a dataset, make sure to include the correct
idin your CSV.
-
DIMENSION_KEY: The keys of dimensions in your dataset. At least one dimension key must be present.- For fixed dimensions, see Allowed keys for fixed dimensions.
- Fixed dimensions must be prefixed with
fixed, for example,fixed.billing_account_id,fixed.sku_description. - Fixed dimensions are case insensitive.
- A primary use case for fixed dimensions is joining business and cloud billing datasets for unit economics analysis.
- Fixed dimensions must be prefixed with
- For label dimensions, use the format
label.CUSTOM_DIMENSION_KEY. For example,label.foo. Label dimensions are case sensitive. - For project_label dimensions, use the format
project_label.DIMENSION_KEY. For example,project_label.app. Project_label dimensions are case sensitive. - For system_label dimensions, use the format
system_label.DIMENSION_KEY. For example,system_label.app. System_label dimensions are case sensitive.
- For fixed dimensions, see Allowed keys for fixed dimensions.
-
METRICS_TYPE: The types of metrics in your dataset. At least one metric type must be present.- Use the format
metric.METRICS_TYPE. For example,metric.cost,metric.usage,metric.num_cameras. - Basic metrics (
metric.cost,metric.usage, andmetric.savings) are case insensitive, all other metric types are case sensitive.
- Use the format
-
Fields in the header row can be arranged in any order. The order is preserved when you preview the ingested CSV.
Make sure to sanitize your data, for example, mask personally identifiable information (PII), before sending it to DoiT.
Example CSV
Below is a simple example CSV:
- CSV from a third-party provider
- CSV ready to be uploaded to DataHub
Month,Territory,Cost
2024-03-01,AMER,$70000
2024-04-01,AMER,$70000
2024-05-01,AMER,$70000
2024-03-01,EMEA,$7500
2024-04-01,EMEA,$7500
2024-05-01,EMEA,$7500
2024-03-01,APAC,$3700
2024-04-01,APAC,$3700
2024-05-01,APAC,$3700
usage_date,label.territory,metric.cost
2024-03-01T00:00:00Z,AMER,70000
2024-04-01T00:00:00Z,AMER,70000
2024-05-01T00:00:00Z,AMER,70000
2024-03-01T00:00:00Z,EMEA,7500
2024-04-01T00:00:00Z,EMEA,7500
2024-05-01T00:00:00Z,EMEA,7500
2024-03-01T00:00:00Z,APAC,3700
2024-04-01T00:00:00Z,APAC,3700
2024-05-01T00:00:00Z,APAC,3700
You can also download a sample CSV with more columns.
Upload CSV
- DataHub Admin
The description below explains how to upload a CSV file using the DoiT console. For uploading CSV using the DataHub API, see DataHub API.
Once you formatted the CSV file correctly, you can upload it when creating a new dataset or updating a dataset.
-
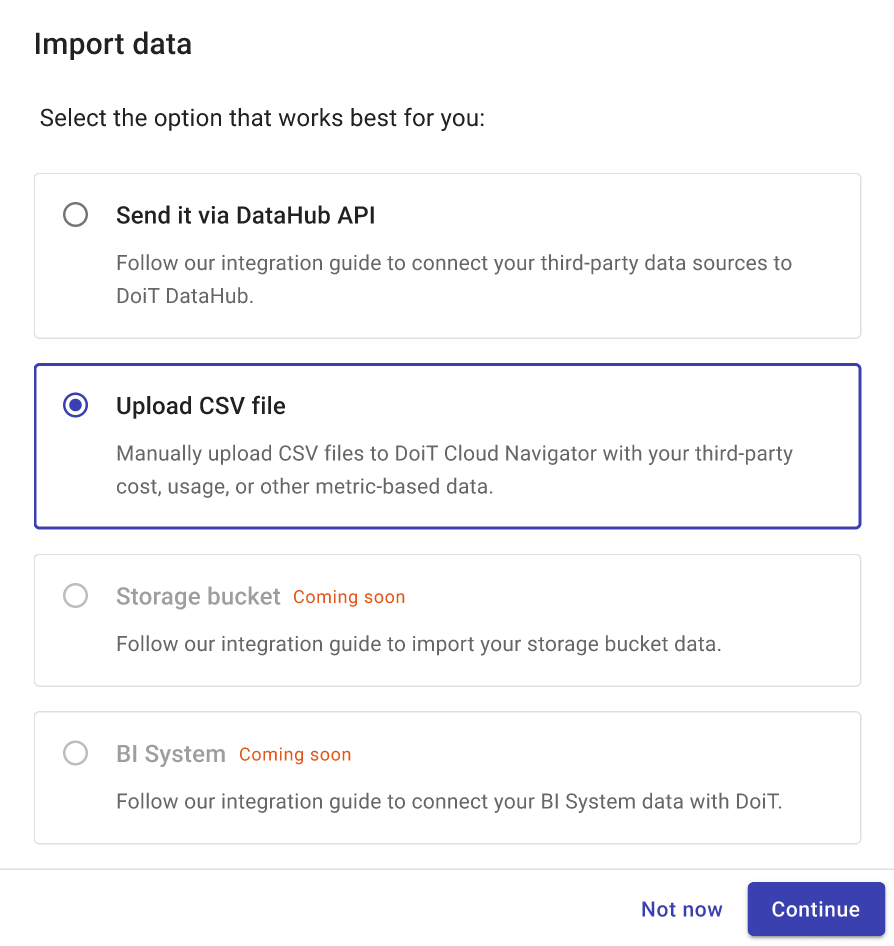
In the Import data dialog, select Upload CSV file, and then select Continue.

-
Prepare file: Make sure your CSV file complies to the Syntax and conventions. Select Next to continue.
-
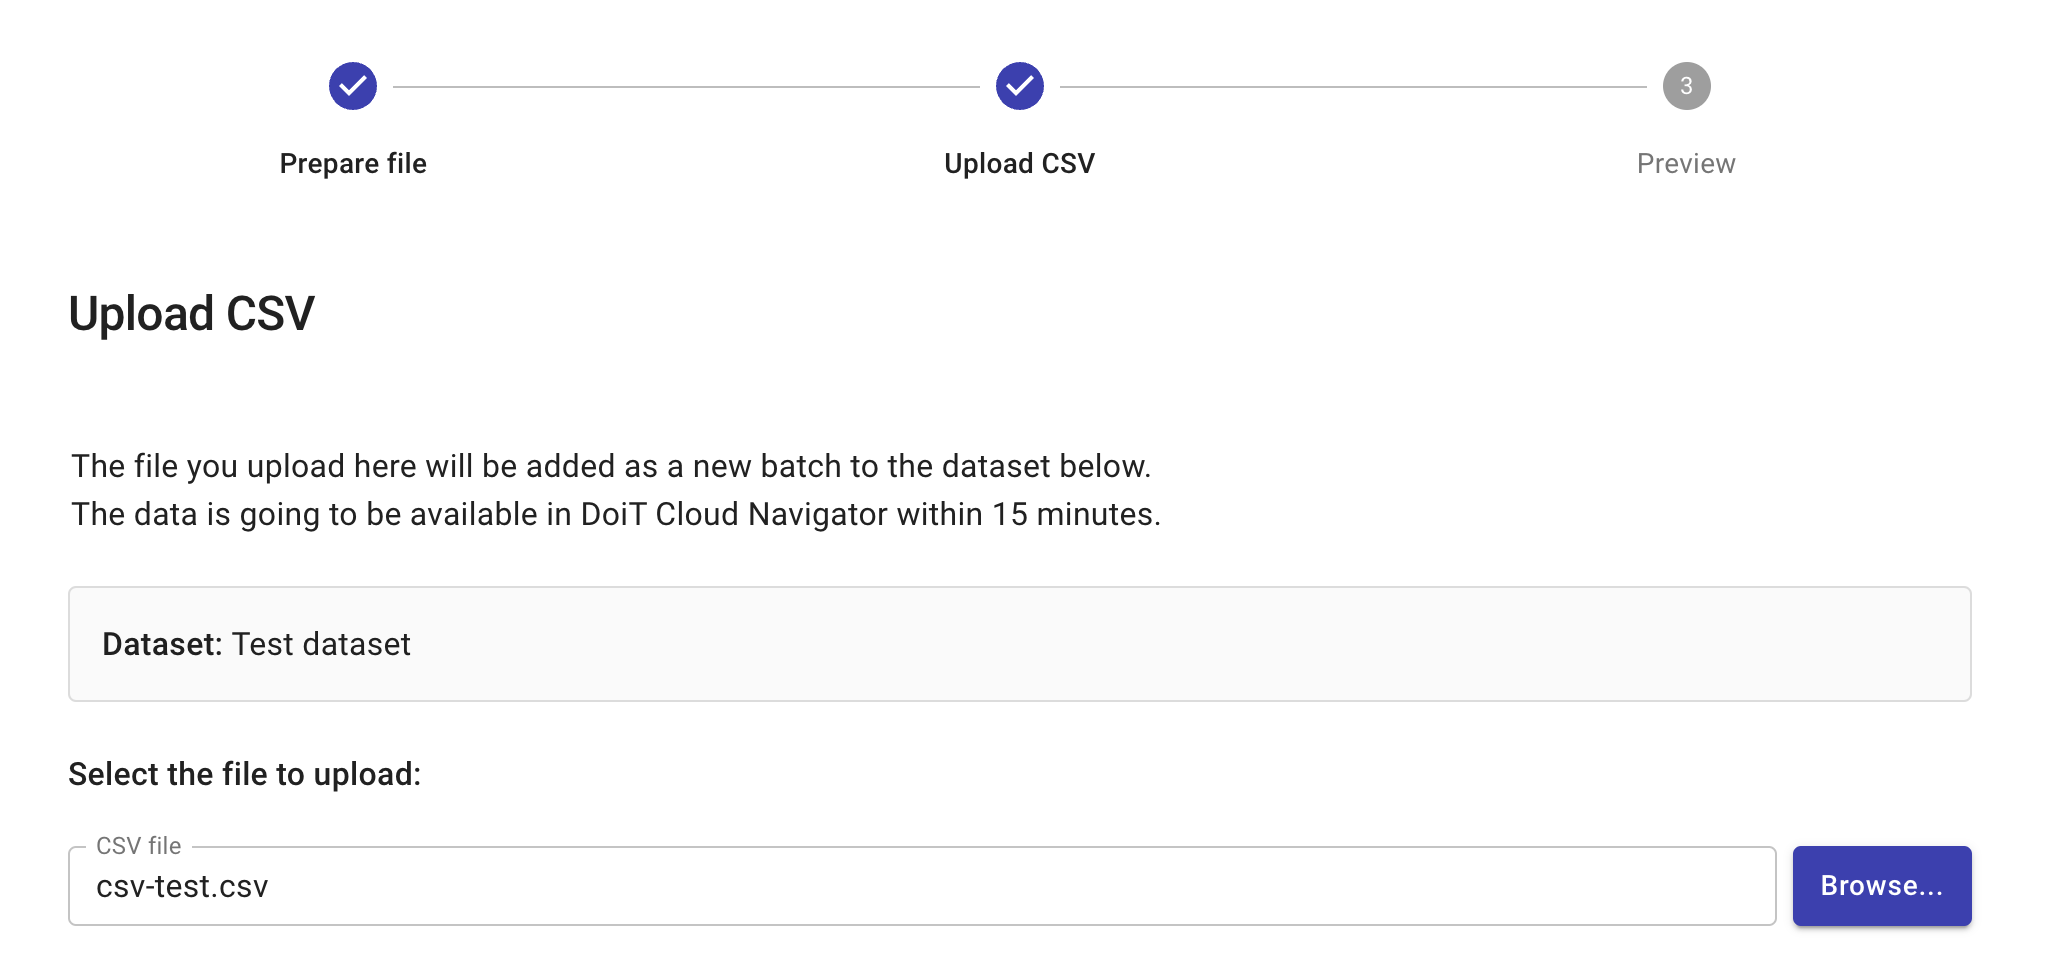
Upload CSV: Select the CSV file to upload. This step also validates the CSV.

-
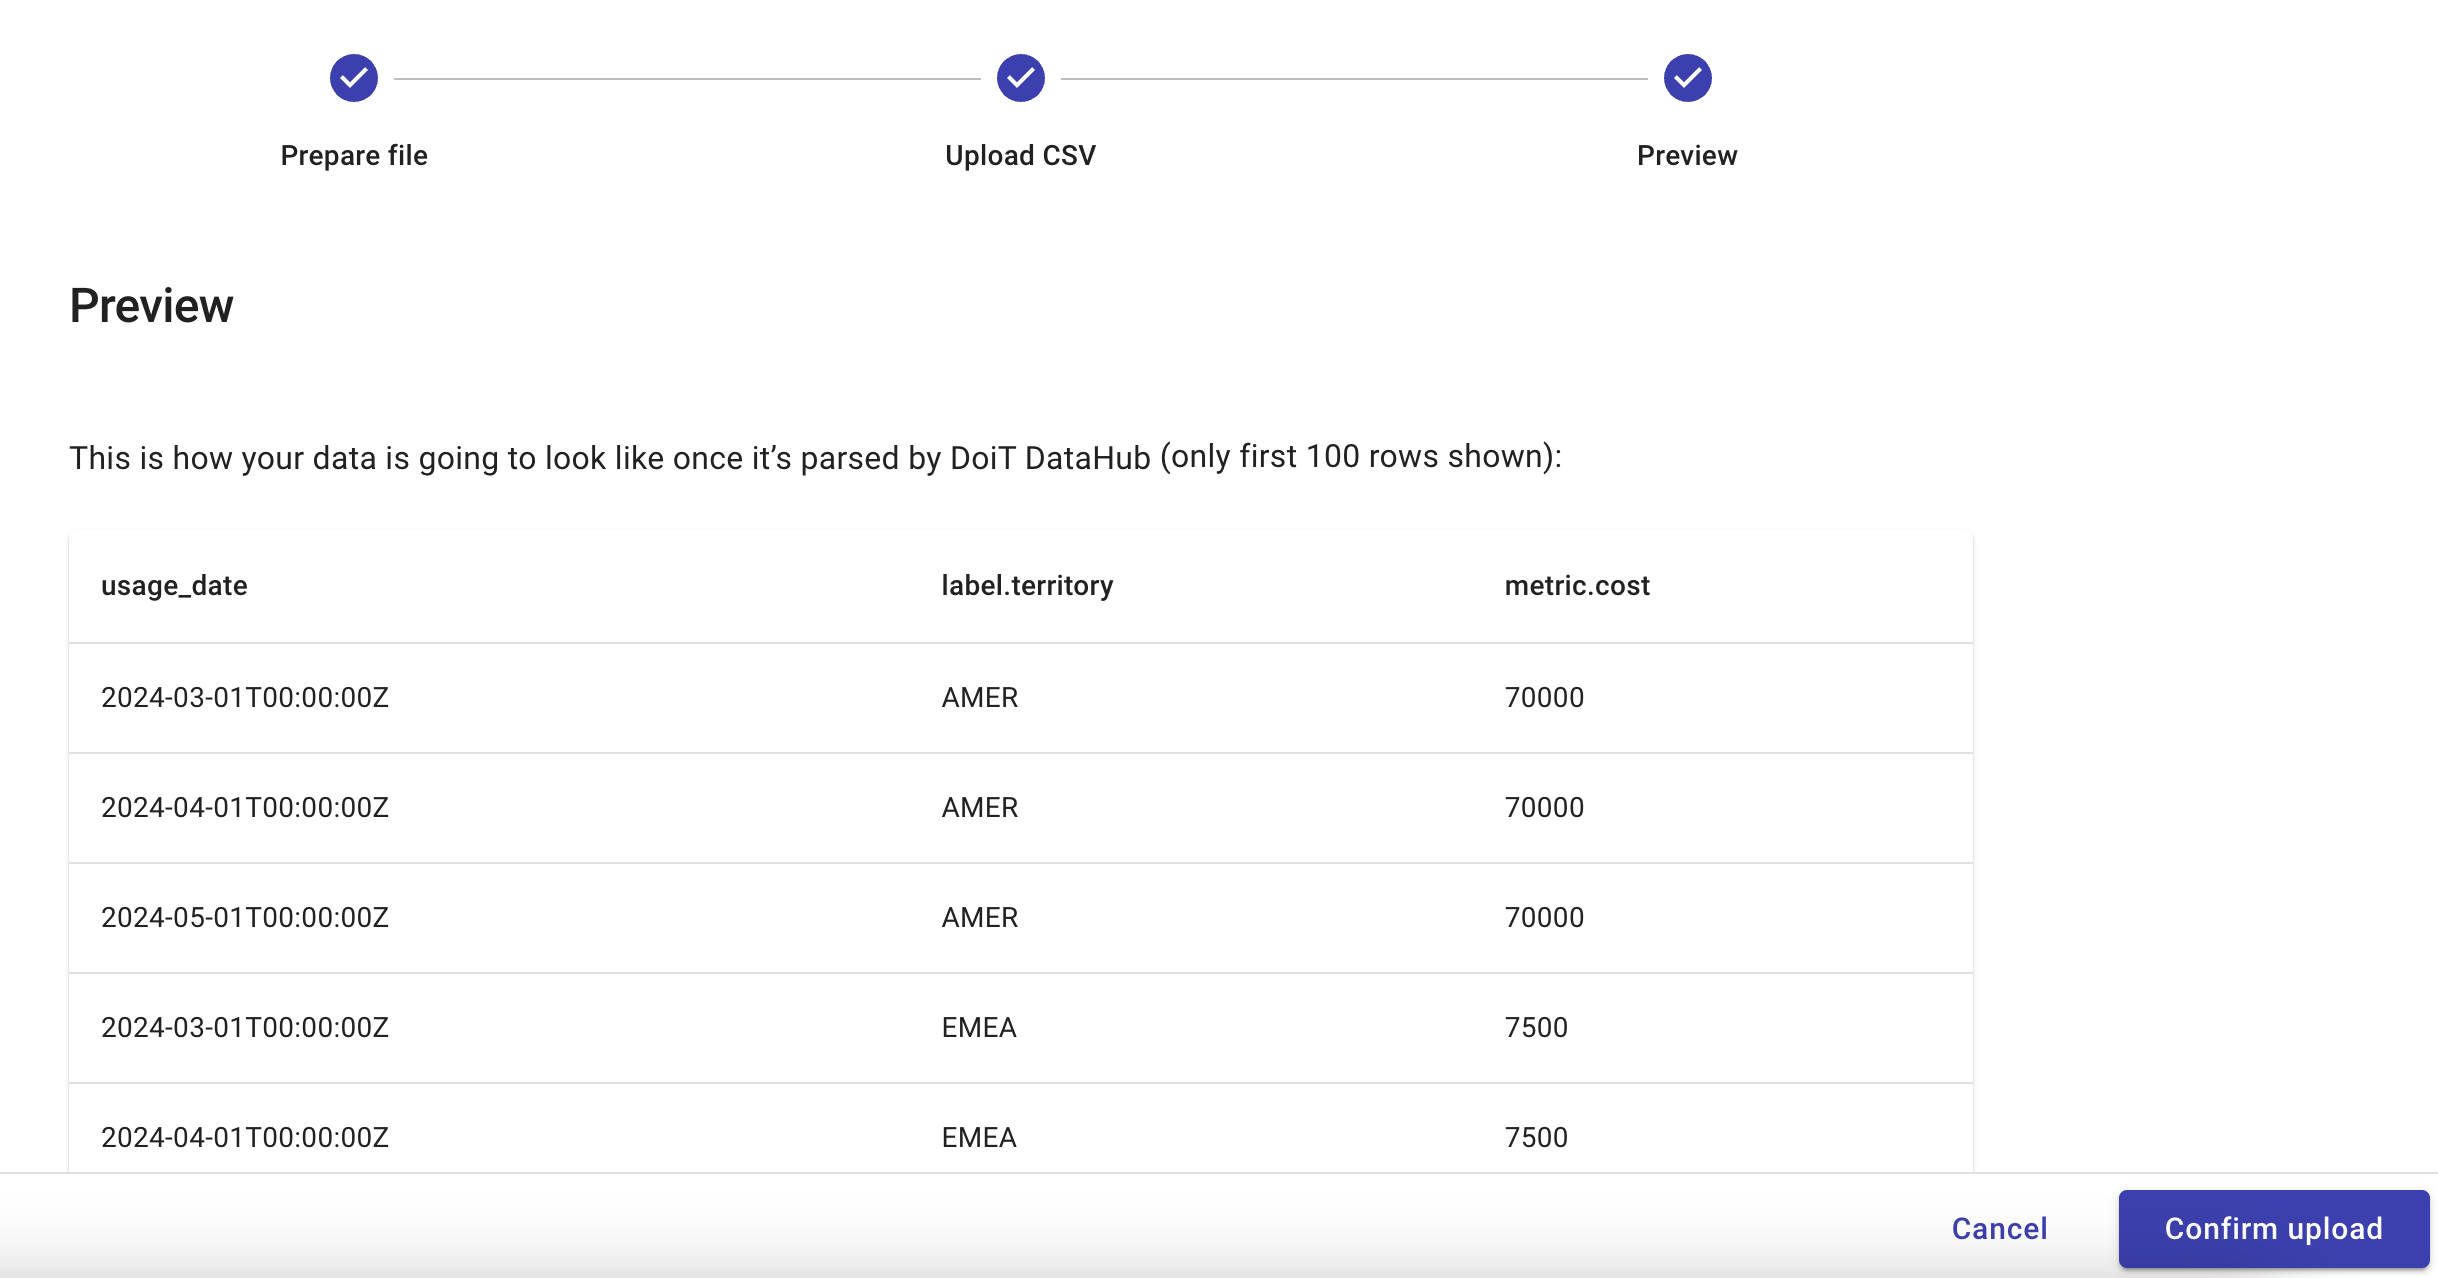
Preview: In this step, you verify that the data will be ingested with the desired dimensions and metrics.

After you select Confirm upload, we start processing the data. When the data has been uploaded successfully, it can take up to 15 minutes for the data to become available in the DoiT console.