Automation setup instructions — SaaS
Automation is currently available for workloads with type Deployment, DaemonSet, StatefulSet, CronJob and Job.
PerfectScale does not support automating workloads that use the OnDelete update strategy. The OnDelete strategy requires manual intervention to update pods, which falls outside the scope of PerfectScale's automated optimization capabilities.
To set up Automation, you can either follow the installation guide below or complete the setup directly within the platform. Both options make it easy to get started, so you can choose the one that best fits your workflow.
To access the Automation enablement guide within the platform, go to the Overview screen, hover over the cluster you want to automate, and click the Configure button under the Automated column.
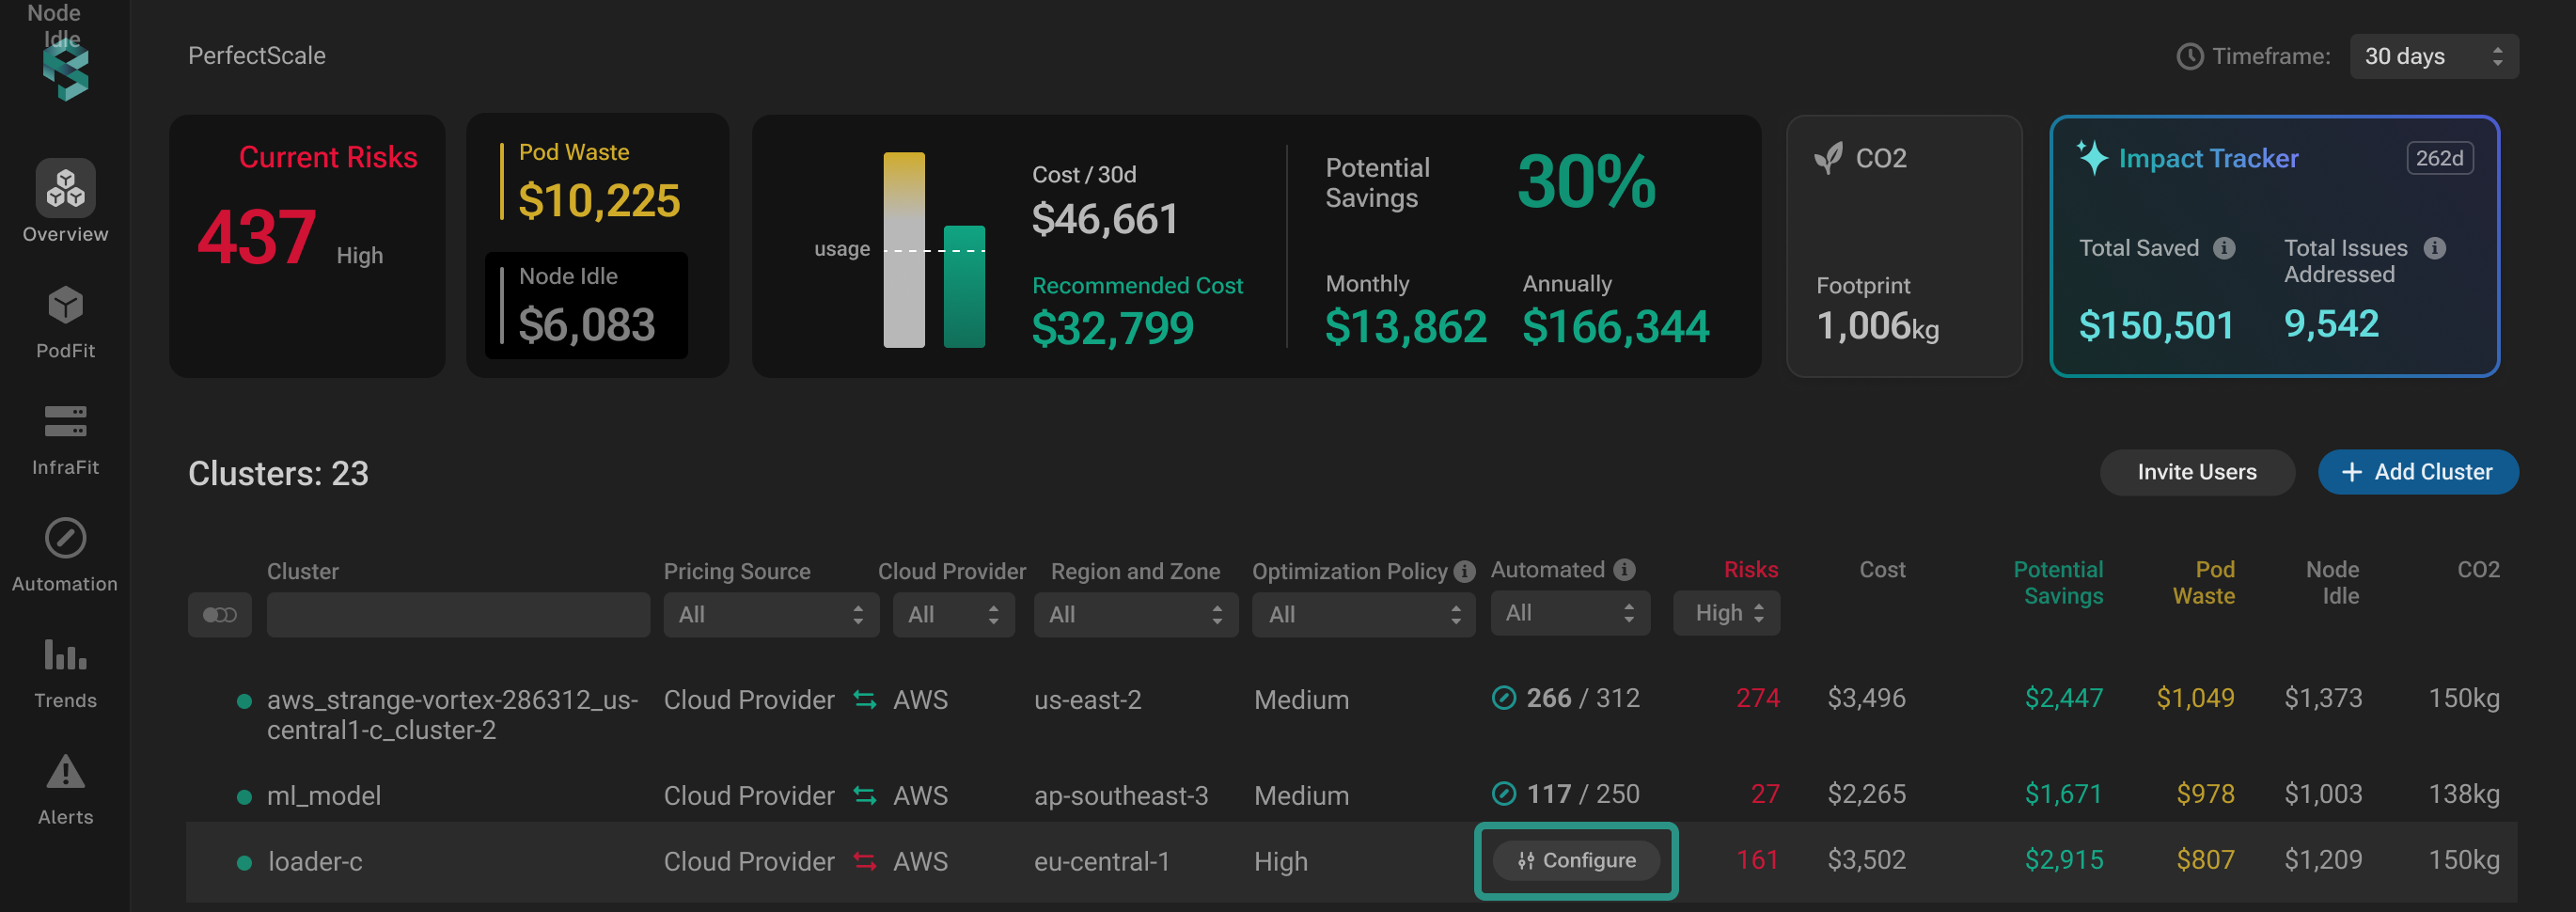
Configure button
Step 1: Install PerfectScale Automation Agent
When deploying the PerfectScale Automation Agent in a GKE Private Cluster, you need to create an additional firewall rule. This enables the Control Plane address range to communicate with the Cluster Pod IPv4 address range on port 8443. If the webhook call fails, see the troubleshooting guide.
Deploy the PerfectScale automation agent. In order to install the PerfectScale automation agent, run the following commands:
helm repo add perfectscale https://perfectscale-io.github.io --force-update
and
helm upgrade --install -n perfectscale psc-autoscaler \
      --set secret.create=false \
      perfectscale/psc-autoscaler
If taints and tolerations are defined in the node pool, you must include them in the command too, so it will appear like this:
helm upgrade --install -n perfectscale psc-autoscaler \
      --set tolerations[0].key=node_pool \
      --set tolerations[0].operator=Equal \
      --set tolerations[0].value=tooling \
      --set secret.create=false \
      perfectscale/psc-autoscaler
If you utilize CI/CD tools with auto-sync, ensure to review the additional configuration steps. /pages/TsZzGVupxU54d8rXHdv4
Follow the troubleshooting instructions provided, or contact support if you encounter any issues.
Verify Automation Agent Installation
To test and confirm that the Automation Agent was installed successfully, run the following command:
helm test psc-autoscaler -n perfectscale --logs
Disabling Webhook for Specific Namespaces
Once the autoscaler is installed, all pods in the cluster go through the admission webhook. You can exclude specific namespaces from this process by disabling the webhook for them. For example:
helm upgrade --install -n perfectscale psc-autoscaler perfectscale/psc-autoscaler \
--set secret.create=false \
--set 'settings.excludedNamespaces={kube-system,ns_to_exclude1,ns_to_exclude2}'
Step 2: Configure Automation
PerfectScale provides two ways to configure Automation and tailor it to your environment:
- Through the UI
A good starting point if you want to quickly explore and enable Automation, such as during a POC or in environments where a simple setup is sufficient.
UI automation provides a simplified experience and supports only part of the features. Full functionality and advanced configuration are available via CR.
- By using a Custom Resource (CR)
The best suits for teams that require more control and customization, as this option provides greater flexibility and configuration granularity.
The UI offers a simple and convenient way to set up and manage Automation directly in the platform, while the CR option enables flexible, GitOps-friendly configuration within your Kubernetes workflows. Explore how to configure Automation using one of the approaches described above by clicking the links above.
CR configuration takes priority over UI settings. If both are enabled, PerfectScale will apply automation based on the CR configuration. You can still preview the list of automated workloads in the UI, but any changes should be made through the CR.