Microsoft 365
Microsoft 365 (aka Office 365) is a cloud-powered productivity platform owned by Microsoft. With a subscription to Microsoft 365, you can get productivity apps with device management, security, and online services.
Required permissions
To manage your organization's Microsoft 365 subscriptions in the DoiT Console:
Your DoiT account needs to have the Assets Manager permission.
You must have access to the specific Billing Profile associated with the subscription domain (tenant).
Add new subscriptions
To add a new subscription:
Log in to the DoiT Console.
Select Billing from the top navigation bar, select Assets, and then select Office 365 from the left-hand menu.

Select New subscription in the upper-right corner of the page.
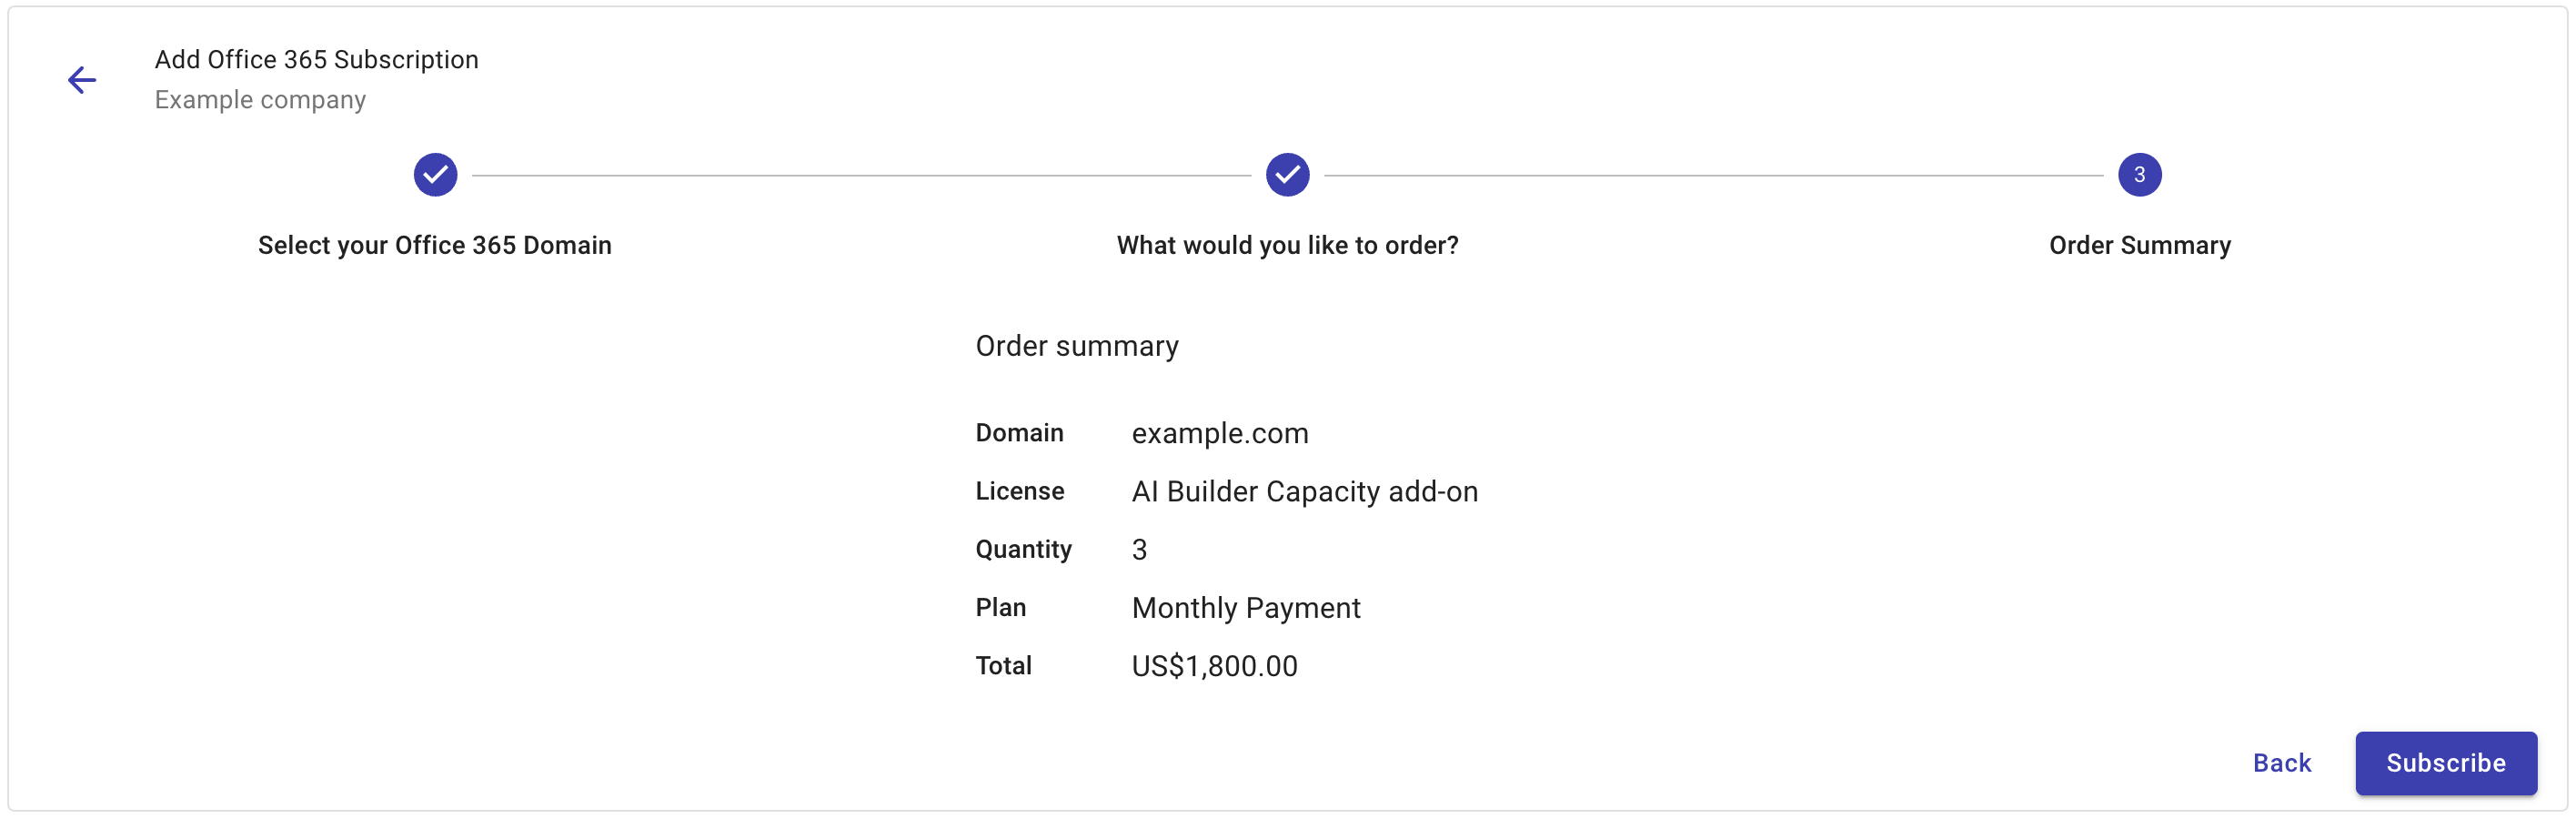
Enter the details of your order, including the Office 365 domain, the license type (subscription), and the license quantity.
Review your order summary. Select Subscribe to complete the order.
Add or remove licenses
On the Office 365 assets page, the number of licenses in a subscription is displayed with the Quantity label.
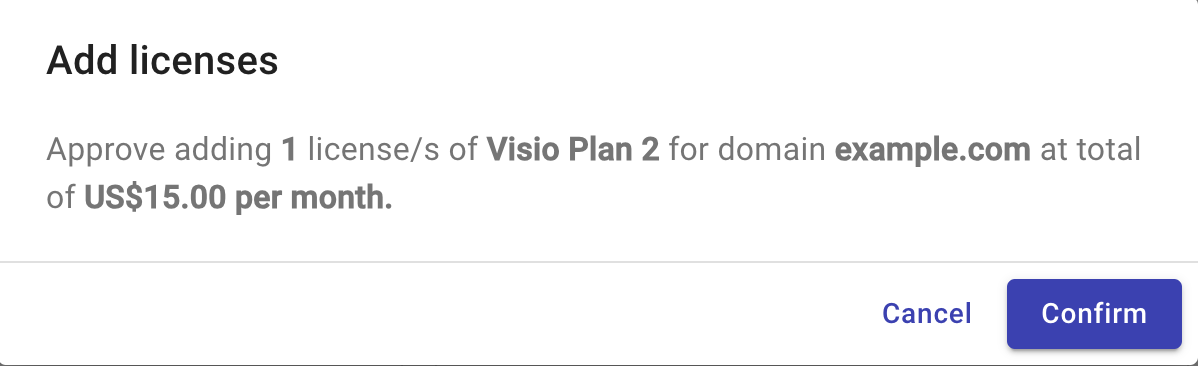
To add or remove licenses from a subscription, use the + 1 and − buttons respectively in the subscription card. You can then apply or cancel (reset) the change.
When adding additional licenses, review the cost before you confirm the order.
The costs related to new or removed licenses in the middle of a month are reflected on your next invoice.
Microsoft imposes a seven-day cancellation window on commerce license-based subscriptions. The DoiT Console will report an error if you try to remove licenses after the seven day window has closed.